Heres a job I have been putting off doing for a long time, Ive been told all kinds of horror stories by mechanics who say the complete rear trailing arm needs to be removed to press the old bushes out & to insert the new ones. This would be the case if the worn bushes are being replaced by genuine Saab rubber ones, but even then with the correct press tool the bushes can be replaced with the arm in situ. Anyhow, thanks to the clever guys at Powerflex this is now the case as their bushes come in two halves & are simple to fit, so the job can be done with the arm still on the car, so in the end it wasnt bad a bad job to do at all.
Signs that the rear trailing arm bushes are worn & need replacing are knocking & or growning noises comming from the rear end & uneven rear tyre wear.
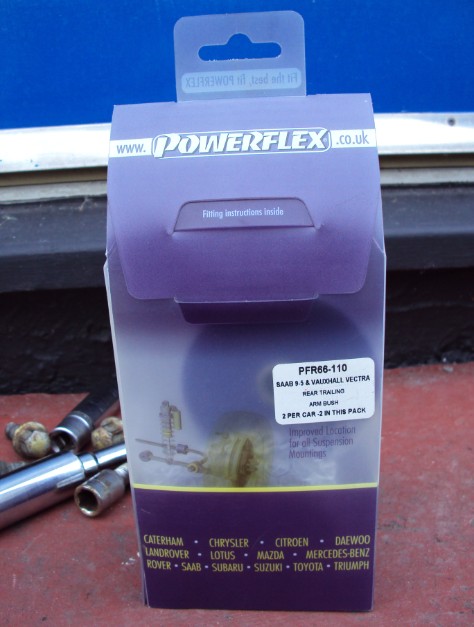
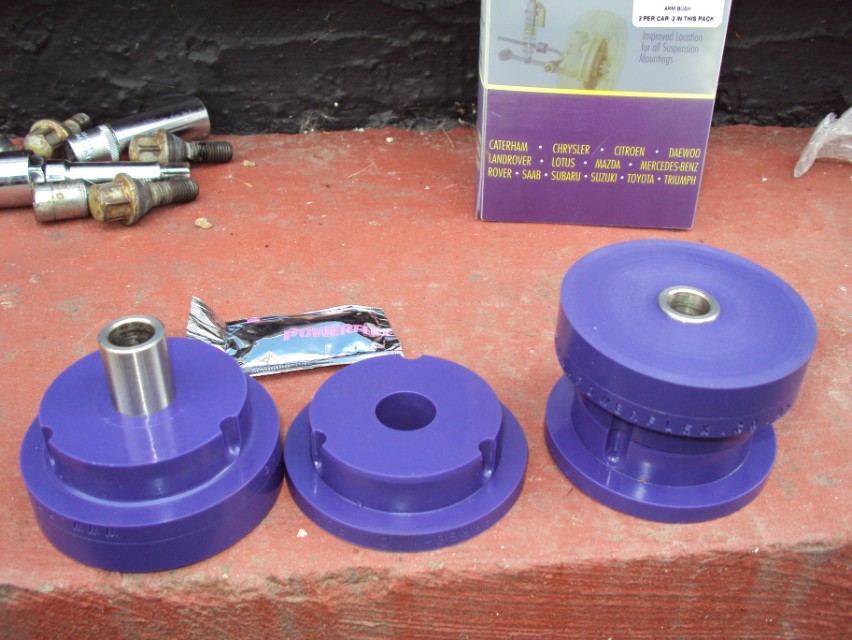
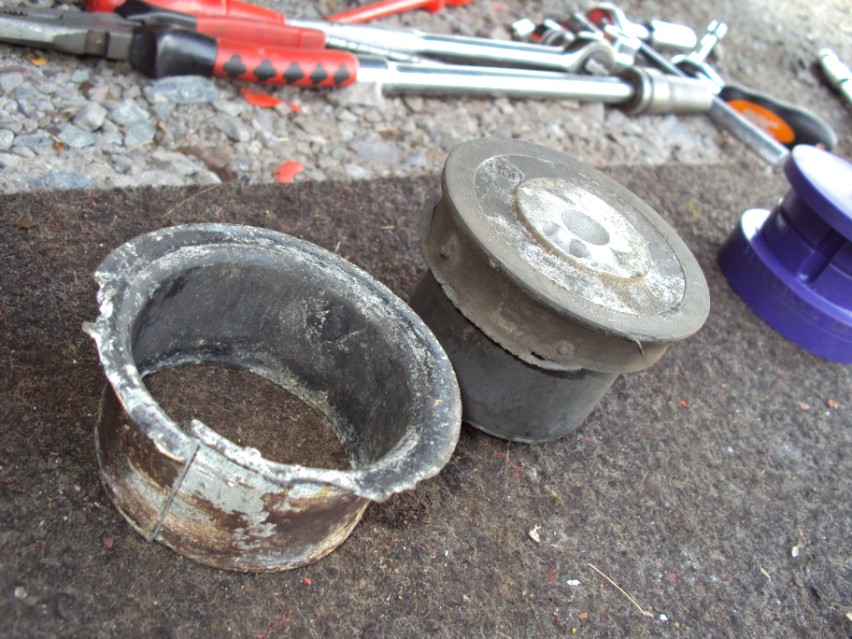
Here is the Powerflex polyurethane kit, part number PFR66-110. I was very lucky as a member over on UKSaabs was selling these so I snapped them up quick, thankyou Nev. As you can see they are brand new & still had the bag of grease in the box. As stated these come in two halves with a stainless steel inner sleeve that pushes through the middle of the two halves to join them up once fitted into the arm, so its a dead easy little job. So lets get to it & firm up my rear end! Tools needed.
|  |
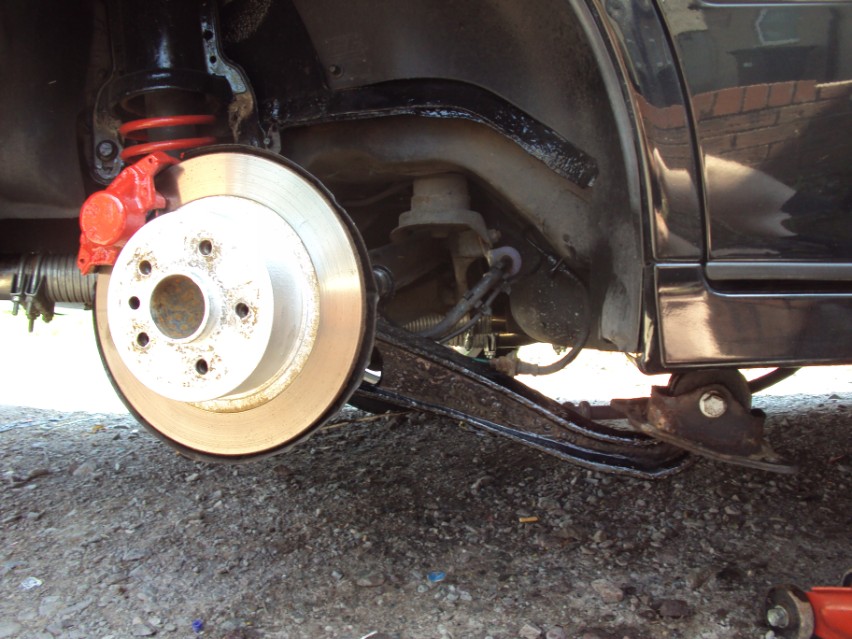
Here we go then, once the rear of the car is off the ground & supported on axle stands (this is important to keep the suspension level) remove both wheels & undo the bottom shock mounting bolt. For this you will need a long breaker bar & a 21mm socket, then pop the shock off the trailing arm. There will still be a small amount of tension on the strut so mind your fingers.
This will help later on by giving the arm more room to move when working on the bush.
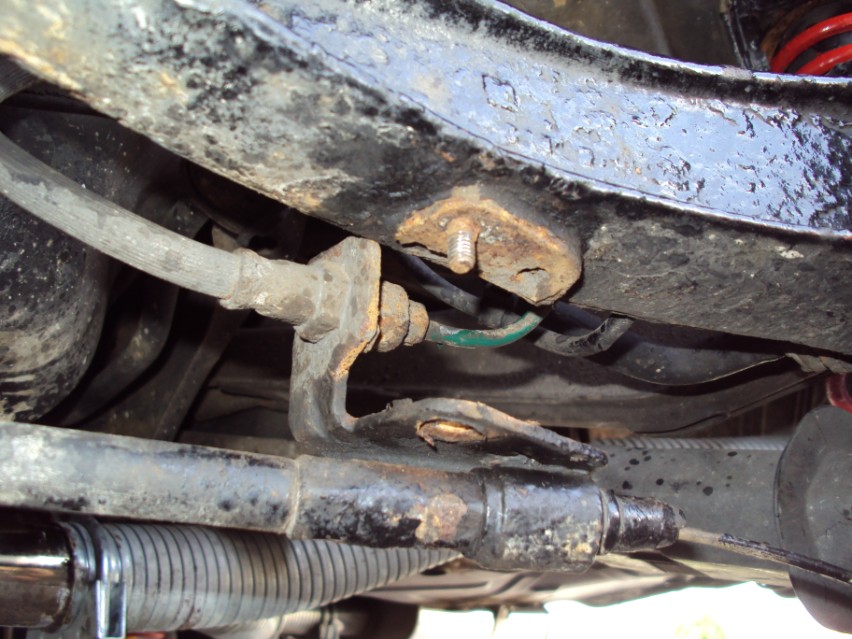
Then make sure the handbrake is off & undo the 10mm nut that holds the brake hose & handbrake cable bracket to the underside of the trailing arm.
Theres a very good chance the studs will snap off, one of mine did but its easy enough to drill out the broken stud & replace it with a 10mm nut & bolt when you come to put it all back together.
Now release the rubber handbrake cable hanger from its hanging point in the bush/arm mounting plate, this is done by squeezing the top bit & passing it through the hole.

Now remove the handbrake return spring from the handbrake arm & slide the cable off.
Some people remove the rear ARB link arms when doing this job but I found the trailing arm was easy enough to work on with the link arms left in place.
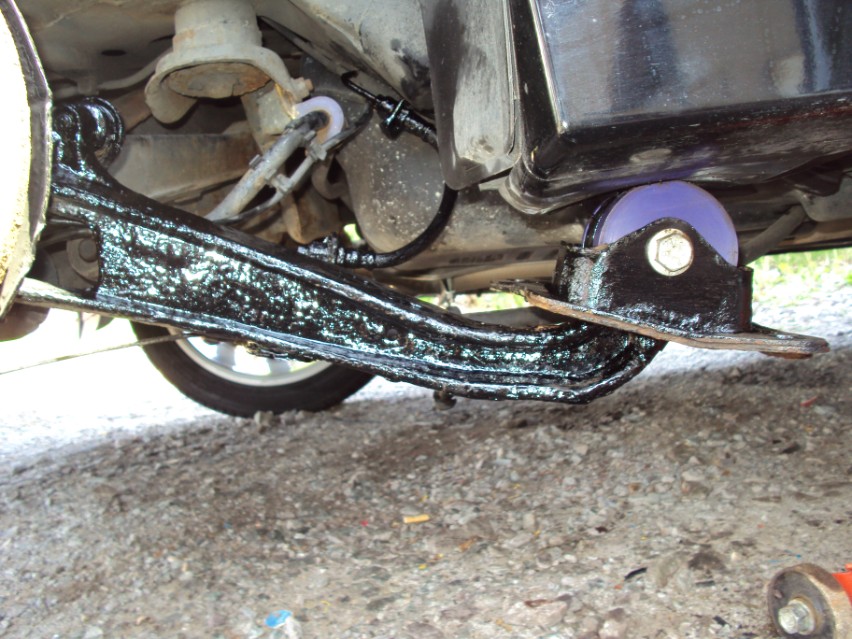
So now were ready to work on those nasty bushes. At the front of the trailing arm you will find the mounting plate, which is held in place by three 18mm bolts. I also needed to use a long breaker bar on these but they came out with no problems.
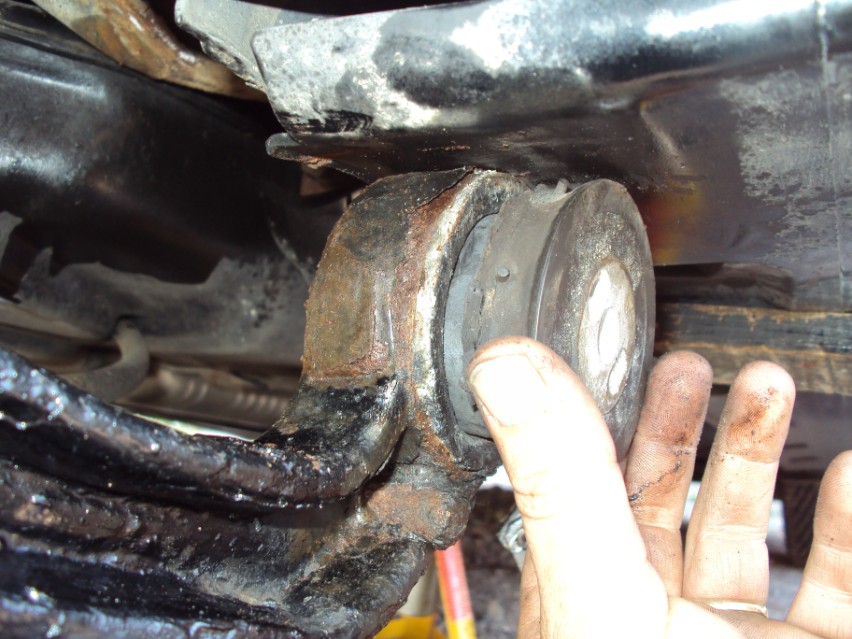
Now the three bolts are out the arm can be pulled downwards giving you plenty of room to work on the bush.
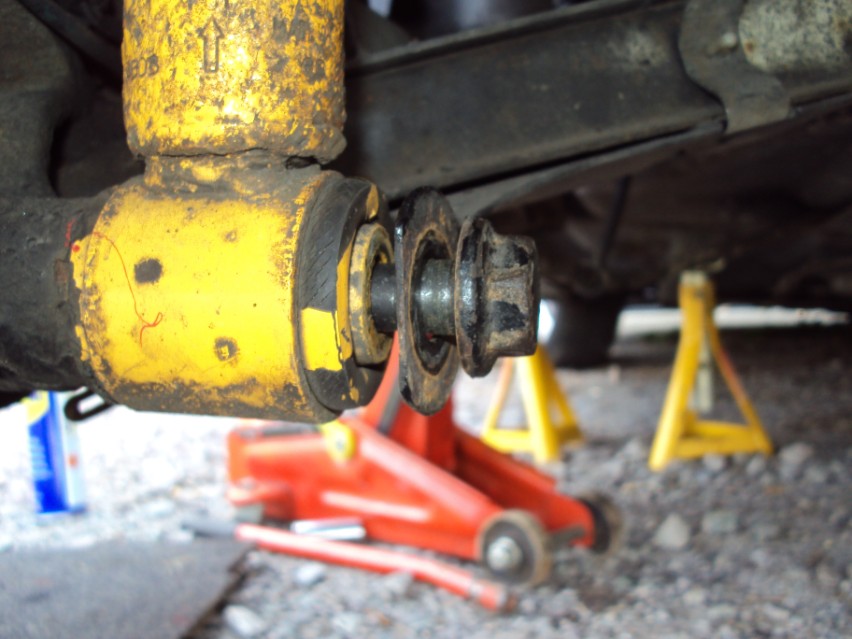
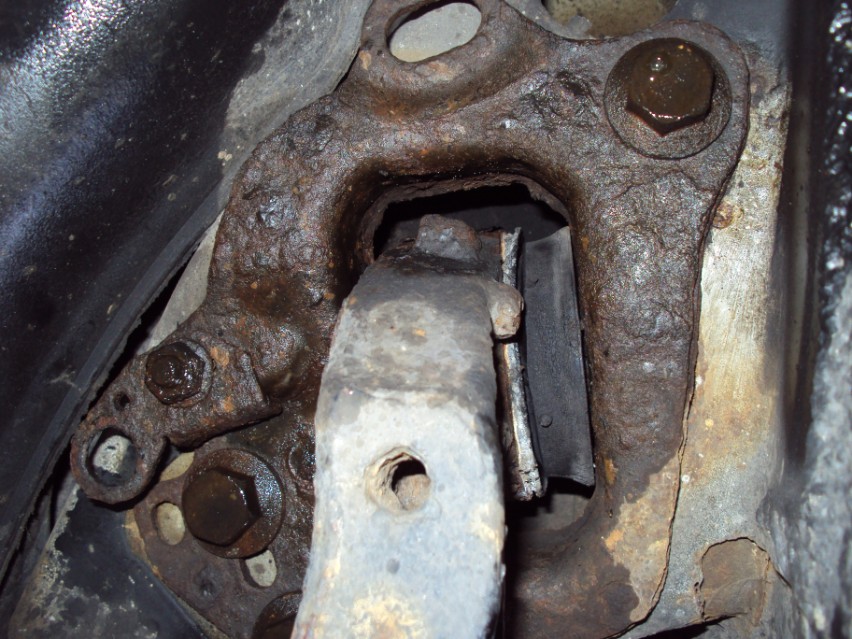
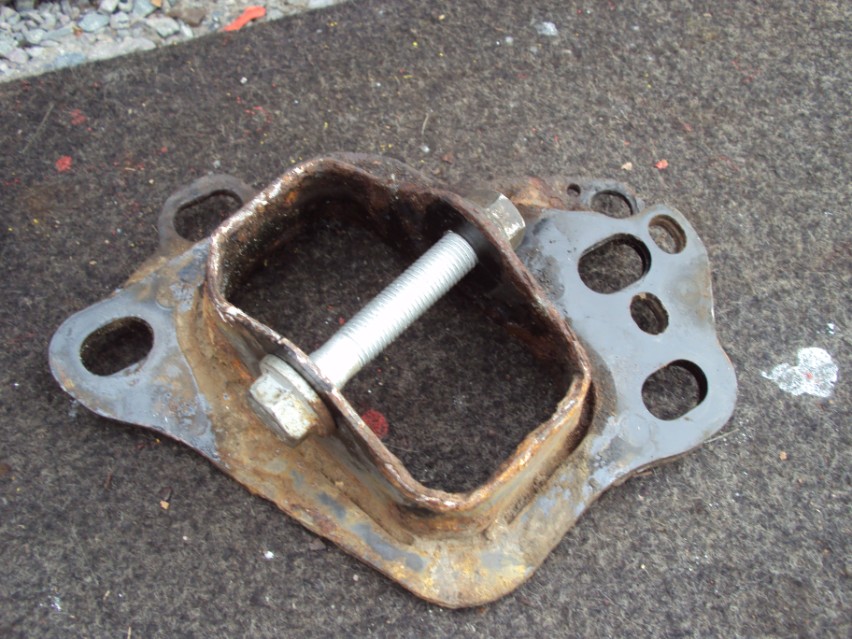
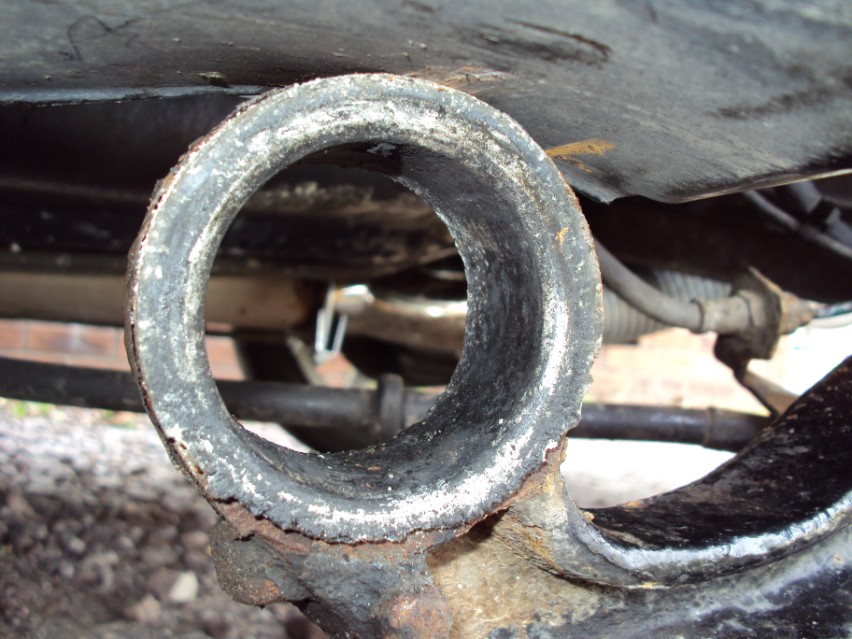
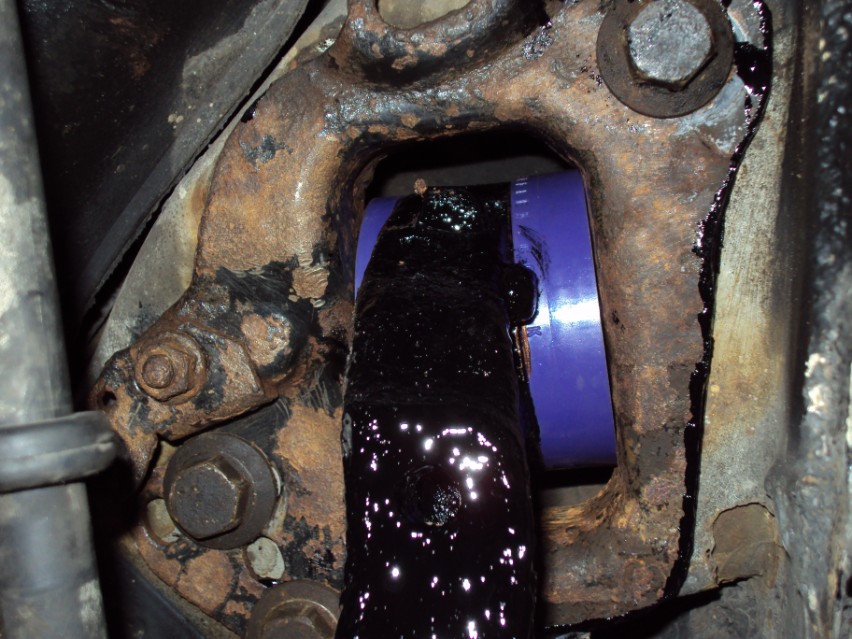
Heres a better view of the mounting plate & the worn trailing arm bush.

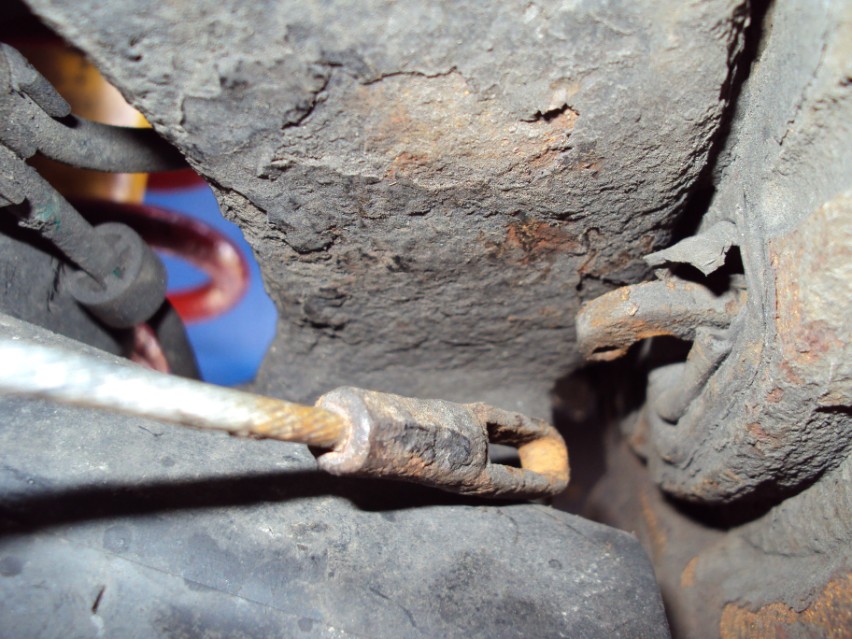
Next the bush bolt needs to come out, the N/S one came out no bother but the O/S one didnt.
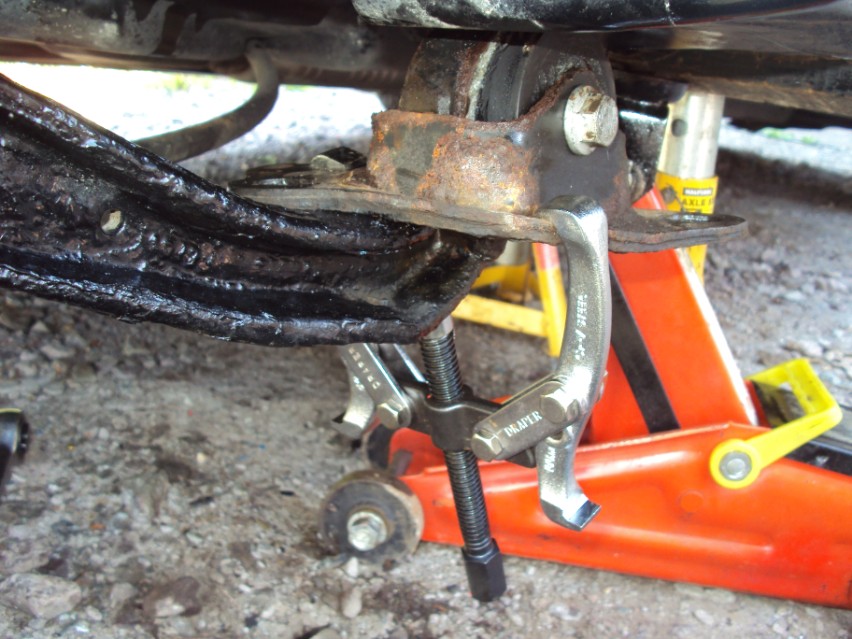
I had to clamp the mounting plate to the trailing arm to keep it held firm, this made it alot easier to loosen the nut.
A G clamp would have done here but I couldnt find any of mine so I used the gear/bush puller to hold everything tight.
& here is the mounting plate off the car.
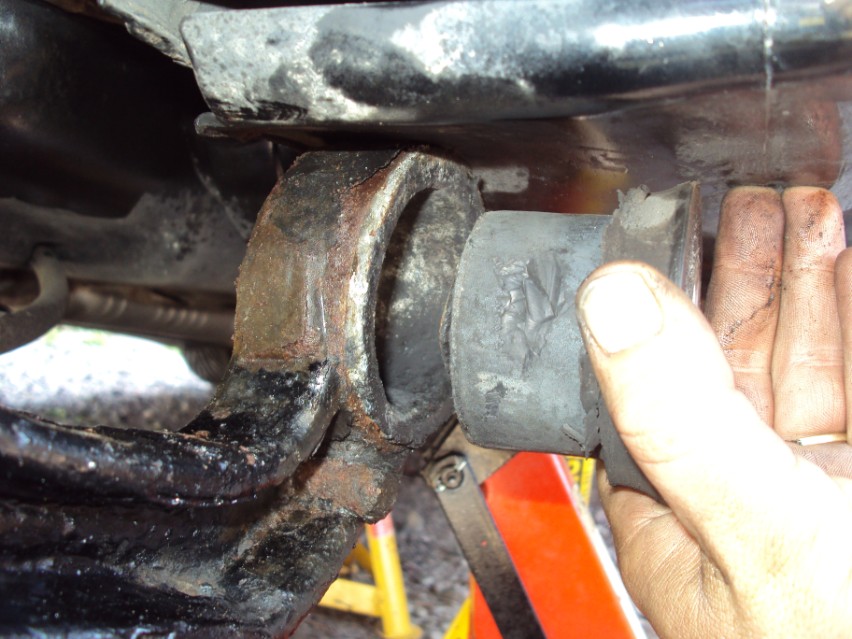
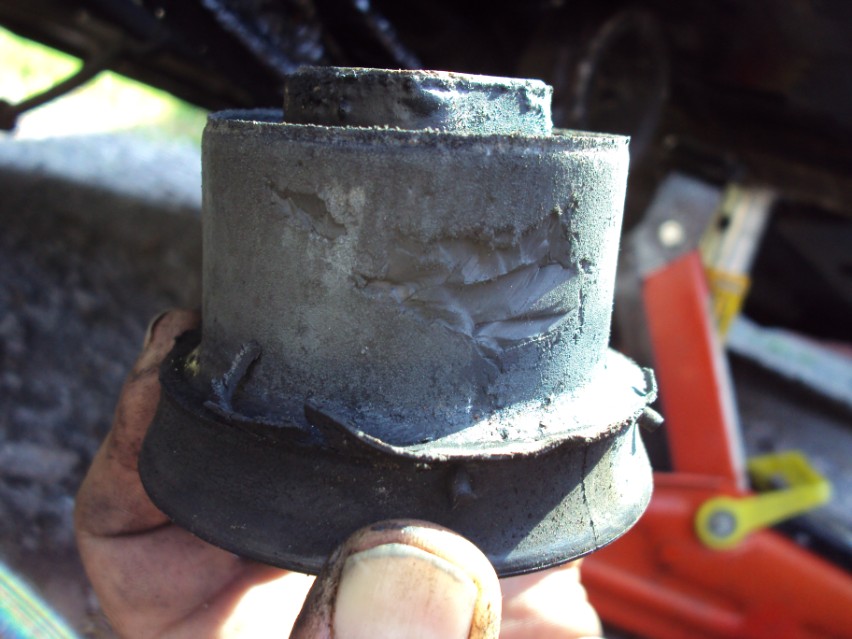
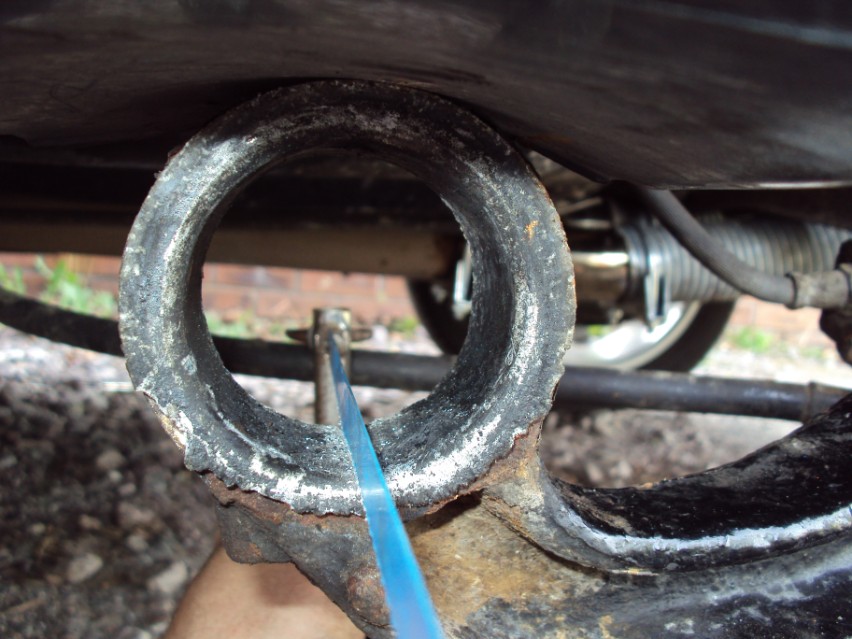
The next bit was the bit I wasnt looking forward to at all. Here you will proberbly need to use the bush puller tool to force the center rubber section of the bush out of the arm. Some people burn them out, but the front of the arm is way to close to the petrol tank in my opinion so that method isnt one I would try. Some also use a drill & a saw blade to cut it out but I was very lucky here. My bushes were so worn they just fell out.
No tools needed, I just pulled them out with my fingers.
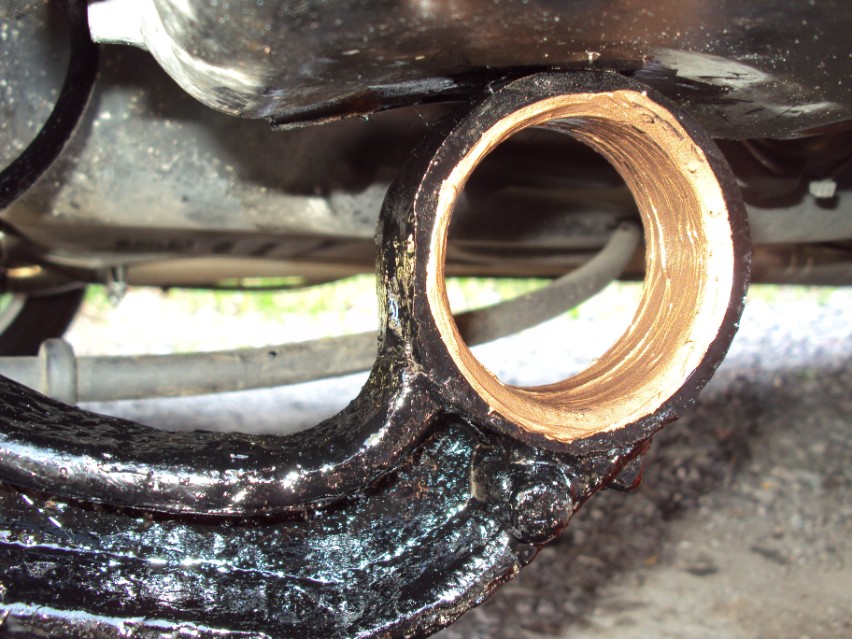
So this just left me with the soft metal sleeve to deal with.
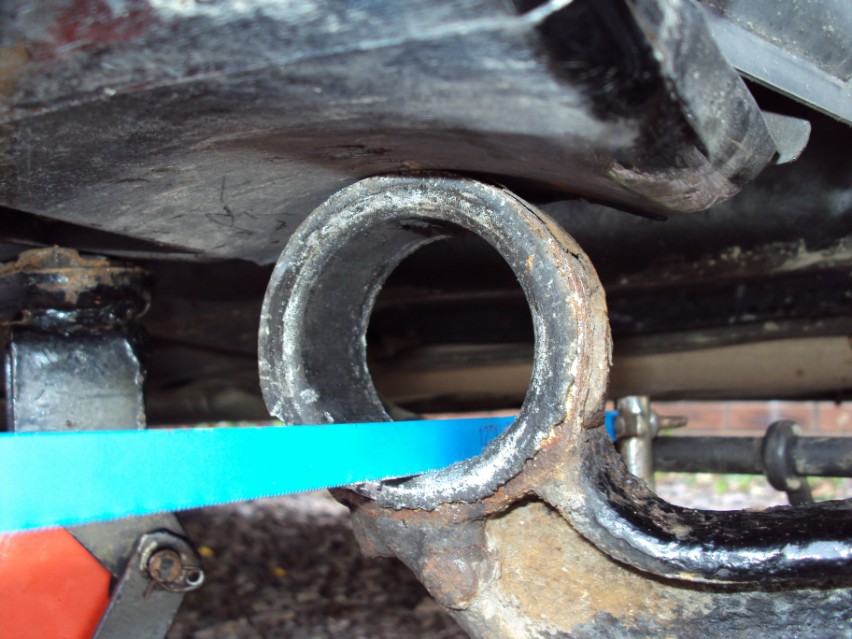
So with a blade mounted upside down in the hacksaw I cut the sleve & then with a screwdriver it just popped out too.
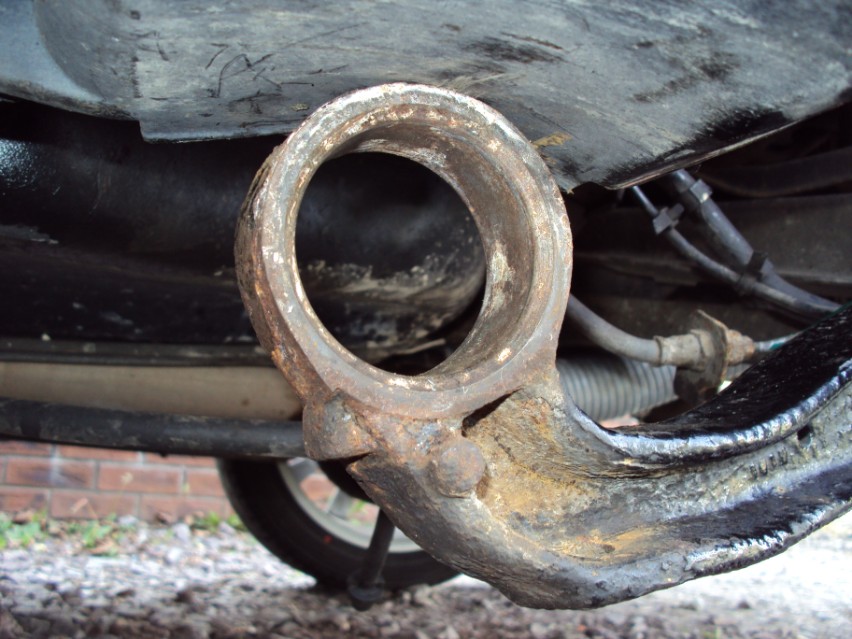
Thats the hardest part of the job out of the way. Next I gave the arm a good going over with a wire brush & painted it as I cant stand rusty bits! Then after the paint had dried I lubed the holes & added the new Powerflex bushes.
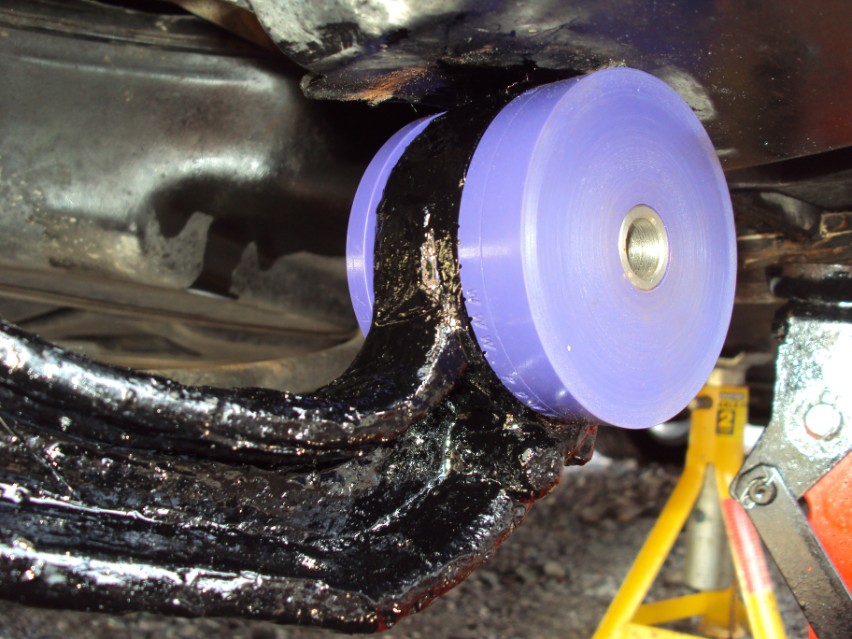
I found it eaiser to fit the larger half of the bush (the outer bit) first, then the inner half was fitted & the metal sleeve pushed through the holes last.
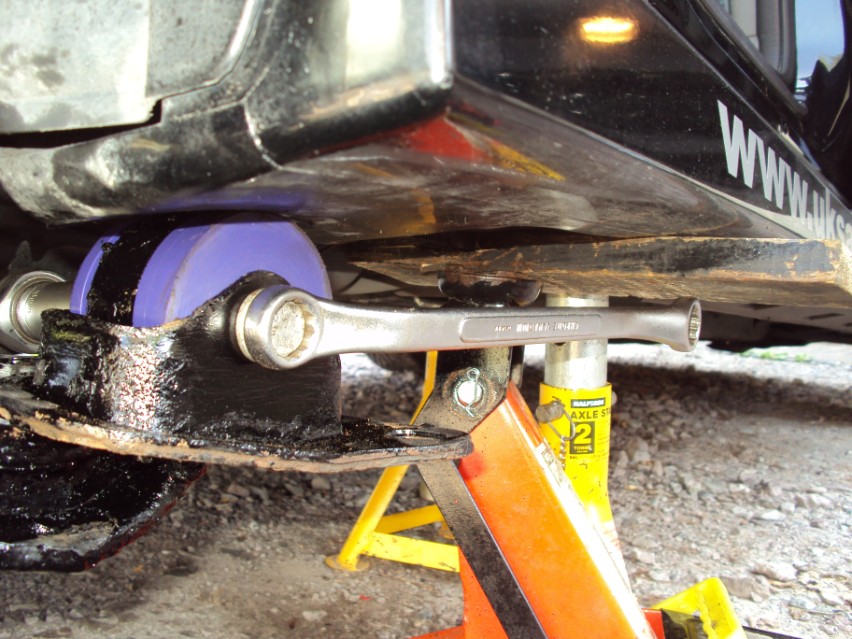
Then the mounting plate was added, I used a piece of wood on the jack so I had somewhere to wedge the 18mm ring spanner against the underside of the car, once the nut was at the correct torque (70 ft-lbs + 1/4 of a turn) then the jack was lowered & the spanner came away without getting stuck.
The final jobs are to refit the mounting bolts for the rear shocks first, you will need abit of freedom in the trailing arm to get the bolt in place so dont bolt up the front mounting plate just yet, be very careful with this bit, its very easy to cross thread the shock bolt & then the trailing arm might need some extra work!
Once thats sorted its time to refit the mounting plate to the car. Its important to get the 18mm bolts as near to the same position as they were in at the start, I didnt paint the mounting plate so I could use the marks on it to line up the bolts in their correct place.
I also noticed when the bolts were removed that there was some thread lock on them, so I used a small amount of loctite blue thread lock on mine.
I did them up finger tight & then lined up the bolt heads with the marks on the mounting plate before nipping them up to the correct torque (66 ft-lbs + 1/4 of a turn)
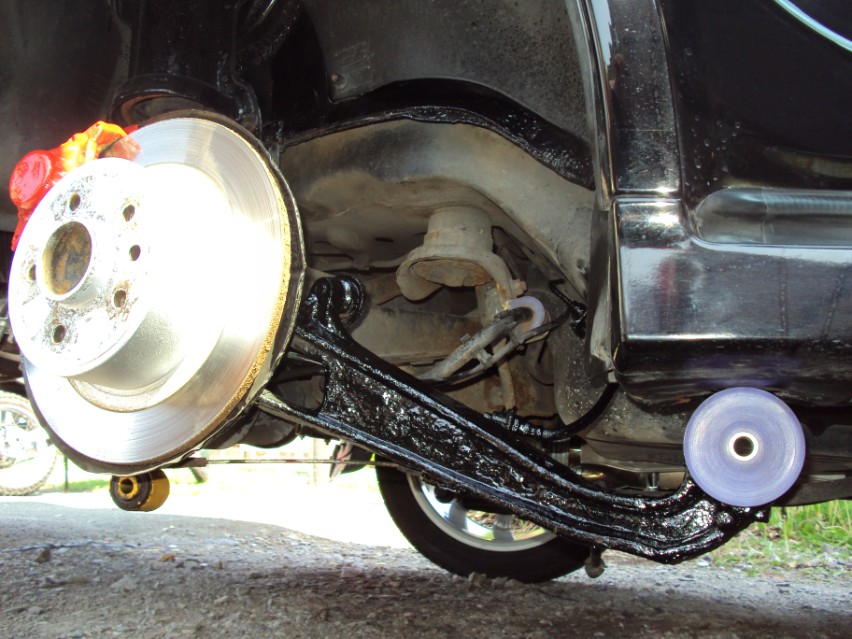
Then just refit the handbrake cable brackets, cables & return springs & the wheels . Job Done.