Many 9-5 owners choose to change the dash pannels in their cars to something more intresting rather than the grey plastic ones fitted as standard. Dealers prices for replacement dashes are sky high, but over the years I have bought many off Ebay, various Saab forums & spares days for much lower prices, usually £50 to £80. Removal & replacement is an easy little project & a worthwile upgrade to any 9-5. Here is a small guide on how to DIY.
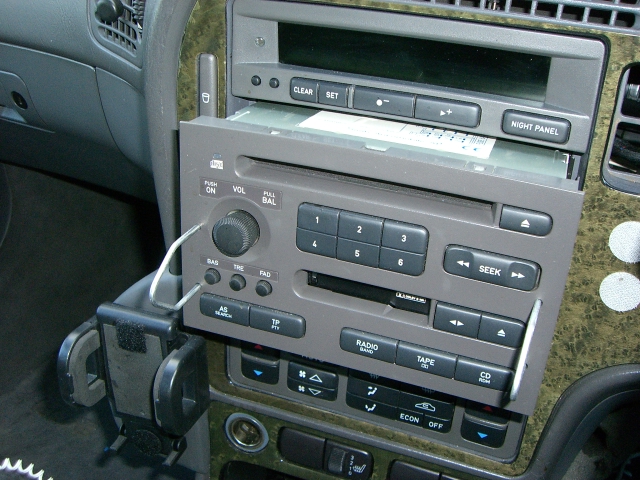
Step 1 The first job is to remove the radio, SID & ACC control units. Once the radio has been removed with the correct removal tools the SID & ACC units can be pushed out from behind. All these units are connected by a one piece wiring plug. Then all the switches & blanks need to come out, another easy task. The steering wheel can stay on, but it needs to be in the lowest & mosted extended position possible to allow the old dash to be lifted over it.
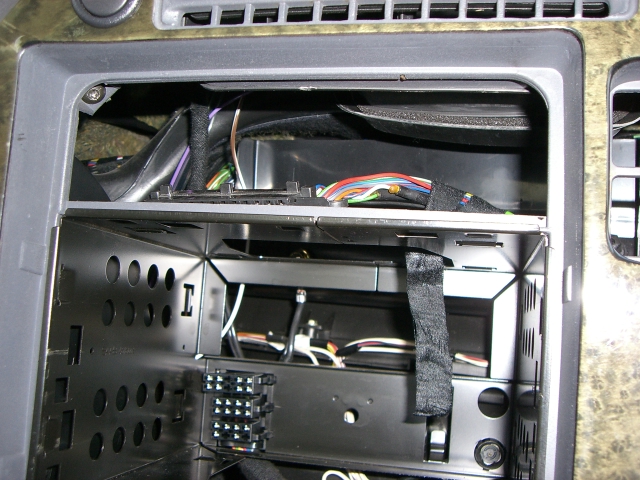
Step 2. Now everything is out of the way its time to search for the torx screws. On the main dash pannel there are only six torx screws. Two behind the headlight switch. Four behind the SID & Acc units. The main bulk of the dash is clipped in around its upper edge & some center clip mounts which are of the push fit type & just pull away. Now you are ready to pull the dash pannel away from its clips. This is sometimes made easier by unclipping the radio cage. Easy enough to do, you will see some metal tags that are bent over to hold the cage in place, just bend them back & the cage will just push out. Then just unclip the radio wiring plugs & antenna lead plug from the cage. All the 9-5 dashes I have fitted came with the radio cage fitted so I left them in place but removing it will give you a lot more room to work & may save you time & avoid scratching the upper dash top.
You need to pull the dash away from the air vent ducts & wiggle it upwards & over the steering wheel. With the old dash out of the way the new one can be fitted & all its screws replaced. You can refit the radio cage, radio & SID units, but leave the ACC unit out as you will need this space to push out the ash tray in step3. So thats the main dash pannel replaced. The whole process should take about an hour or so.
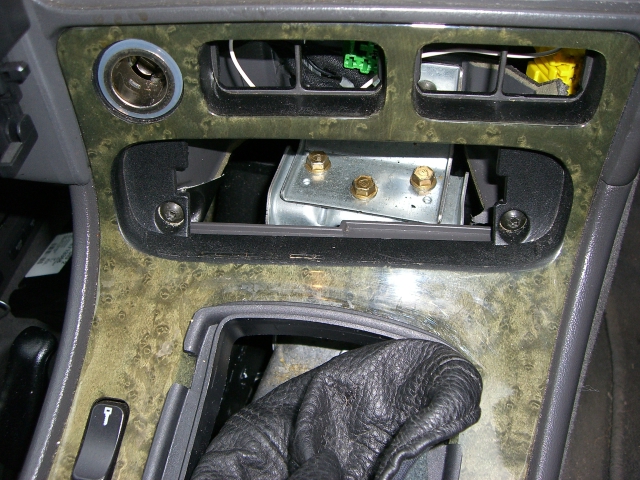
Step 3. Now its time to remove the gear lever surround. With the ACC unit out of the way & the ashtray insert removed you can push the ashtray surround out from behind. This will reveal two more torx screws. Unscrew these & unplug the ciggy lighter wiring plug, then un clip the leather gear lever gater & lift the pannel out. Then you will be able to undo the wiring plug for the lock switch. Fit the new pannel & thats it, job done!
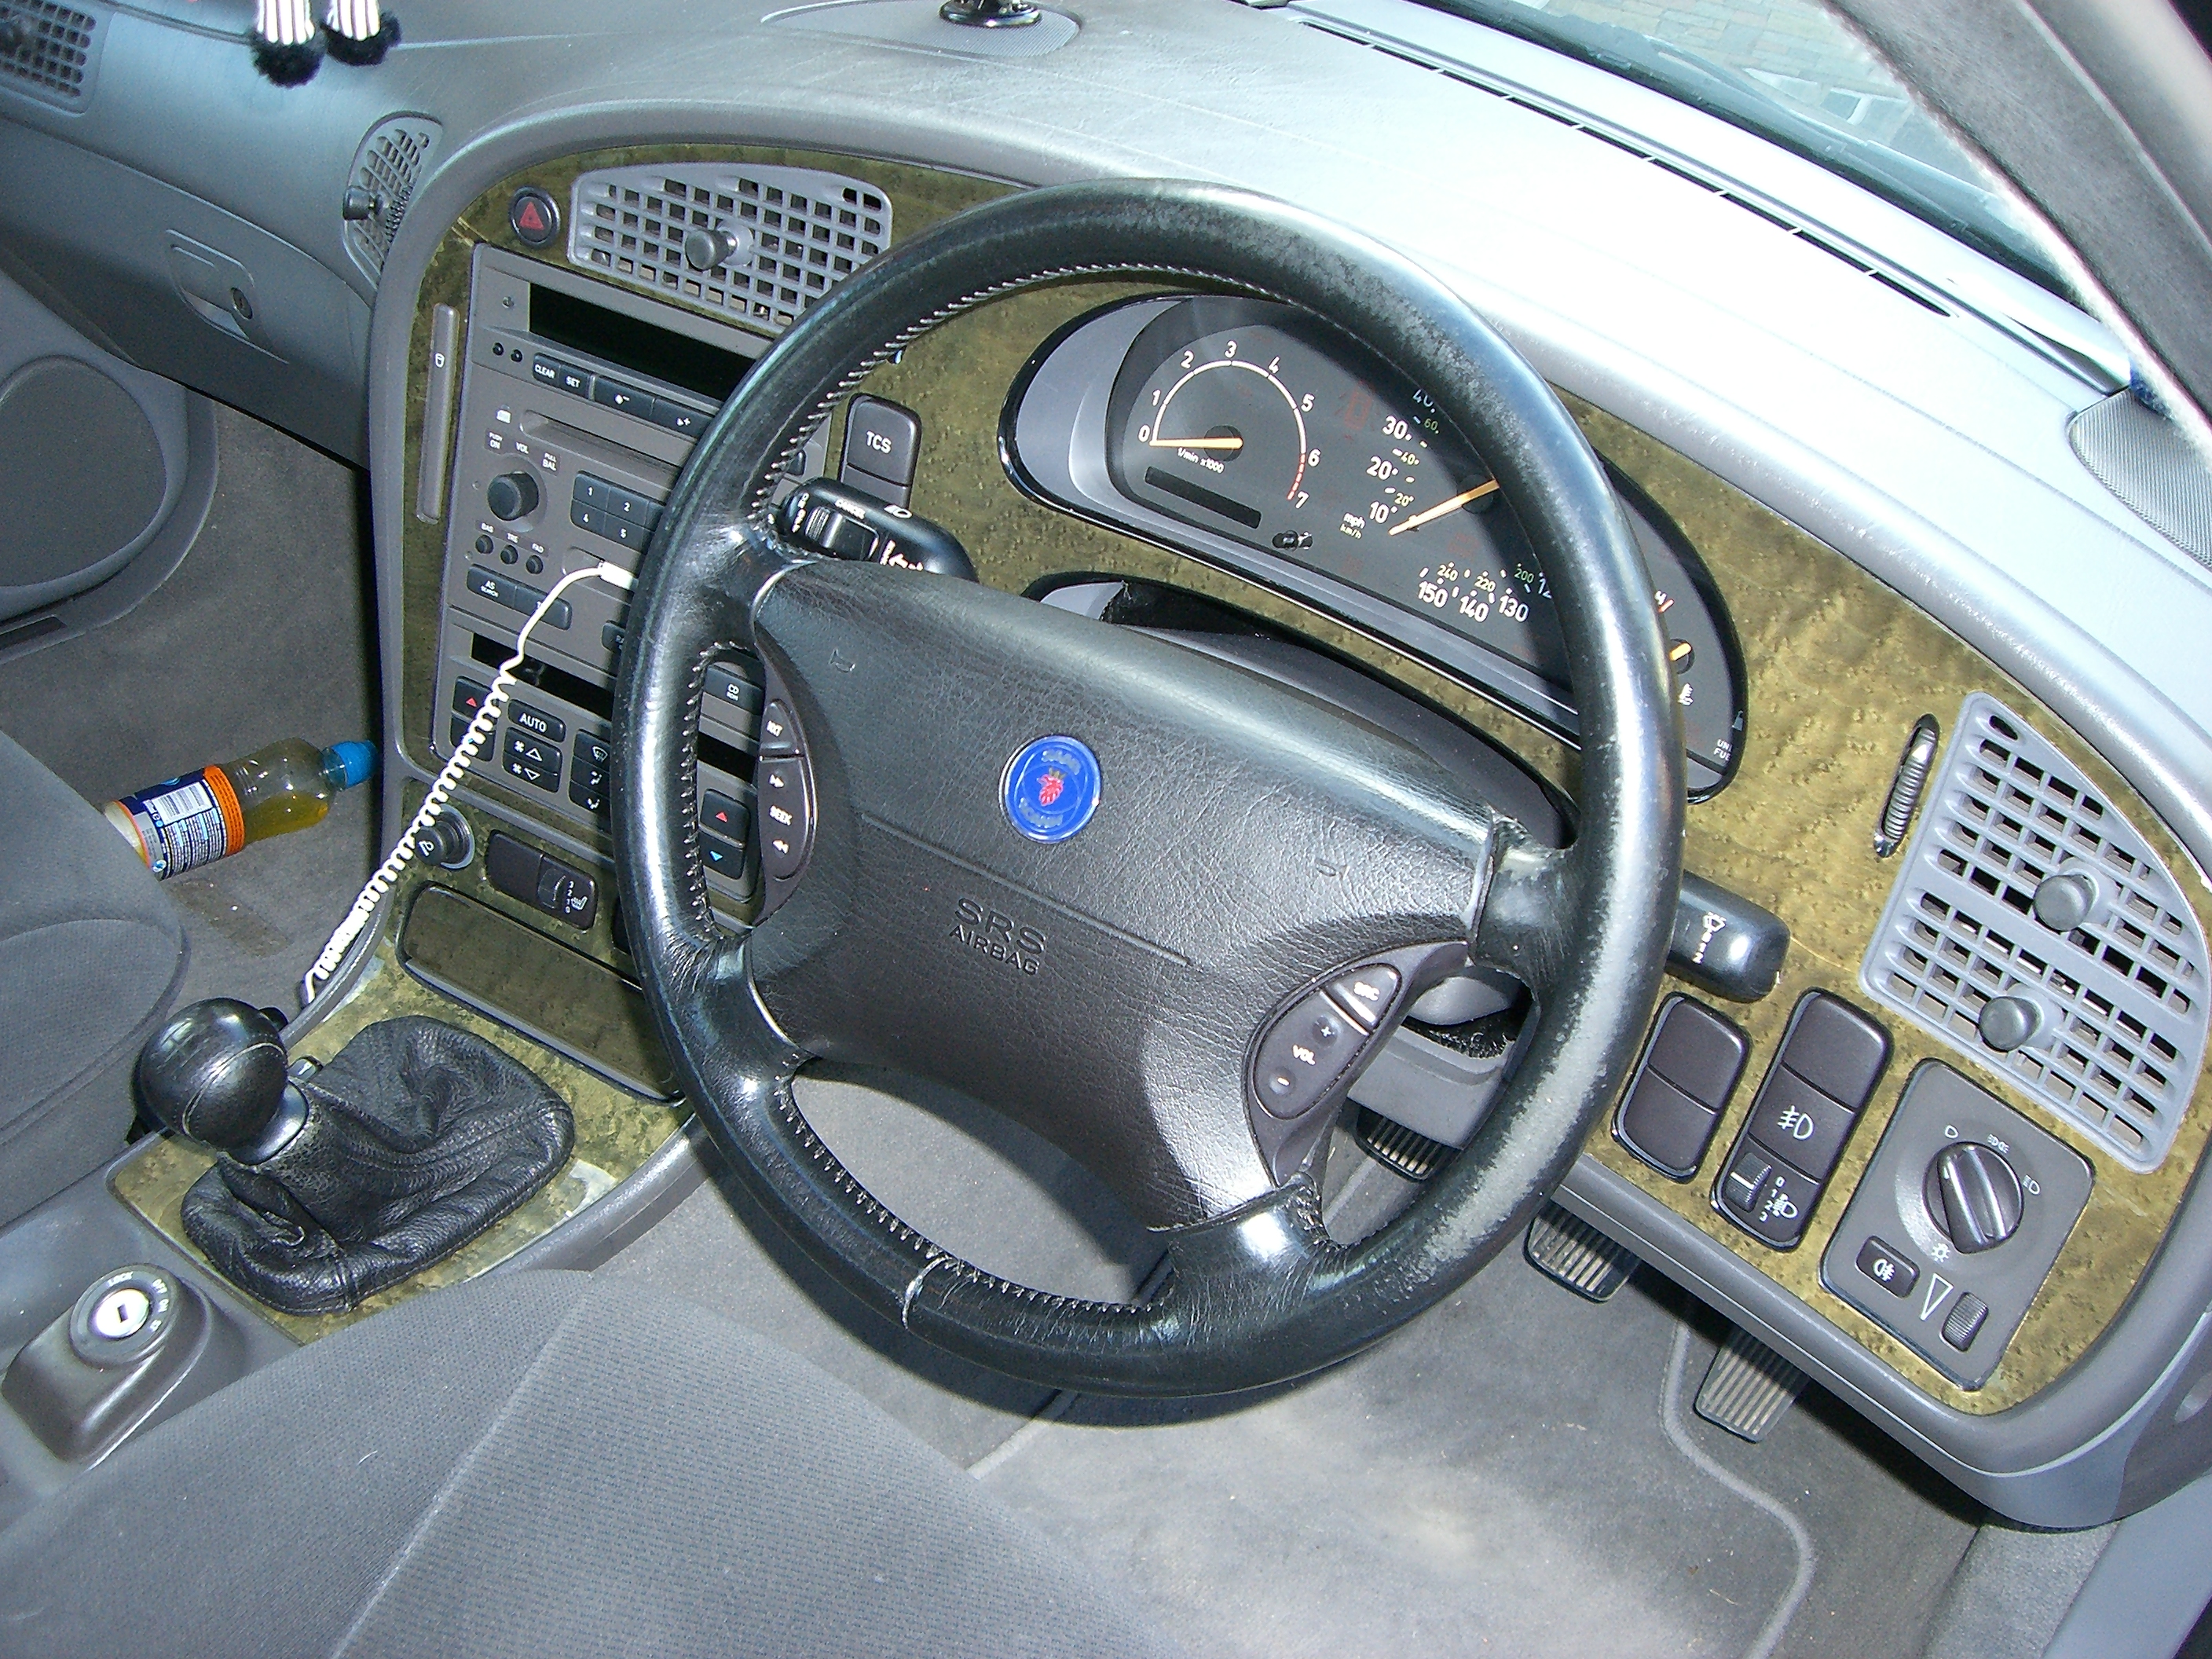
The old.
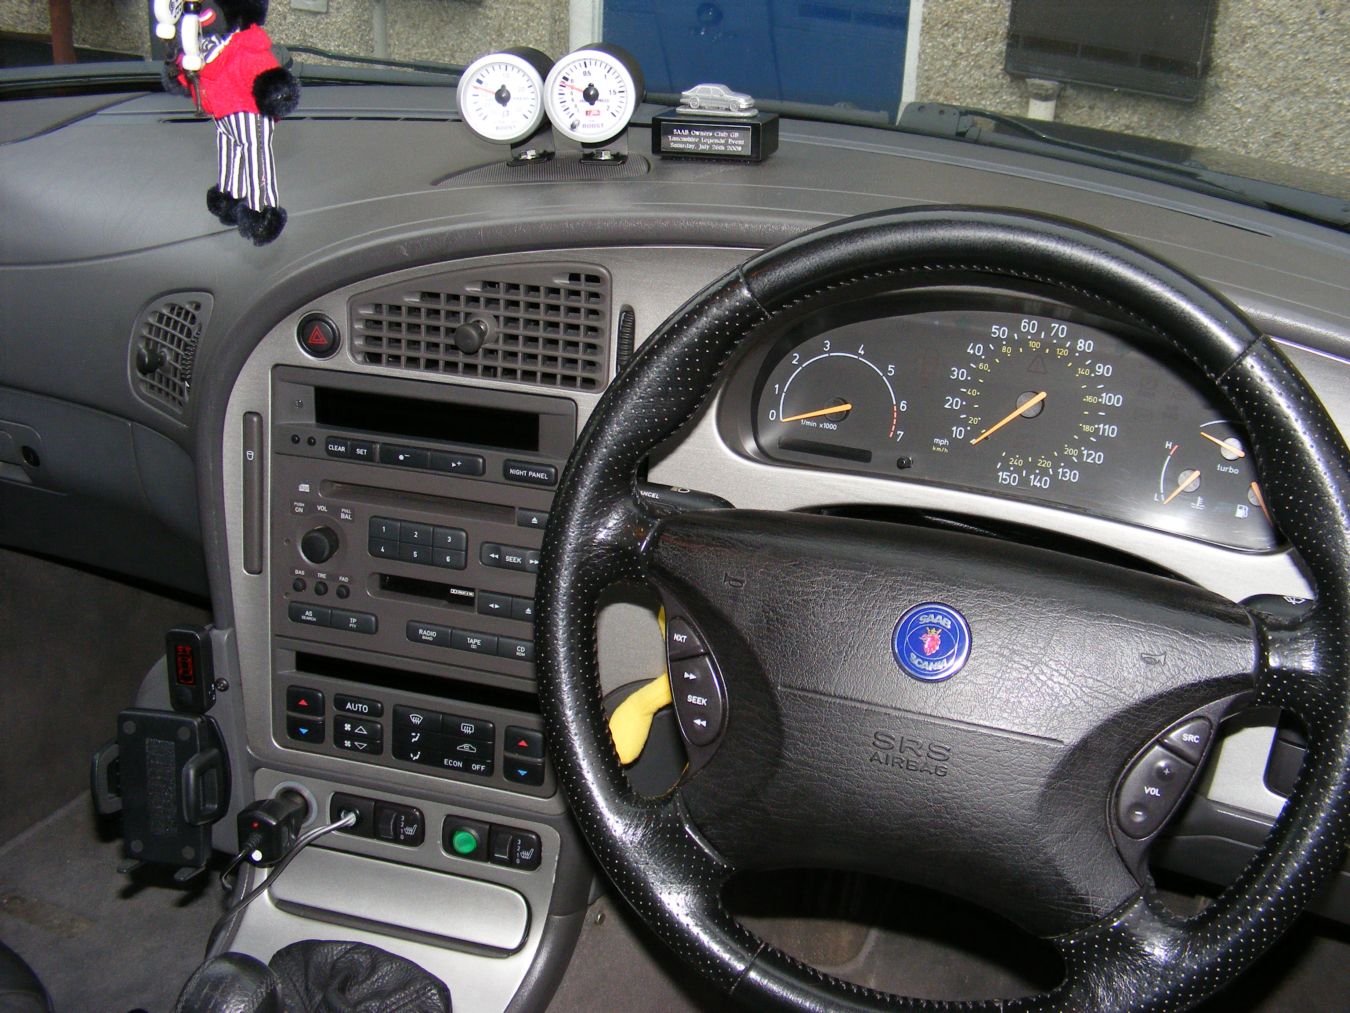
This was the old maple dash I fitted a while ago. This one replaced the old dark walnut & grey plastic ones I had fitted but did not like.
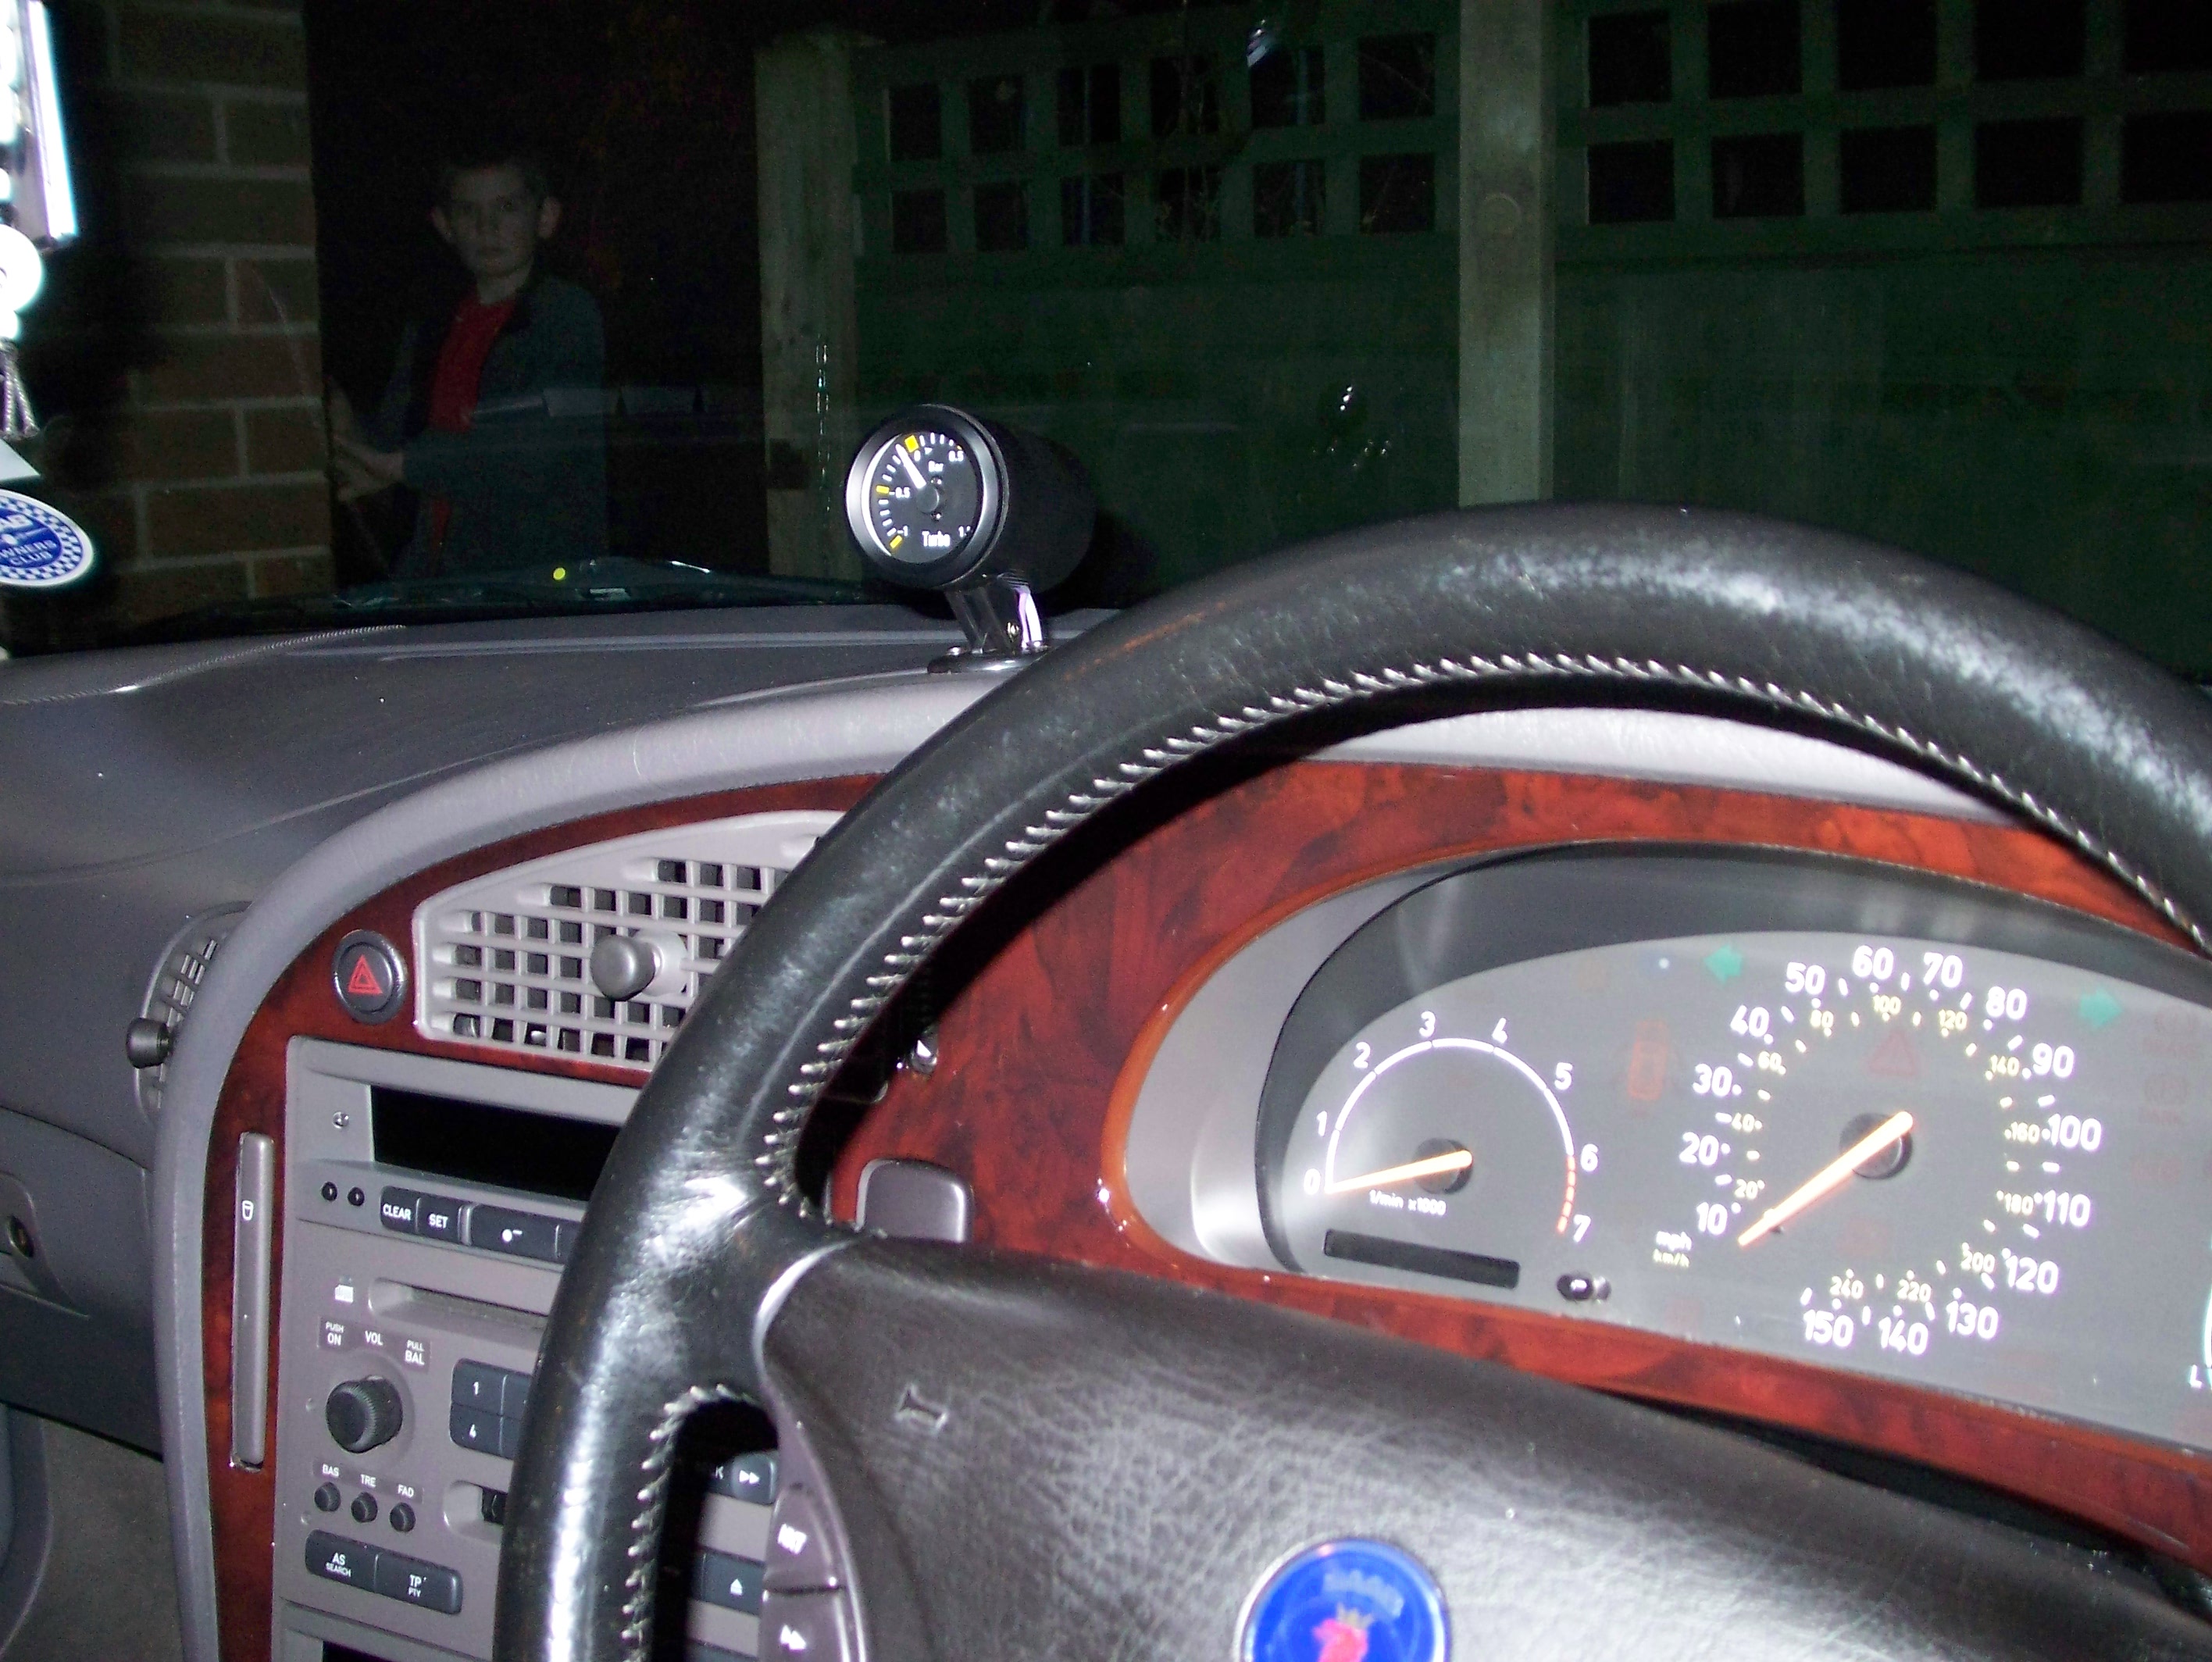
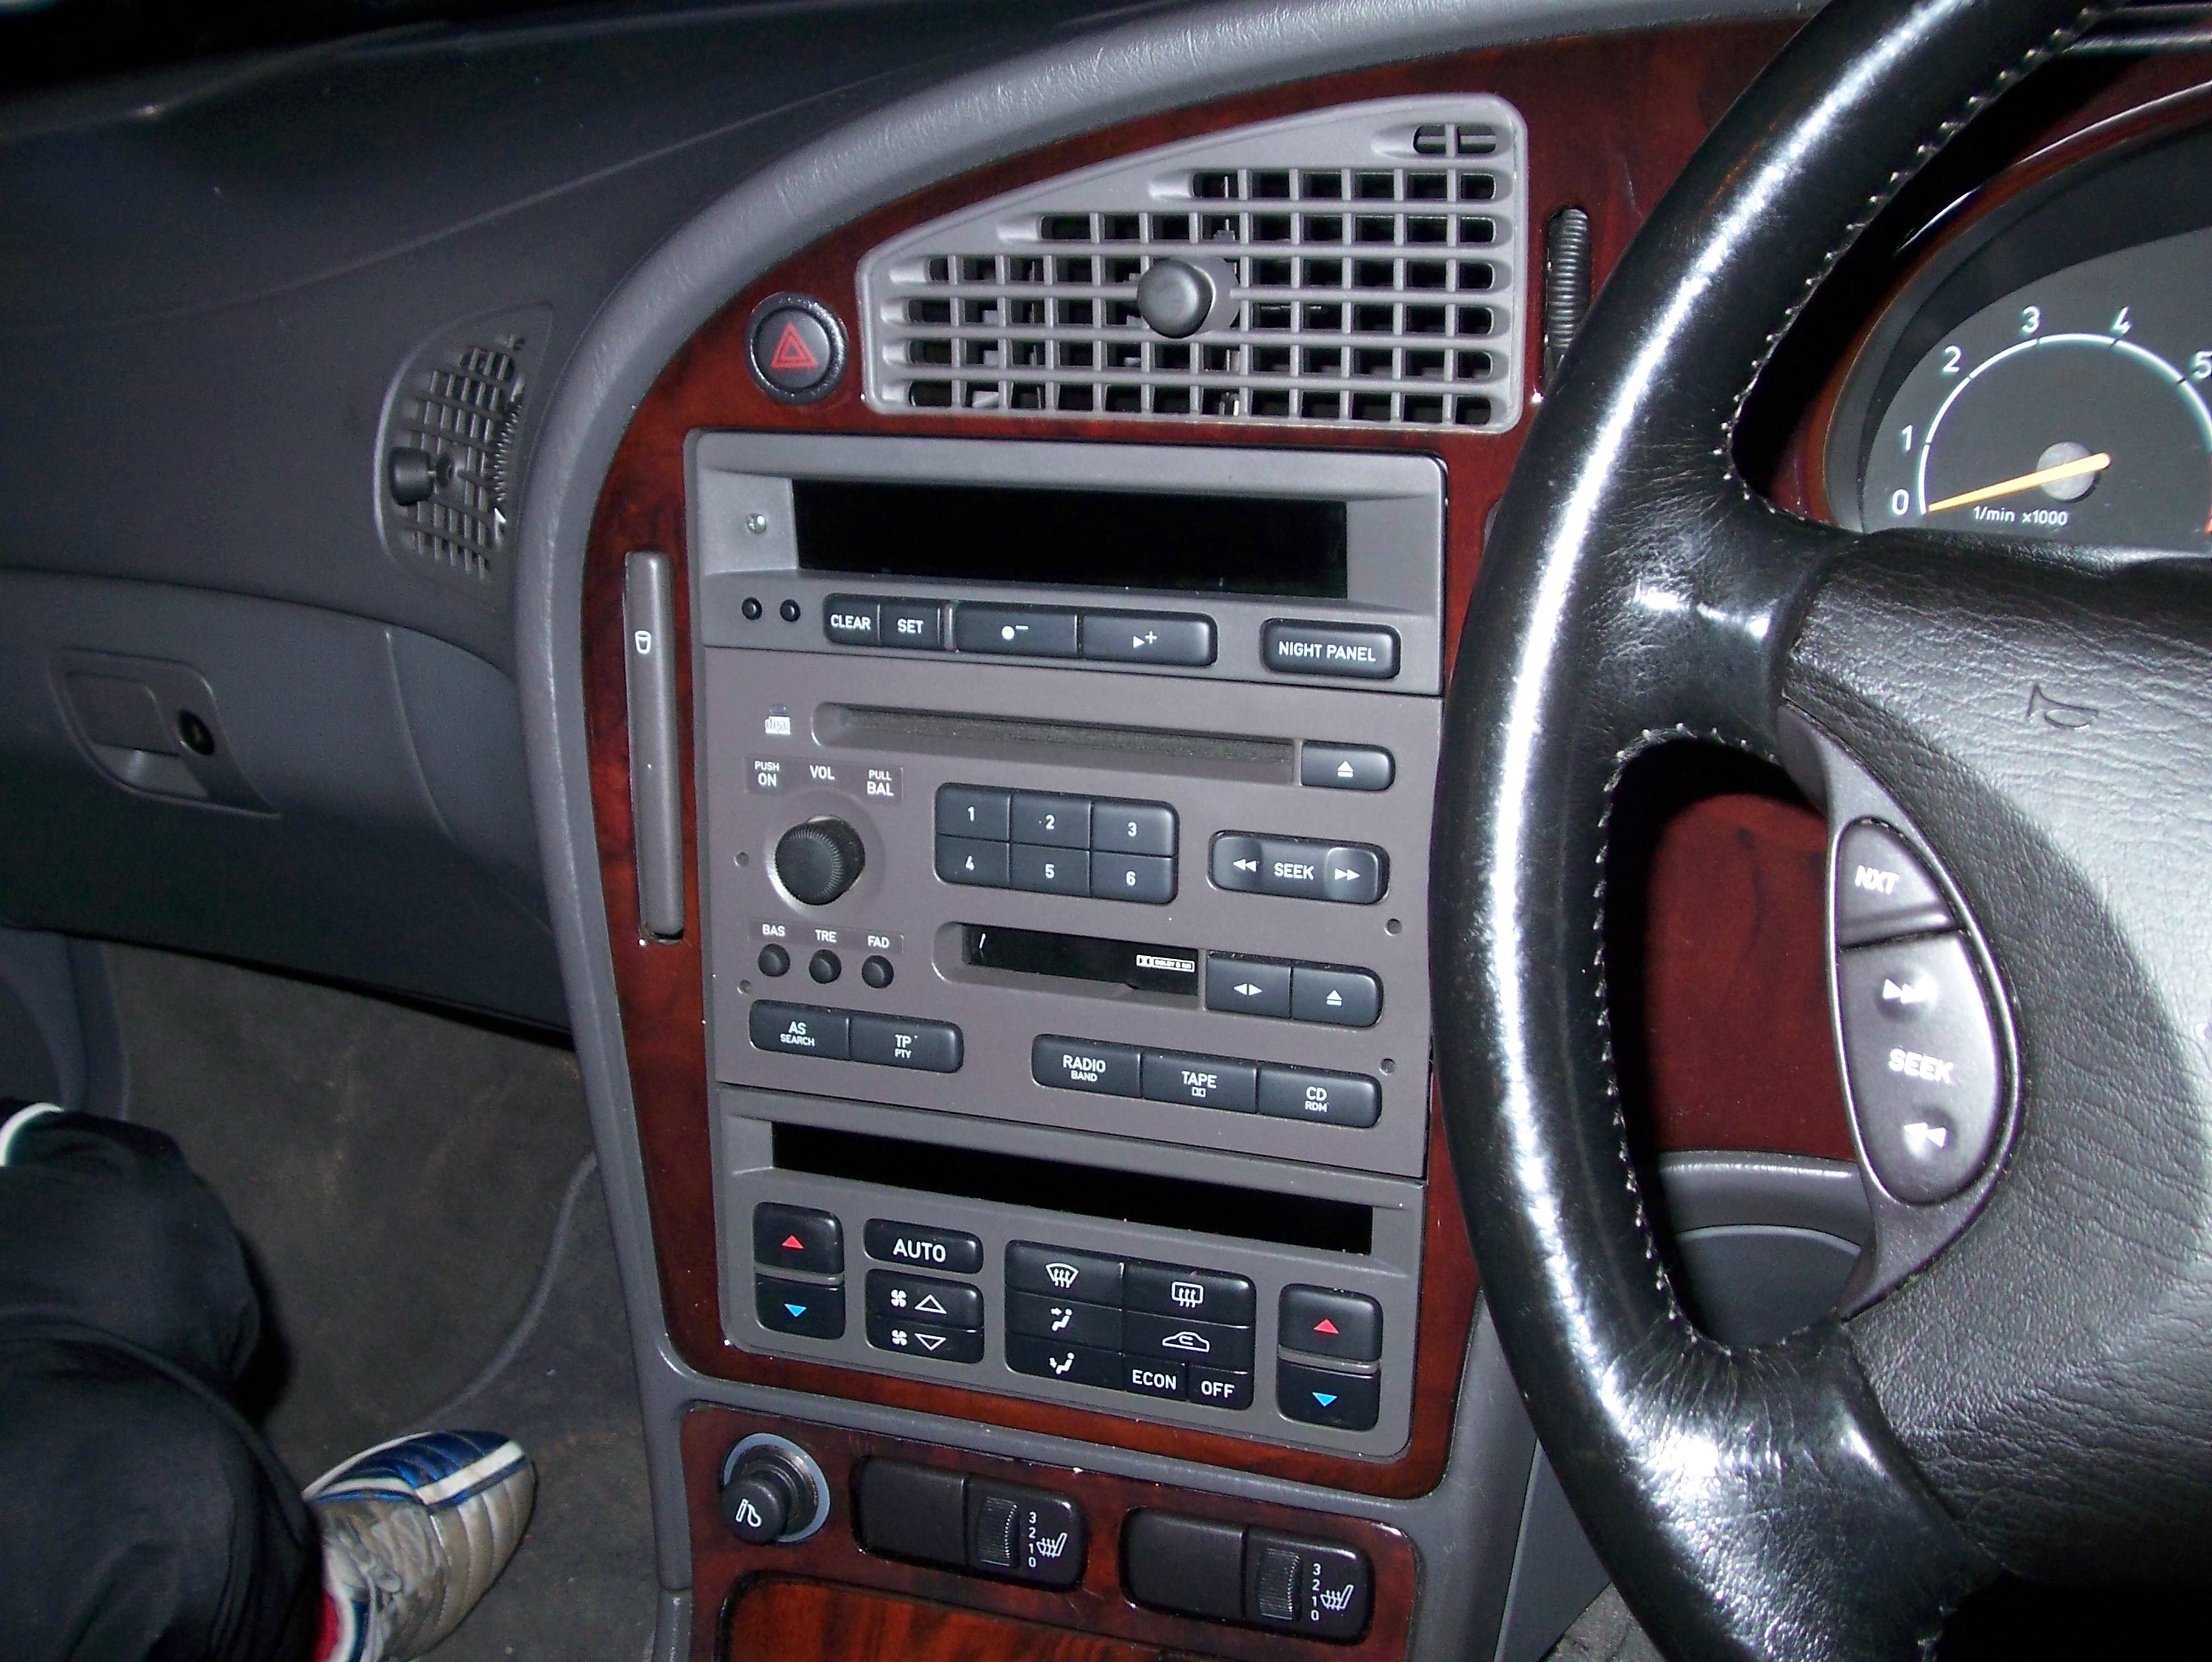
The old again. Here are a couple of the dark walnut dash.
I quite liked the dark walnut dash, but in my opinion it doesnt really suit the grey interior. In a 9-5 with a tan or cream interior it looks great but I think the grey needs a sporty look to set it off, & a walnut dash is not sporty!
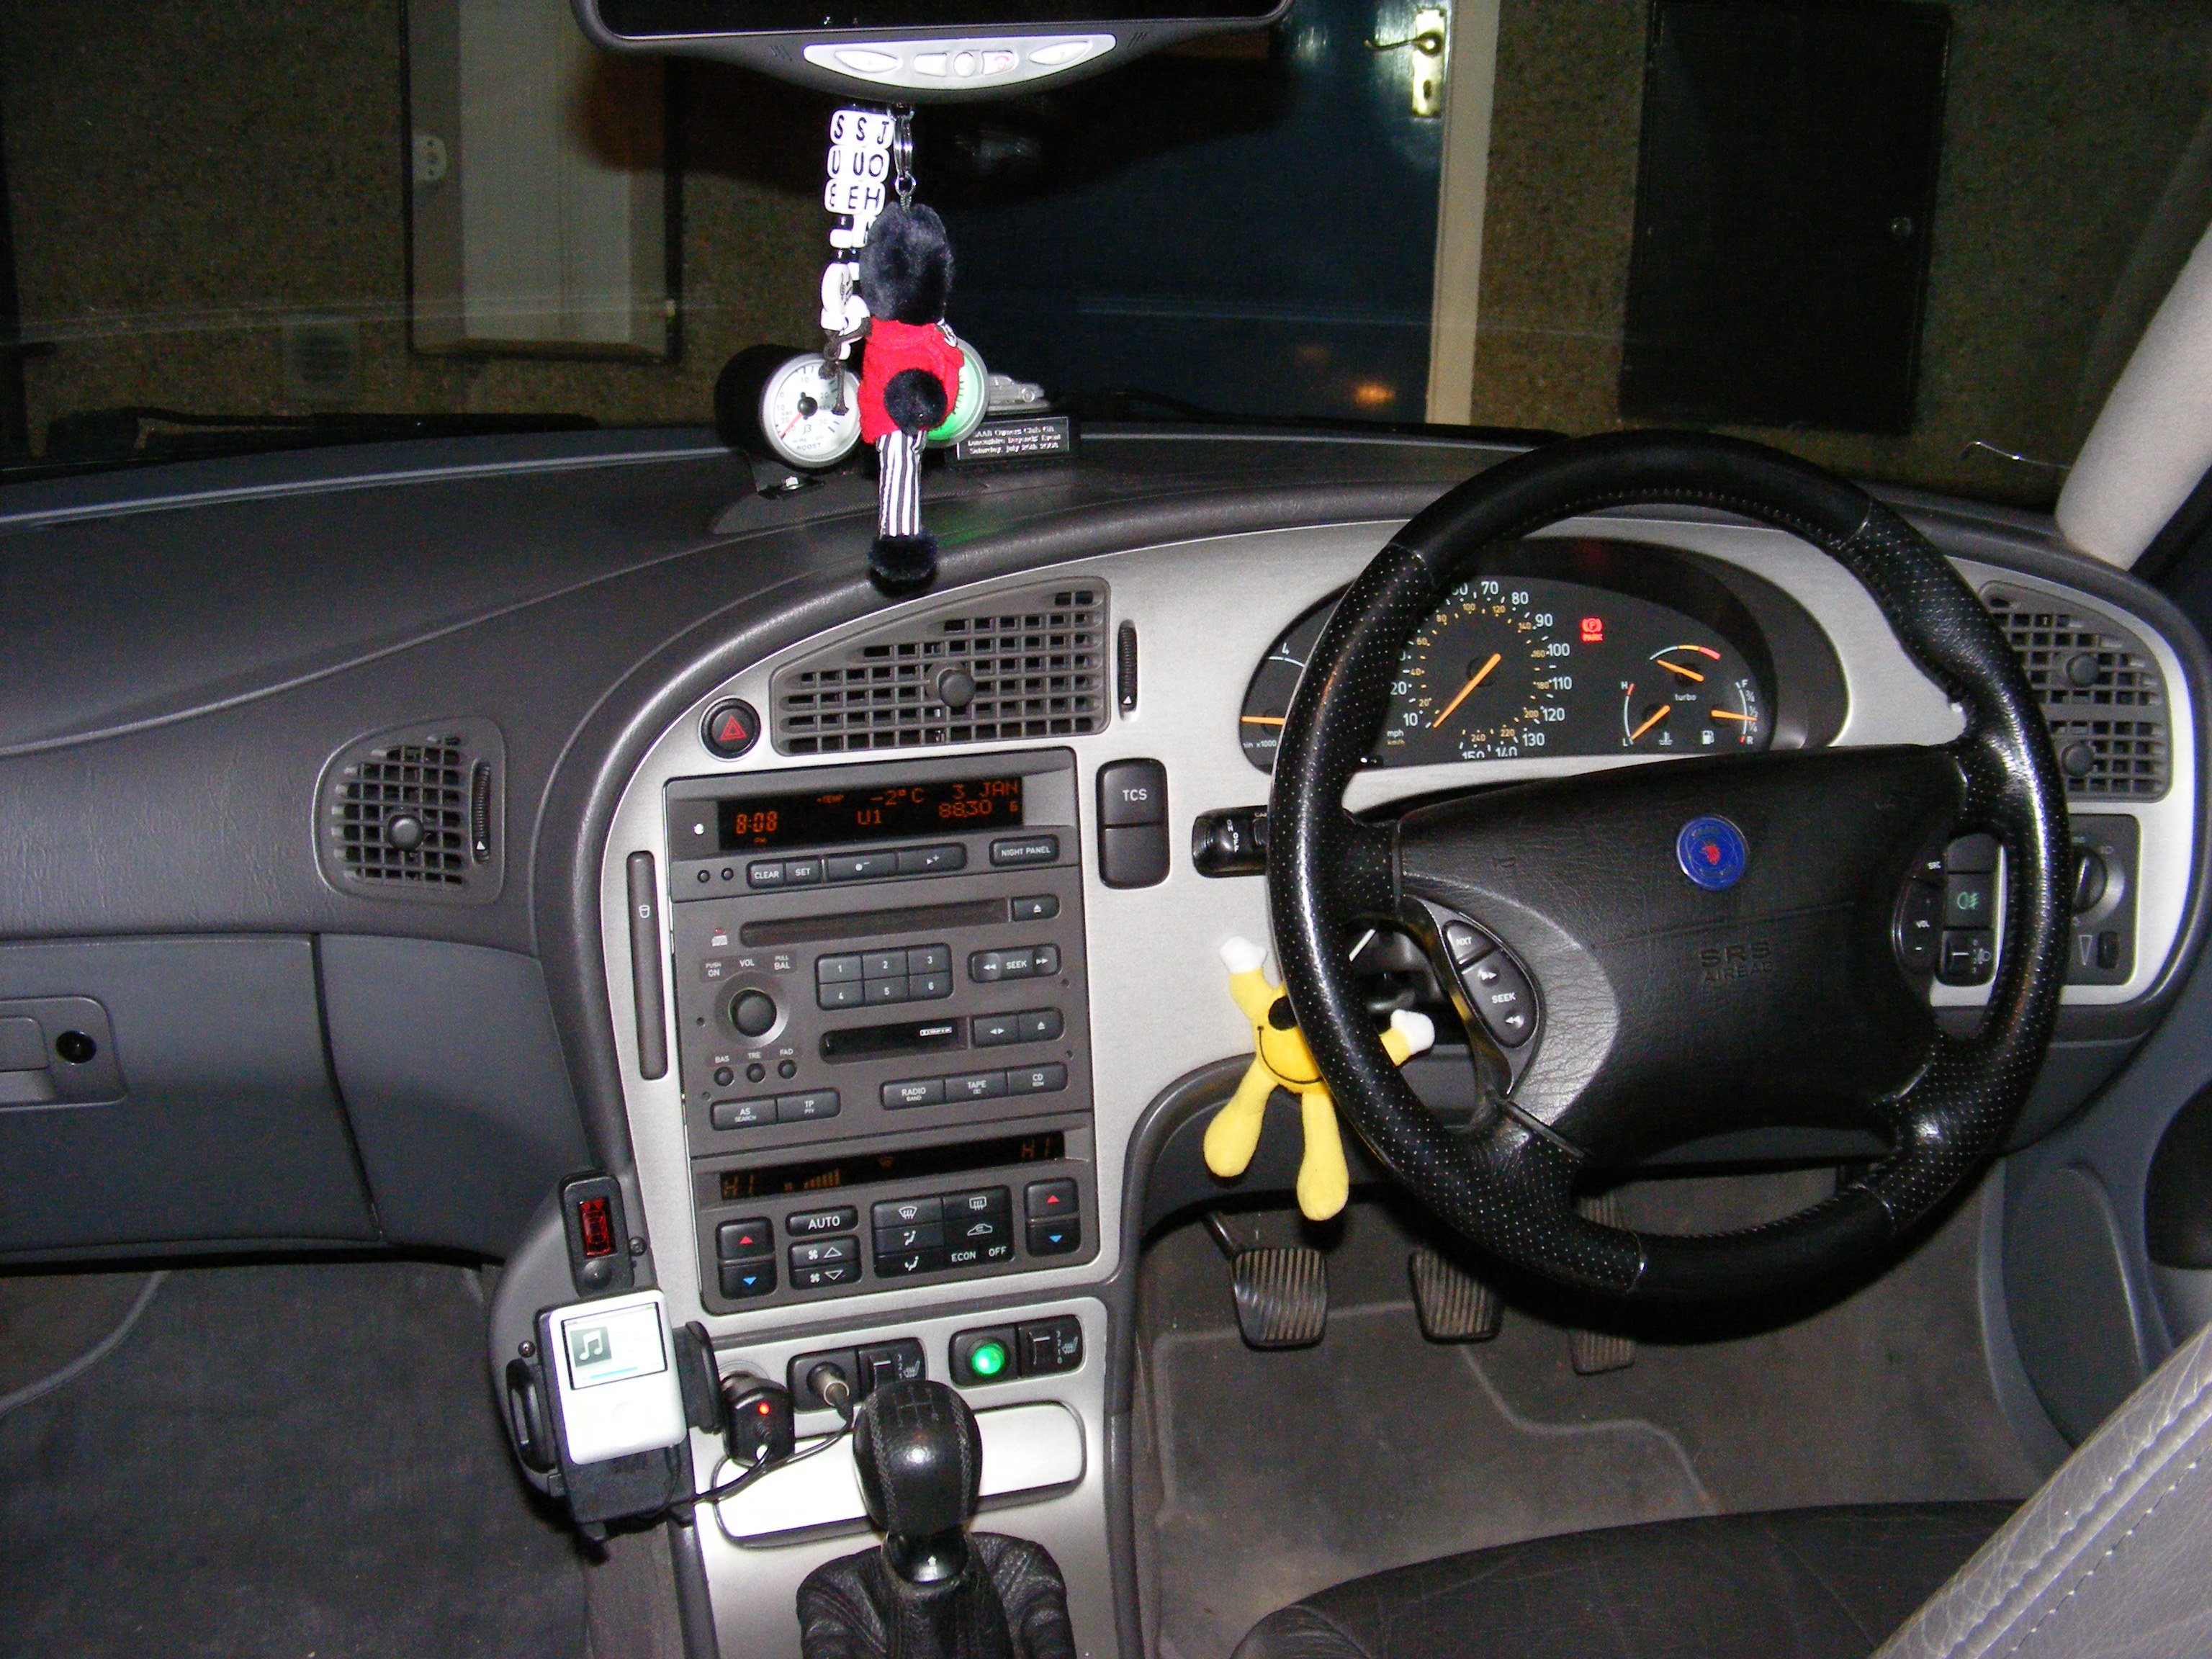
The new. This is the latest one fitted. Silver aluminum Aero style bought for £75 from a fellow club member. I have yet to try the carbon fibre dash......That is next on the list!
|           |