SAAB 9-5 HEATER BLOWER FAN MOTOR REPLACEMENT.
Ah well, its that time of year when the 9-5's heater blower motor gets well used & abused............& usually fails!
Worn brushes being the norm & as Saab dont sell the brushes as a seperate item (you have to replace the whole motor) heres a "How To" DIY guide to motor replacement to help save a few quid!
My 9-5 is on its third blower motor now & this is another common failure on the 9-5's but not a difficult job to DIY.
Please note, this is a guide only, any work undertaken may invalidate any warranty on your car.
Step 1, Buying a new or used blower motor, well its your choice, Saab main dealer, Ebay, UKSaabs, local scrap yard take your pick.
Step 2, the first job is to remove the wiper arms, these can be a pain to shift & this is the worst part of the job. A good soaking with WD40 the day before & a set of pullers is all thats needed, you can try to lever them off but watch out for slips & windscreen damage!

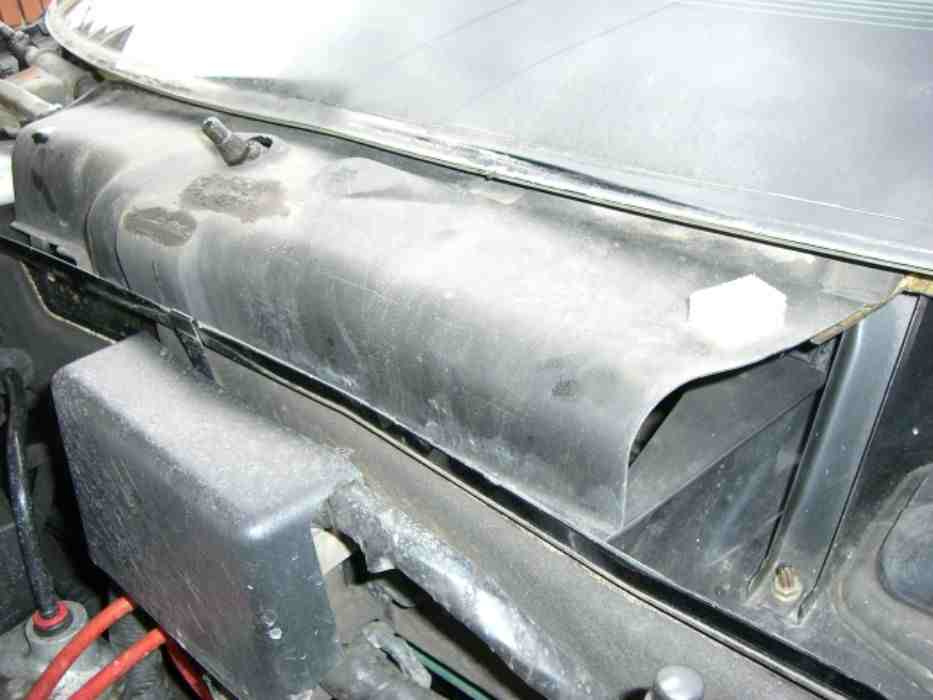
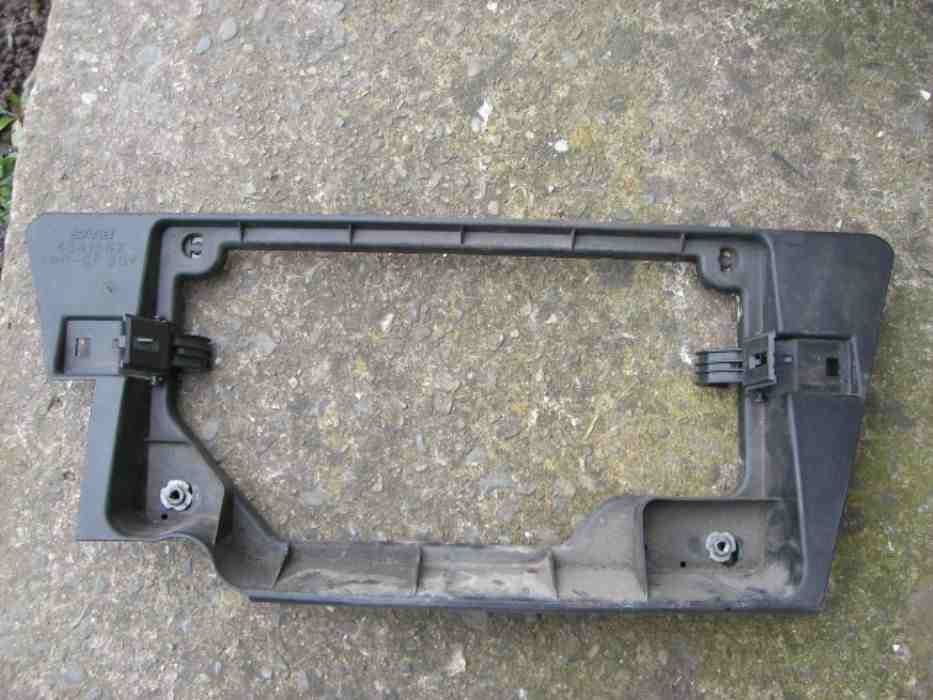
Step 3, once the wiper arms are off remove the rubber seal from the false bulkhead pannel & remove the plastic pannel below the windscreen, this is clipped onto the windscreen at the bottom so be careful, the clips do break!
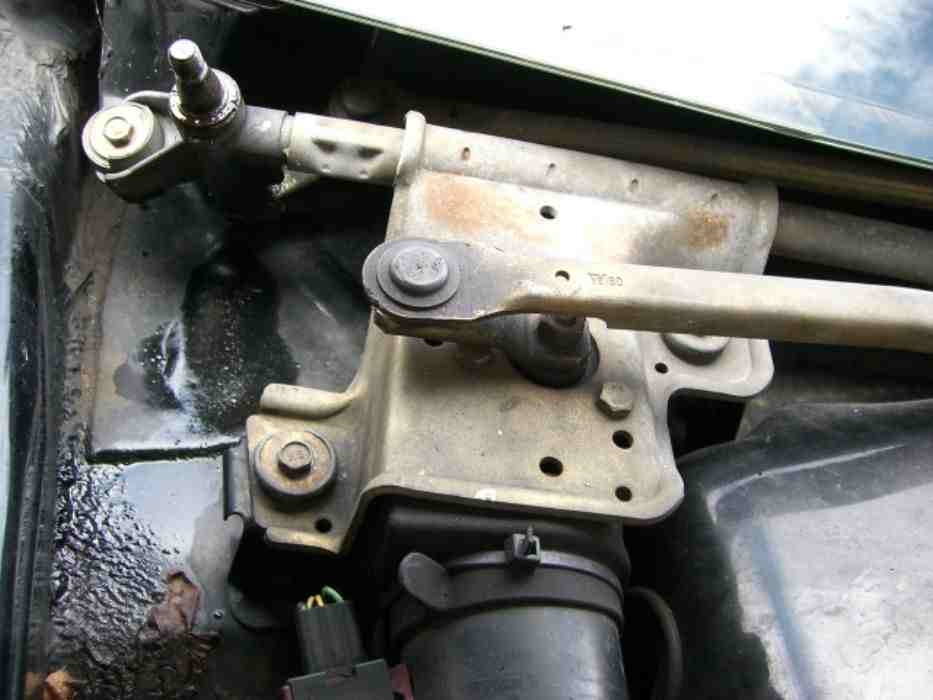
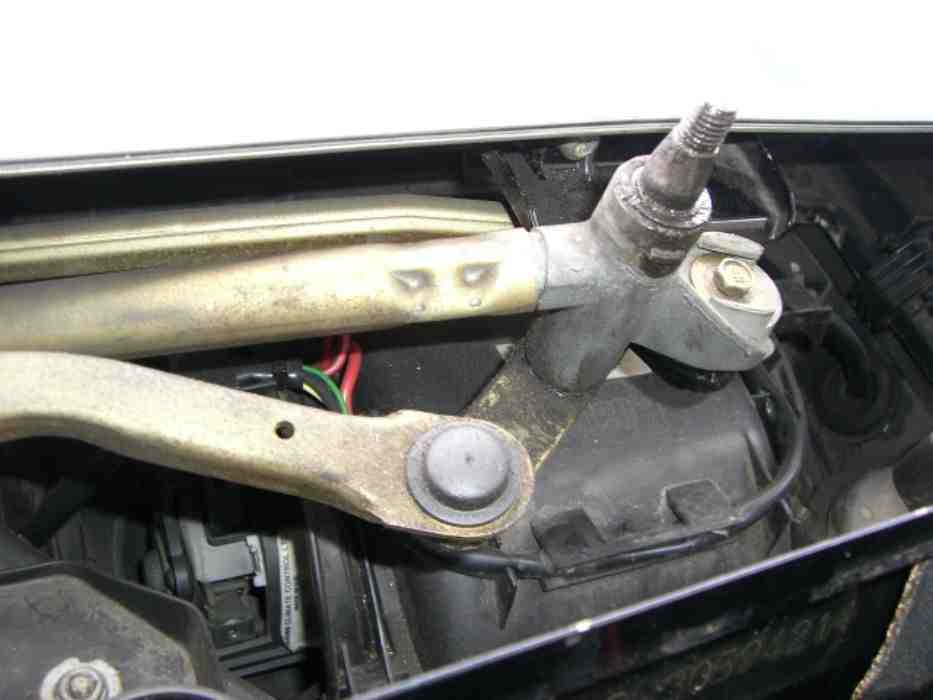
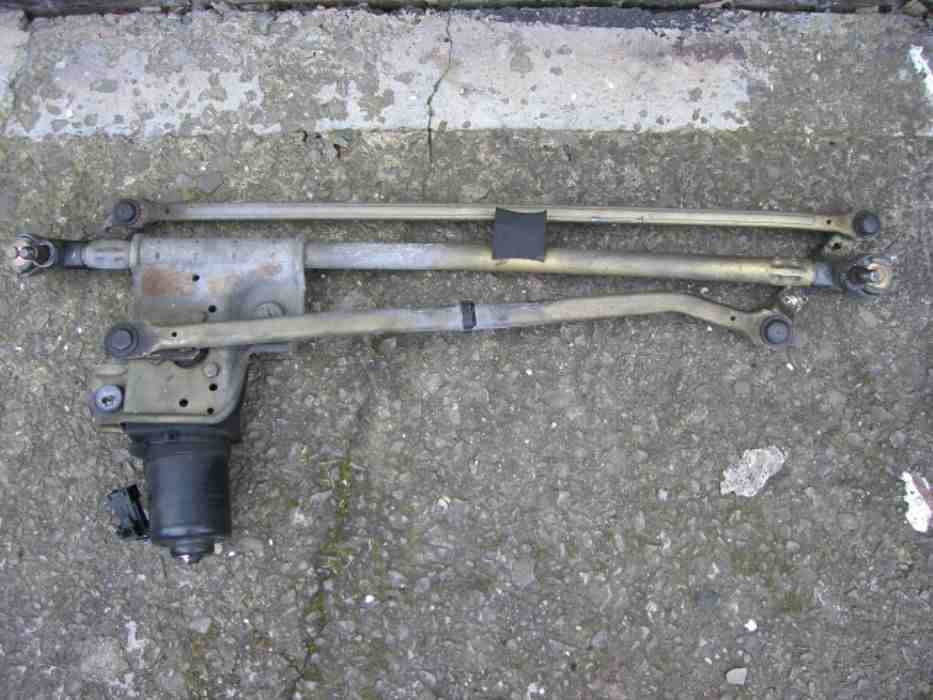
Step 4, now its time to remove all of the wiper motor arms & brackets, not as bigger job as you might think, undo the wiring block to the motor, remove the bolts & the whole lot lifts off in one lump Then you need to remove the center wiper arm bracket, three torx screws & it should drop off.
 |  |
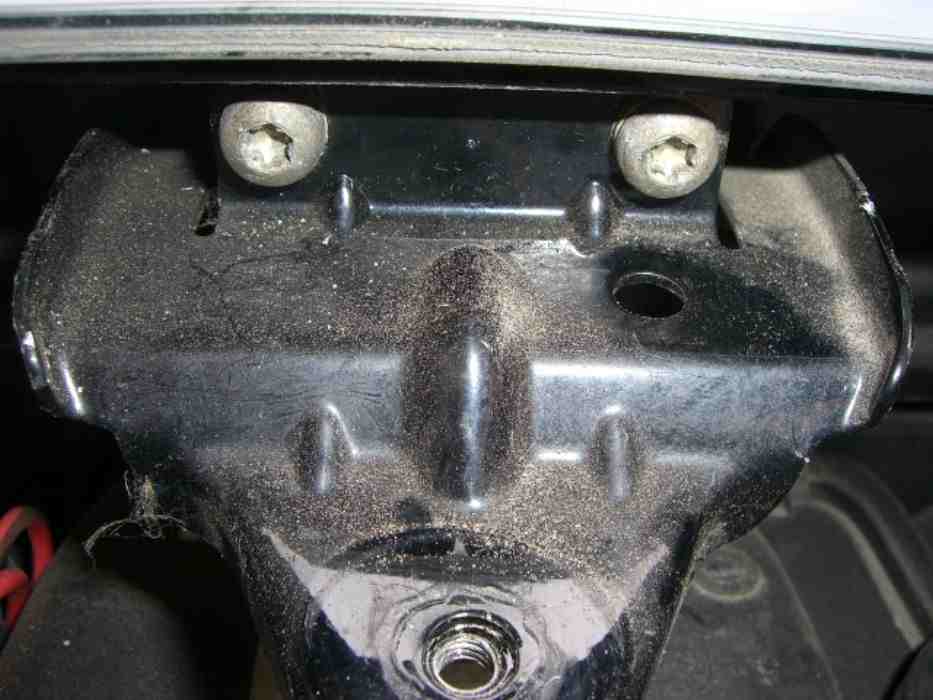
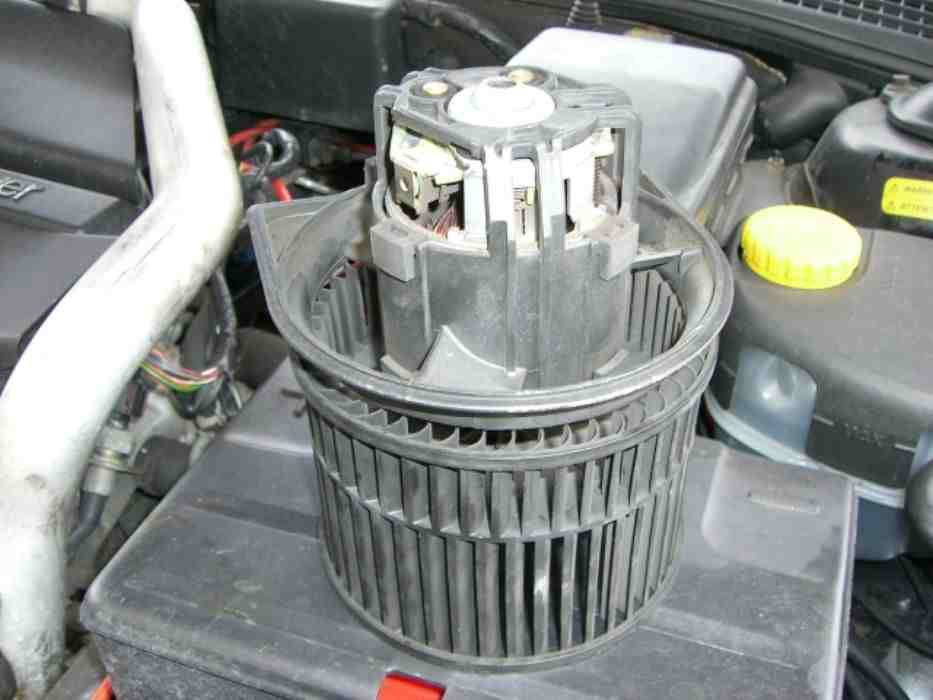
Step 5, now you can see the heater box top & you need to remove the top cover & the square retaining thingy which is held inplace by more torx screws, unplug & move the wiring to the heater motor fan & it should all lift off.
 | 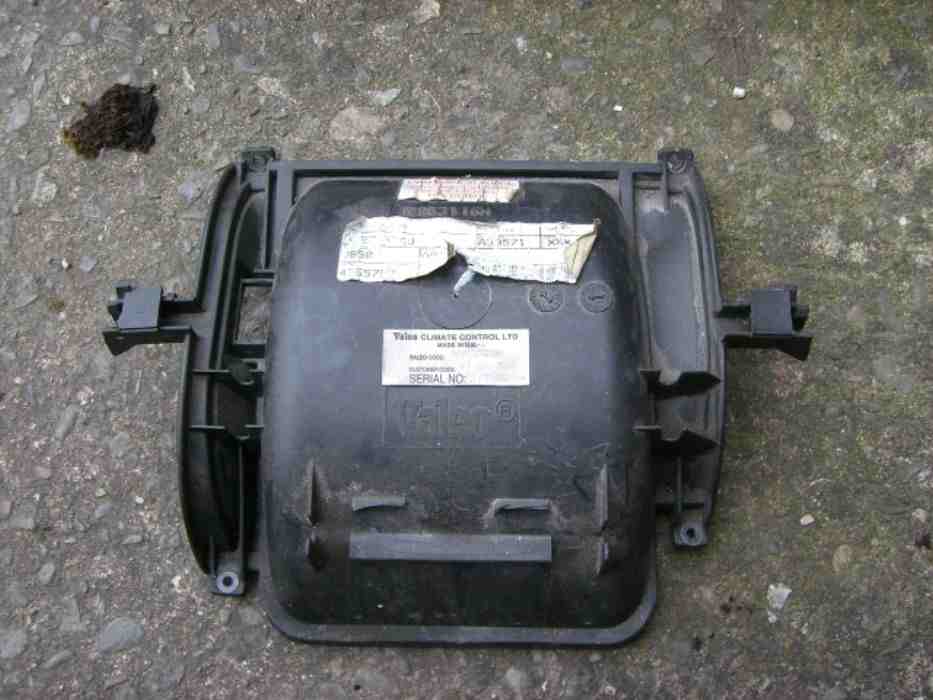 |
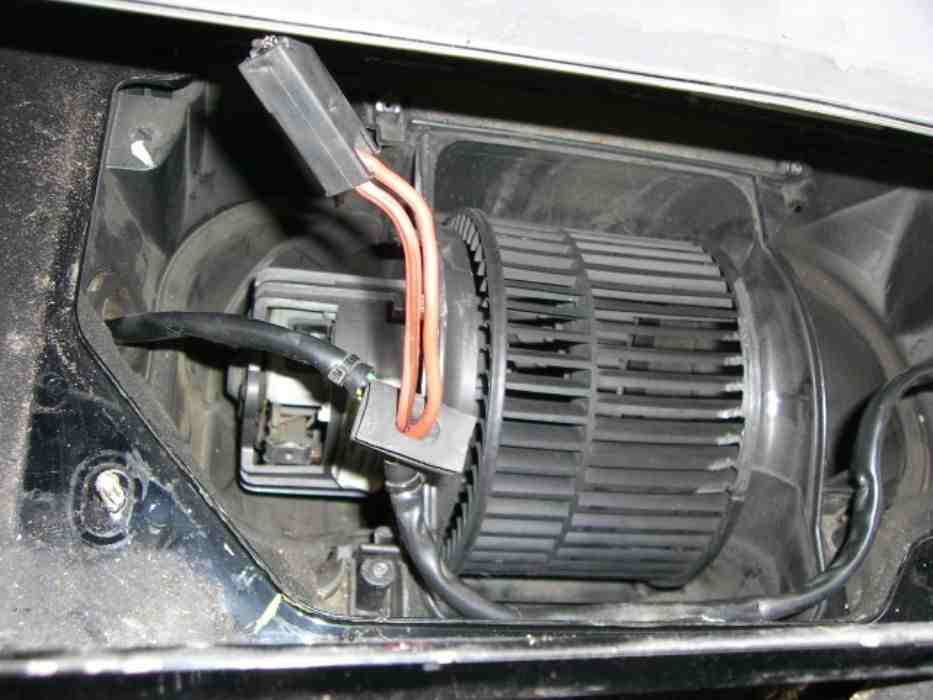
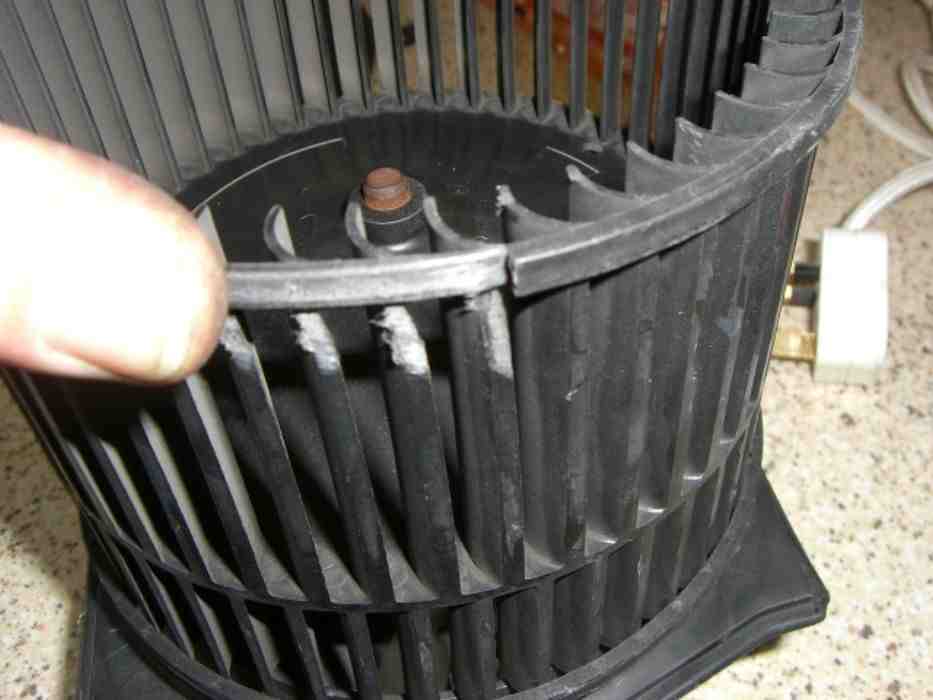
You can see from the two pictures above, my old fan blade had split & jammed against the outer fan case causing the fan motor to burn out!
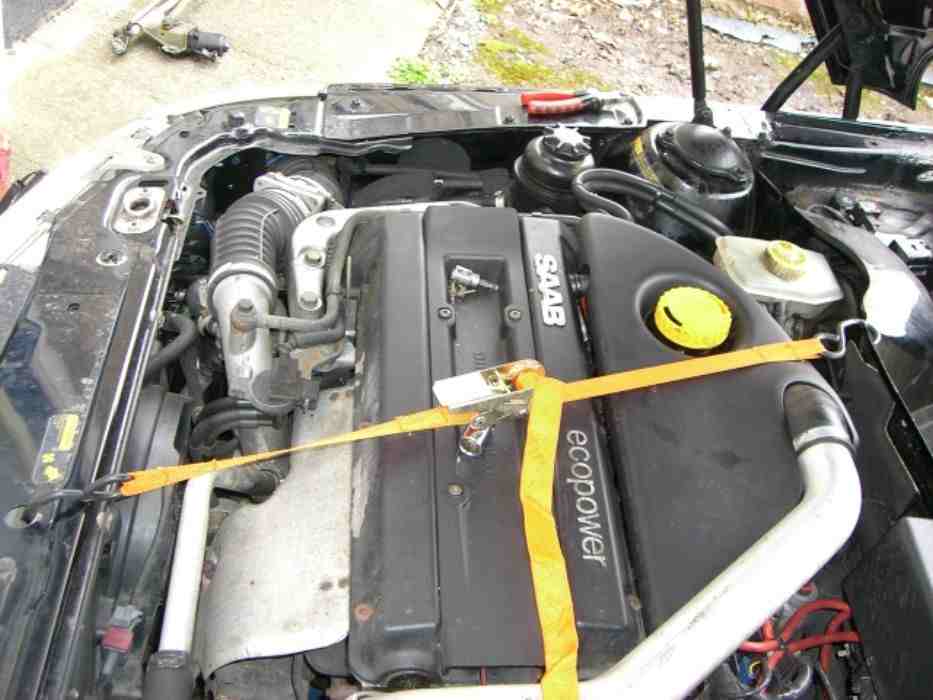
Step 6, now you can see the heater blower motor, dont try to just lift it out, there isnt enough room, you need to pull the false bulkhead pannel towards the front of the car to give you as much room as possible as its a very tight fit. I used a ratchet strap for this which worked fine.
Step 7, now its just a case of lifting out the old motor & replace with the new one, just sit it in the guides & connect the electric plug & give it a test before putting everything back together again.........Just incase!
Step 8, so long as the new motor works, which it should, then you can put it all back together & look forward to nice warm toes!
Here is the replacement fan & motor I bought second hand from another club member for ten quid.
The brushes are in great condition on this one so it should last a while.