SAAB 9-5 SID, MISSING PIXELS.
Totally fed up with the missing pixels on my 10 year old SID 2 unit I decided to pull it to bits & investigate!
This is a common fault on the 9-5's, the main feed ribbon for the display is only glued onto the printed circut board (PCB) inside the SID (Saab Information Display) unit & over a period of time the heat behind the dash & inside the SID unit causes the ribbon glue to lift away, so the ribbon needs to be re attached to the PCB to make a good contact.
I did try the BIRO fix here, http://www.saab9-5.com/howto/sidrepair.htm a few years ago which worked fine for a while, but over time the display has got worse.
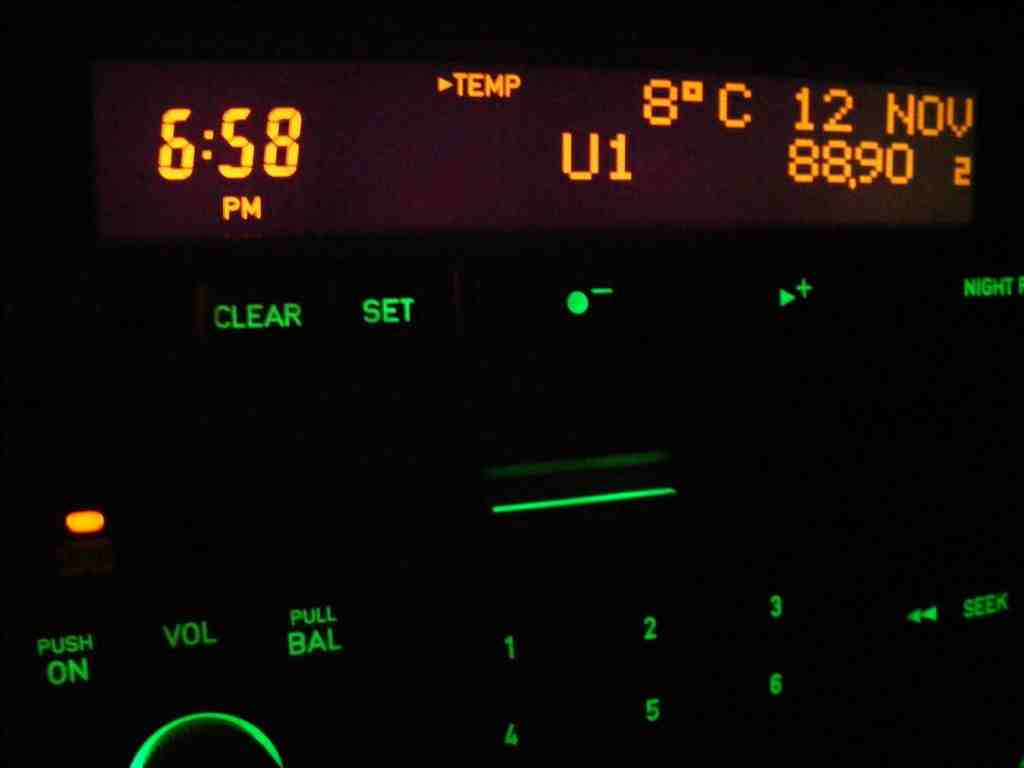
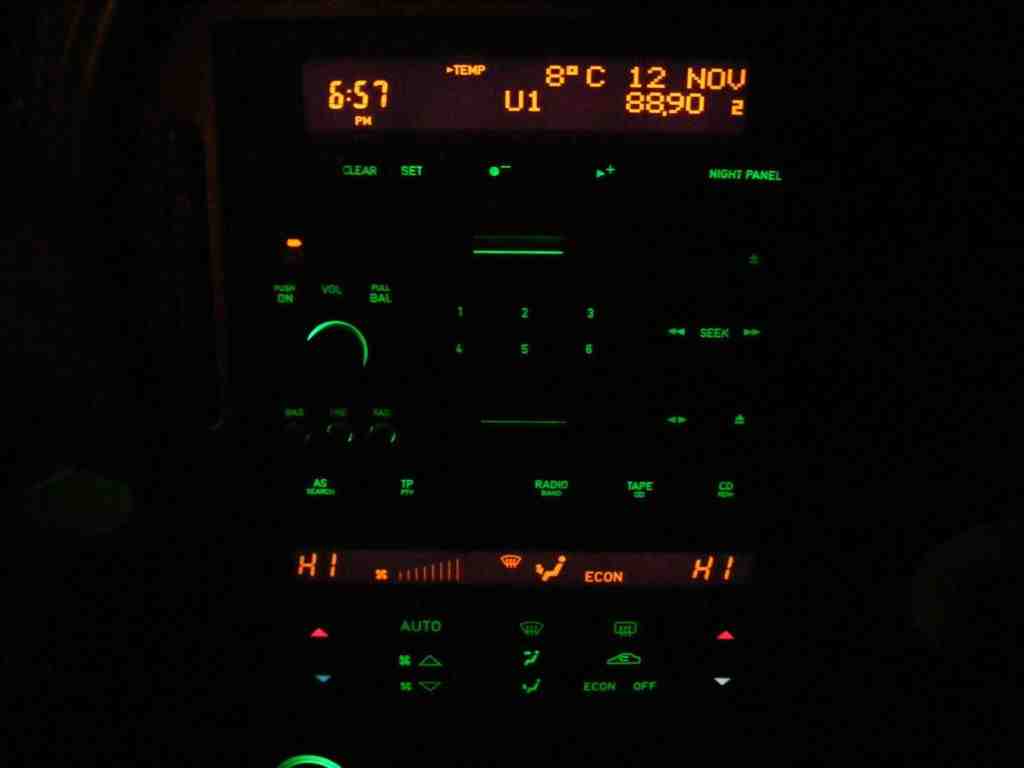
My display was totally unreadable, radio stations, time & all features were goosed!
I searched the Saab forums for abit of advice & remembered a fix that involved using sticky pads or a foam strip to apply pressure to the main display ribbon where its glued to the P/C/B.
There are a few various DIY fixes avaible on the net, the biro fix, the hot iron fix & the pressure fix. I went for the pressure fix which involves using doulble sided stickey pads to apply pressure along the entire length of the ribbon against the outer case of the SID unit.
Please note, this is a guide only, if you do not fancy ripping your SID unit to bits then there are other options avaible on Ebay from companys who can repair your SID & ACC display units for a good price & offer a warranty.
Step 1, remove SID from car. Easy enough that one. The best method is to remove the stereo & push the SID unit out from behind (as seen in the 9-5 dash swap page).
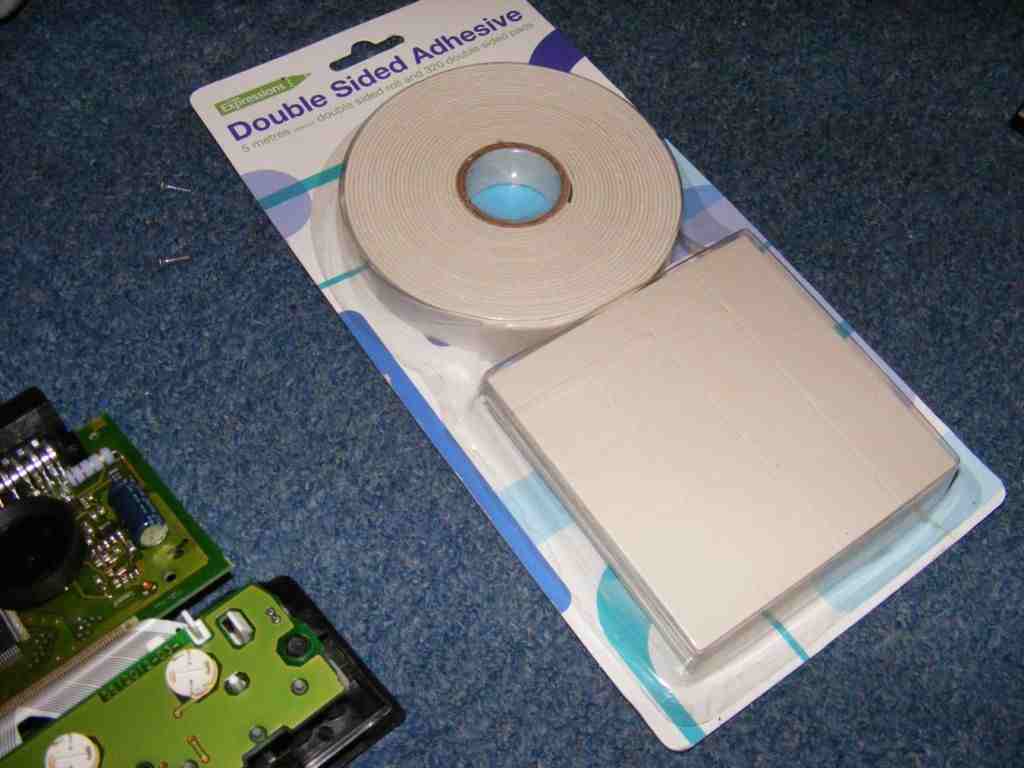 |  |
Step 2, Tools required, Just some foam sticky pads & a screwdriver with a T8 torx bit. (all the screws inside & out are T8's on SID 2)
Step 3, unscrew all 4 screws on the outer case & clip out the square pannel around the multi plug, (the piece with the speaker holes)
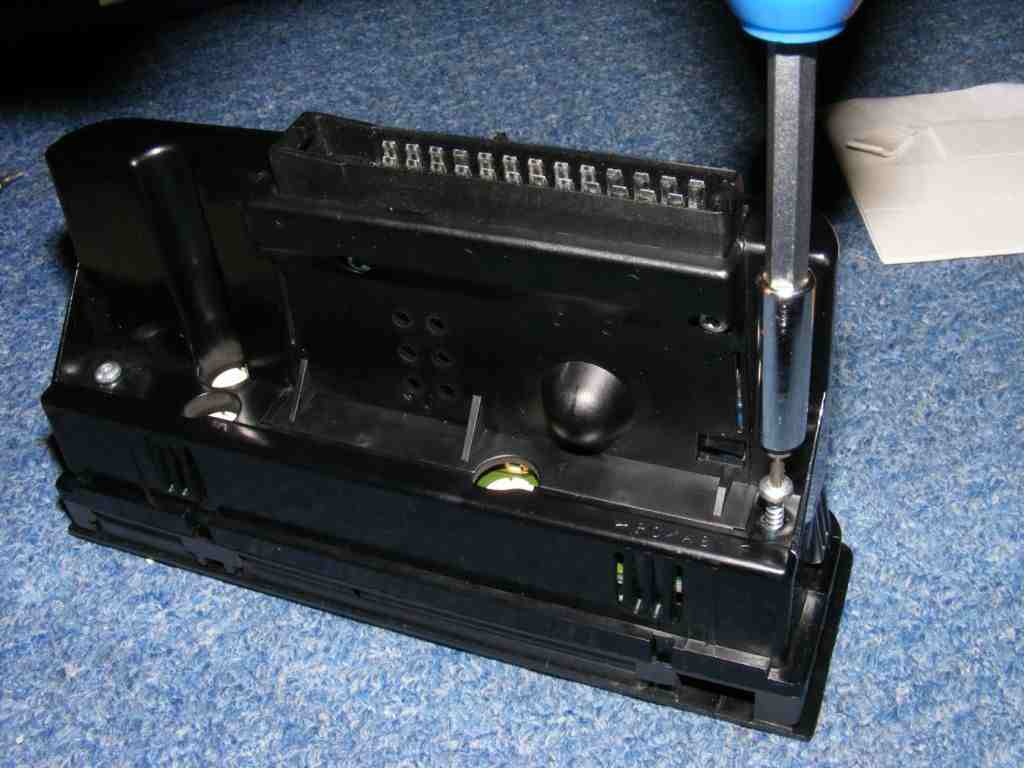
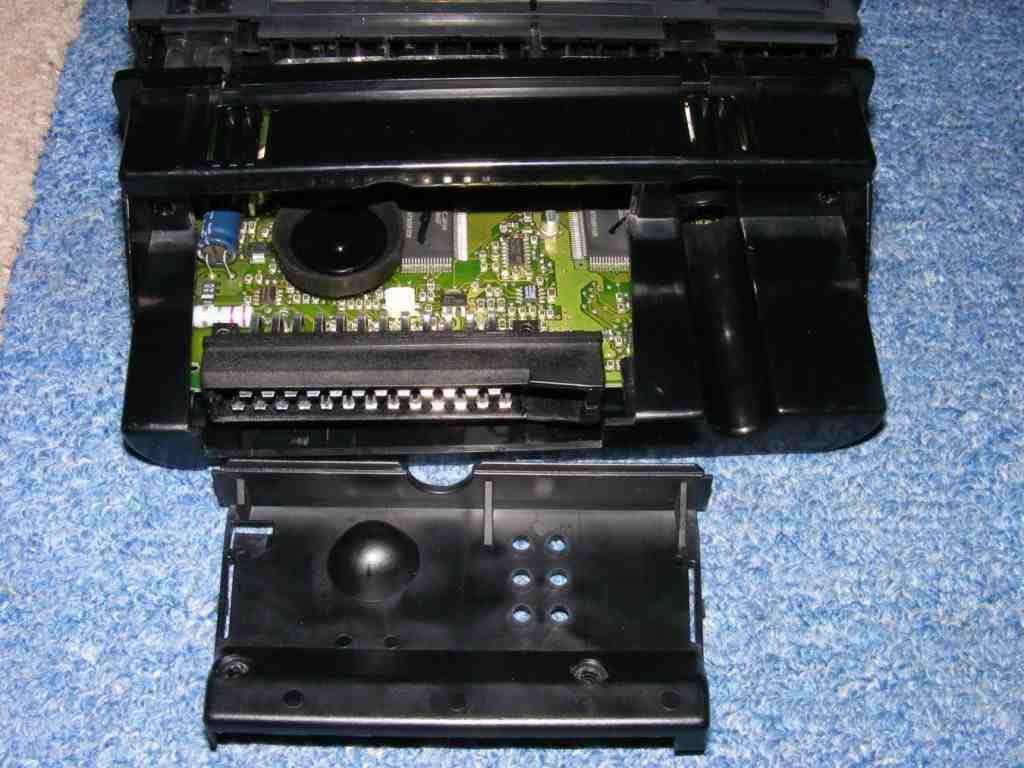
Step 4, release the 4 retaining clips on the front pannel with a small screw driver & push (from the rear multi plug) & the whole innards come out in one piece.
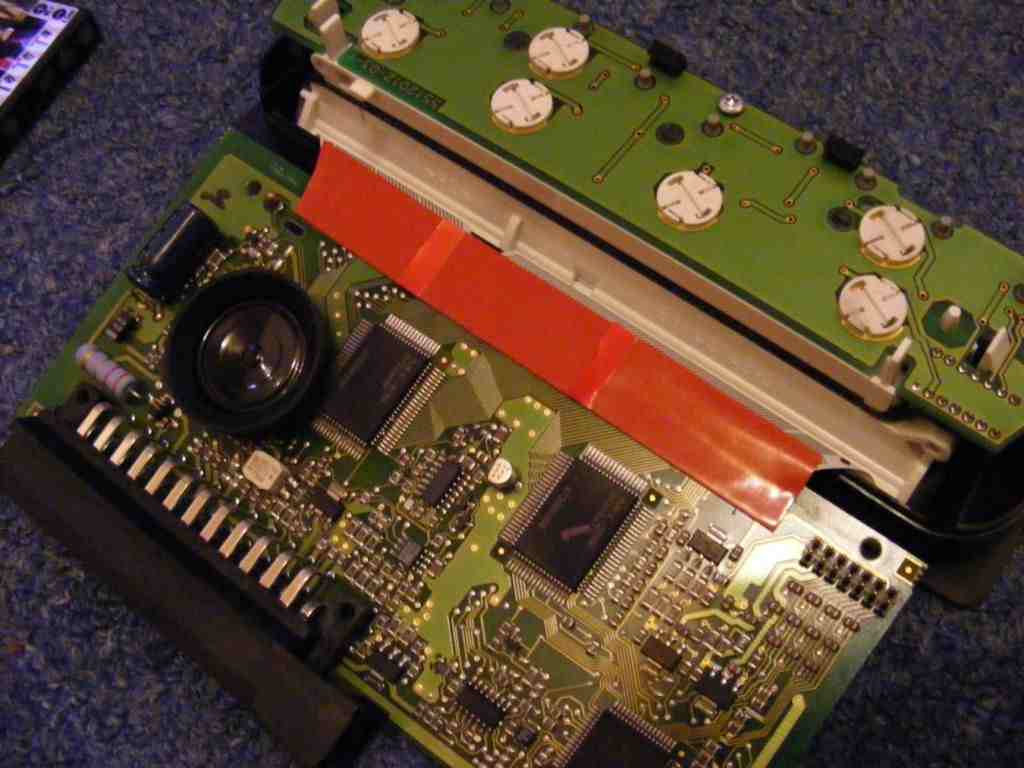
Step 5, unscrew the 2 screws on the top P/C/B, with great care lift the P/C/B away (remember its still attached via the ribbon)
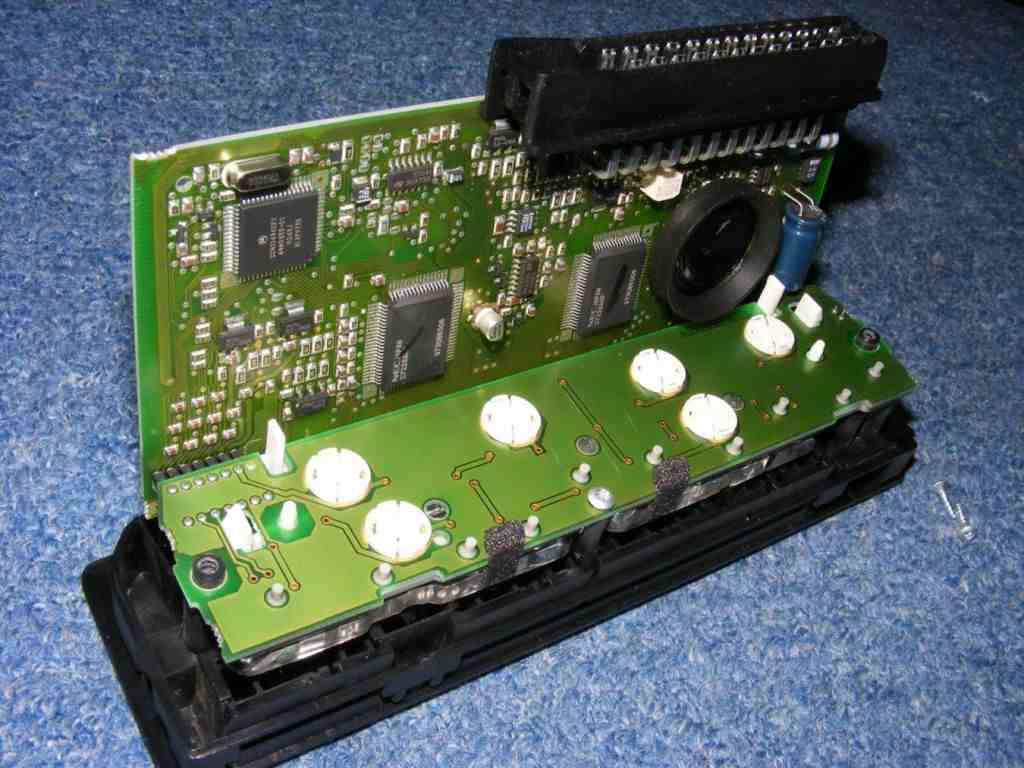
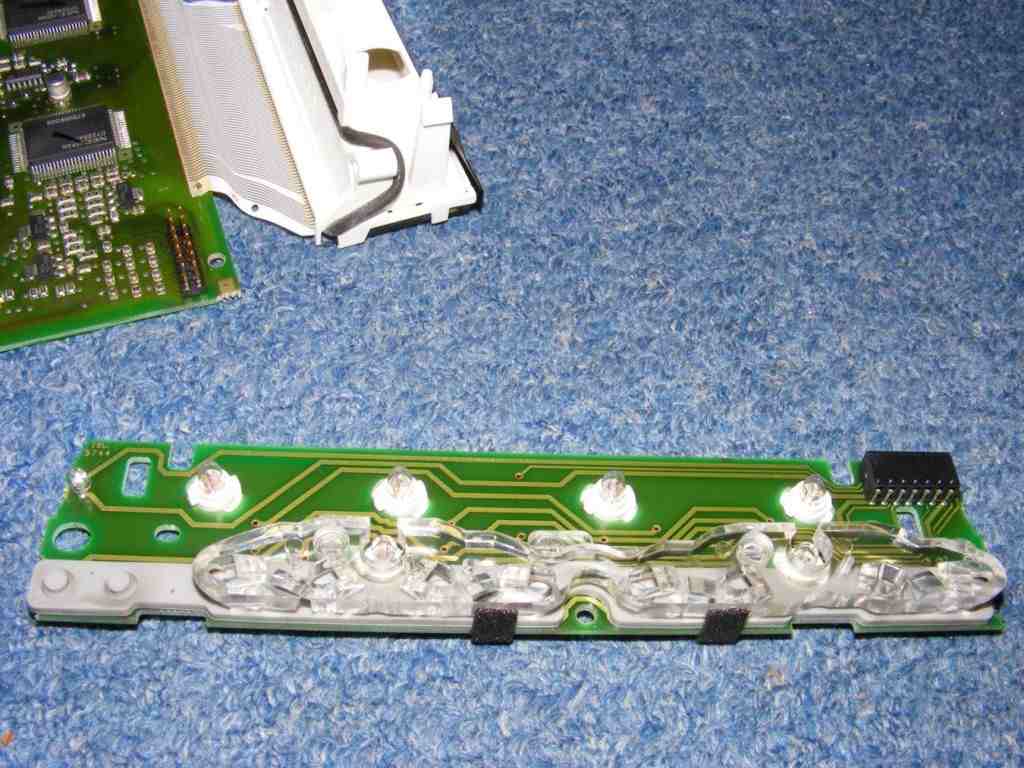
Step 6, it was at this point I decided to gut my SID & replace all 6 bulbs, mine looked a mess, all black with burnt plastic so I may aswell change them before they fail & I have to take it all apart again! & give the screen a clean, gets all the gunge out of the corners...........Nice!
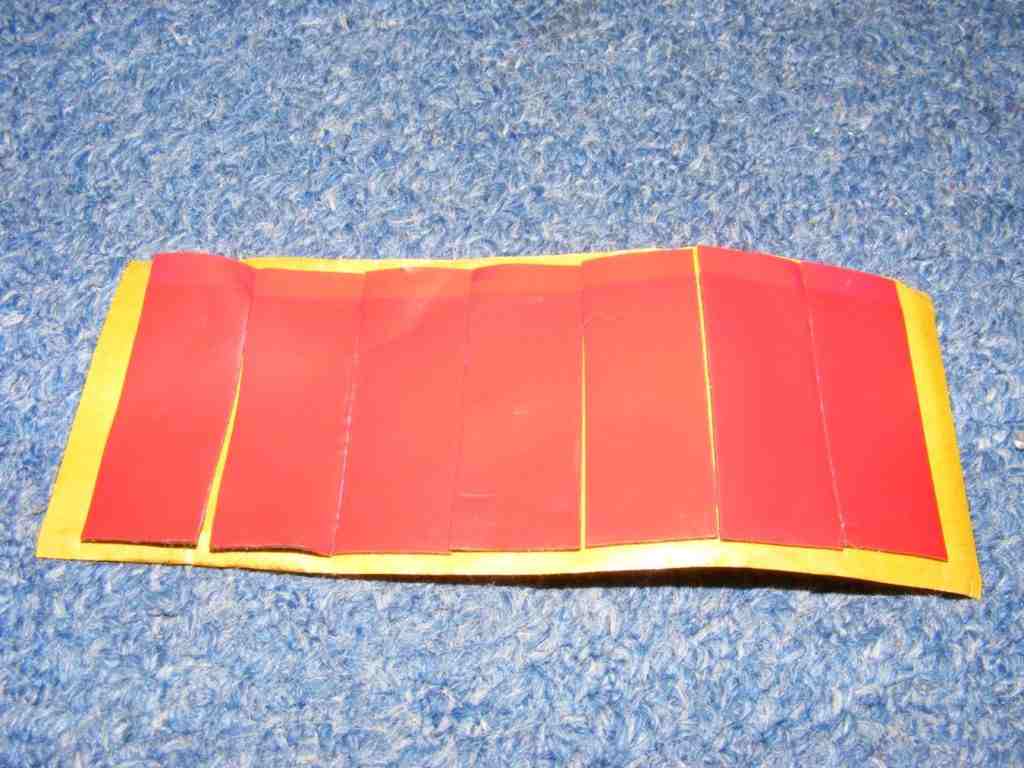
Step 7, I did the BIRO fix here again to make sure the ribbon was sitting nice & flat on P/C/B & then add a row of sticky pads along its length. This will ensure that even pressure will be placed along the length of the ribbon when the P/C/B is re attached in place.
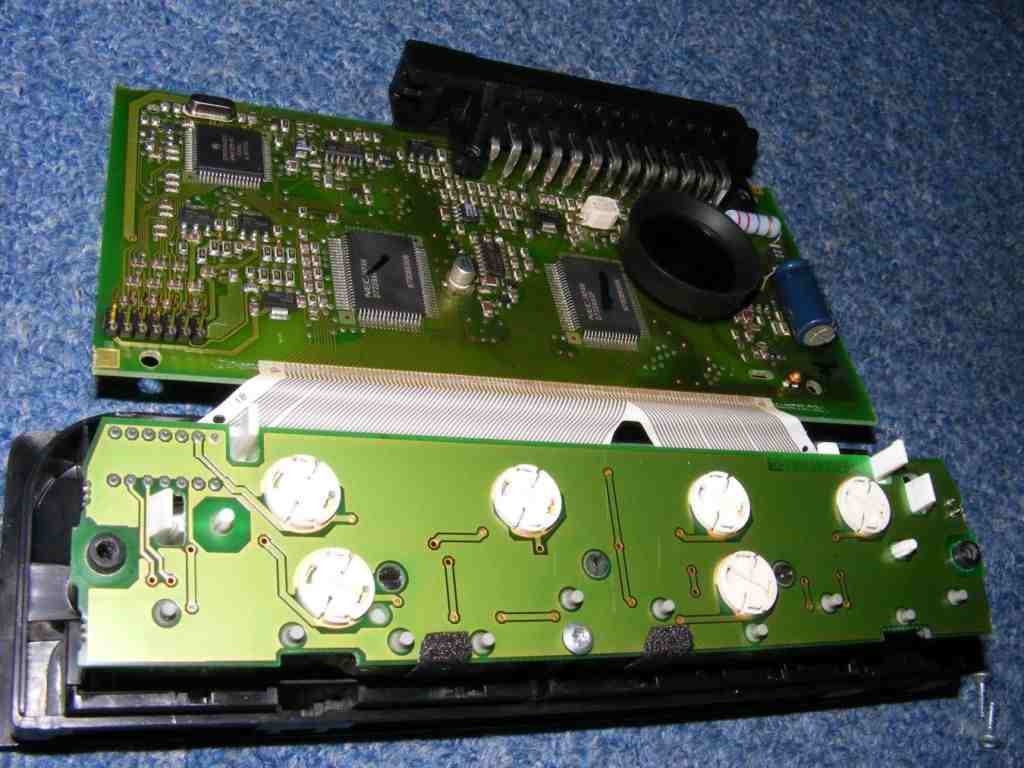
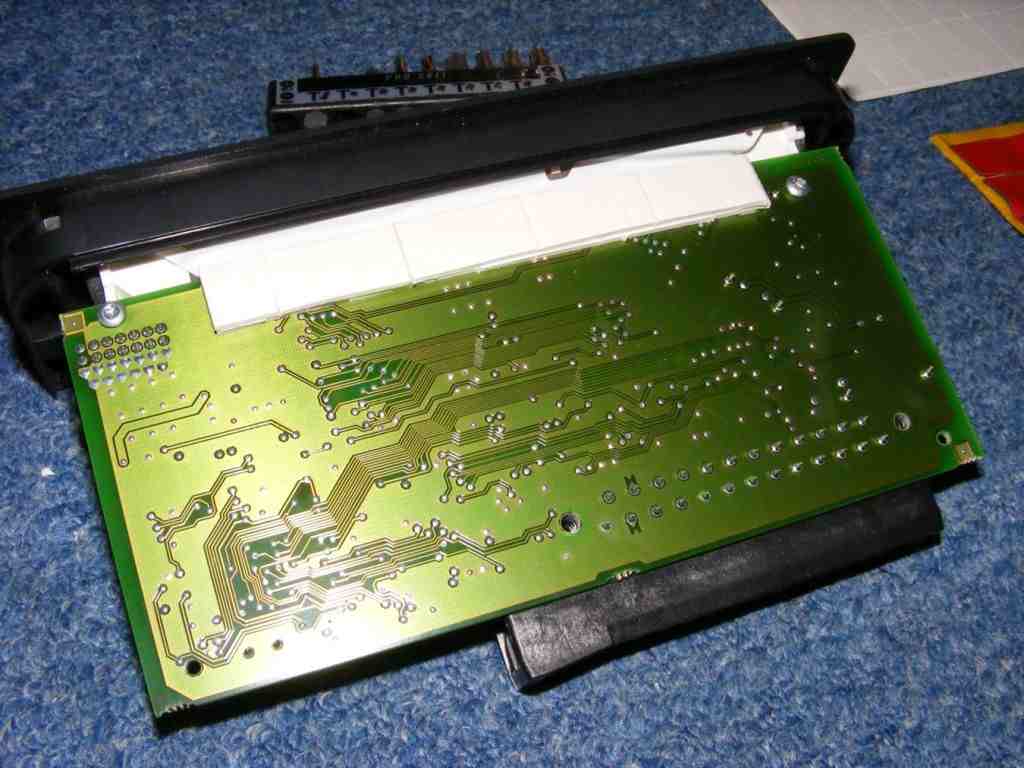
Step 8, refit the circut board & its 2 screws.
Step 9, now I added a strip of sticky pads along the upper length of the P/C/B inbetween the 2 screws, this needs to be 2 pads deep so as the outer case can apply even pressure along the length of the circut board when its all back in place. This will give a sandwich effect between the layers of foam sticky pads, ciucut board & the ribbon using the pressure of the outer case, keeping the ribbon nice & flat & pressed into position along its length ensuring a good contact.
Step 10, put it all back together again & refit into the car.
With the SID & the stereo back in place its now time to check it out, BINGO! Perfect pixels on a 10 year old SID unit & all for the price of a packet of sticky pads & an hour or so of my time.
I have seen this job done by cutting a length of cardboard to size, but I would rather use the sticky pads so it all stay's in place.
This repair was done back in November 2008 & its still working 100% in May 2009, time will tell, but so far everything is ok.
I have used the same method on the ACC display unit with the same results.