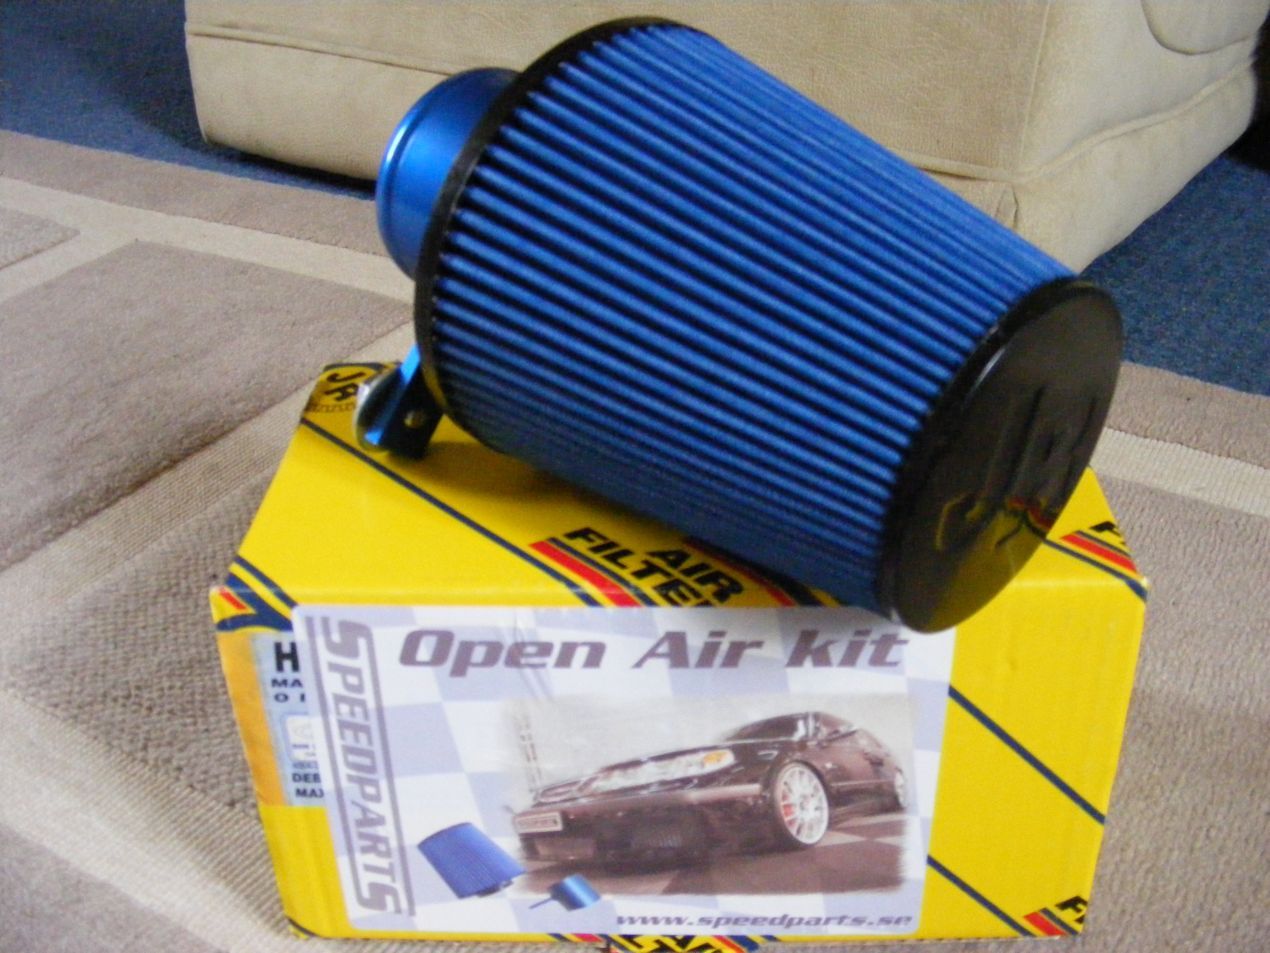
JR open air induction kit.
A worthwhile mod or not?
Well, many will say no, its well known that the standard Saab 9-5 airbox with a K&N sports air filter is good for 300+ BHP. I would say yes, as many 9-5 owners like myself who go down the modding route want to create the WHOOOSH induction noise of an atmospheric blow off valve.
This kit is by far the eaisest way to create the induction noise at very little cost as fitting an atmospheric dump valve on the T7 managed Saabs wont work.
I used this kit from Elkparts, http://www.elkparts.com/saab-95-m98/service-items/air-filters/induction-filter-kitbrsaab-95-m98.p1225.html
At £45 its great value but if you read the comments on their web page you will see many buyers saying the bracket & bolt are not long enough, not a problem really & more about that later.
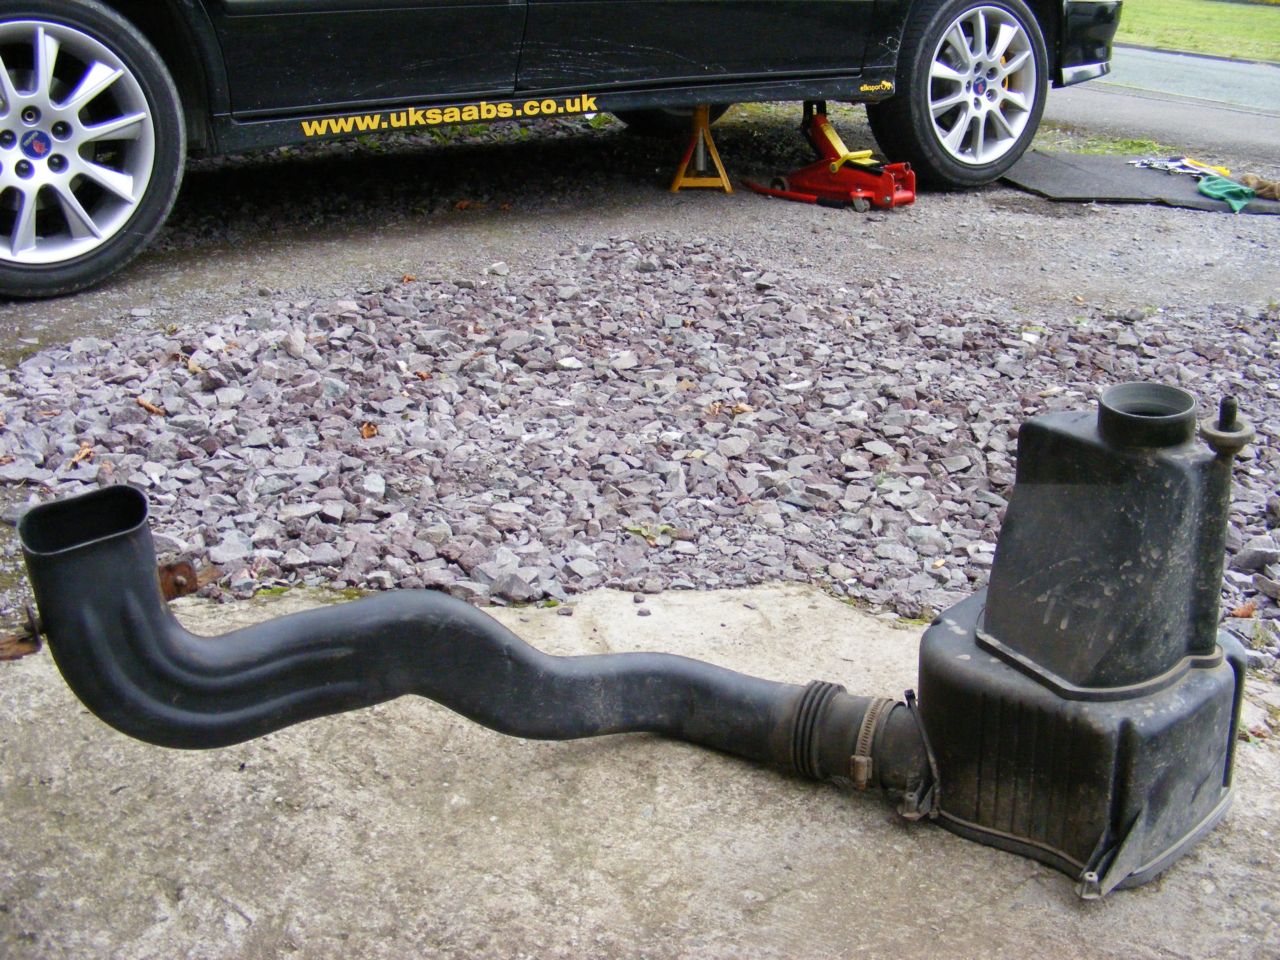
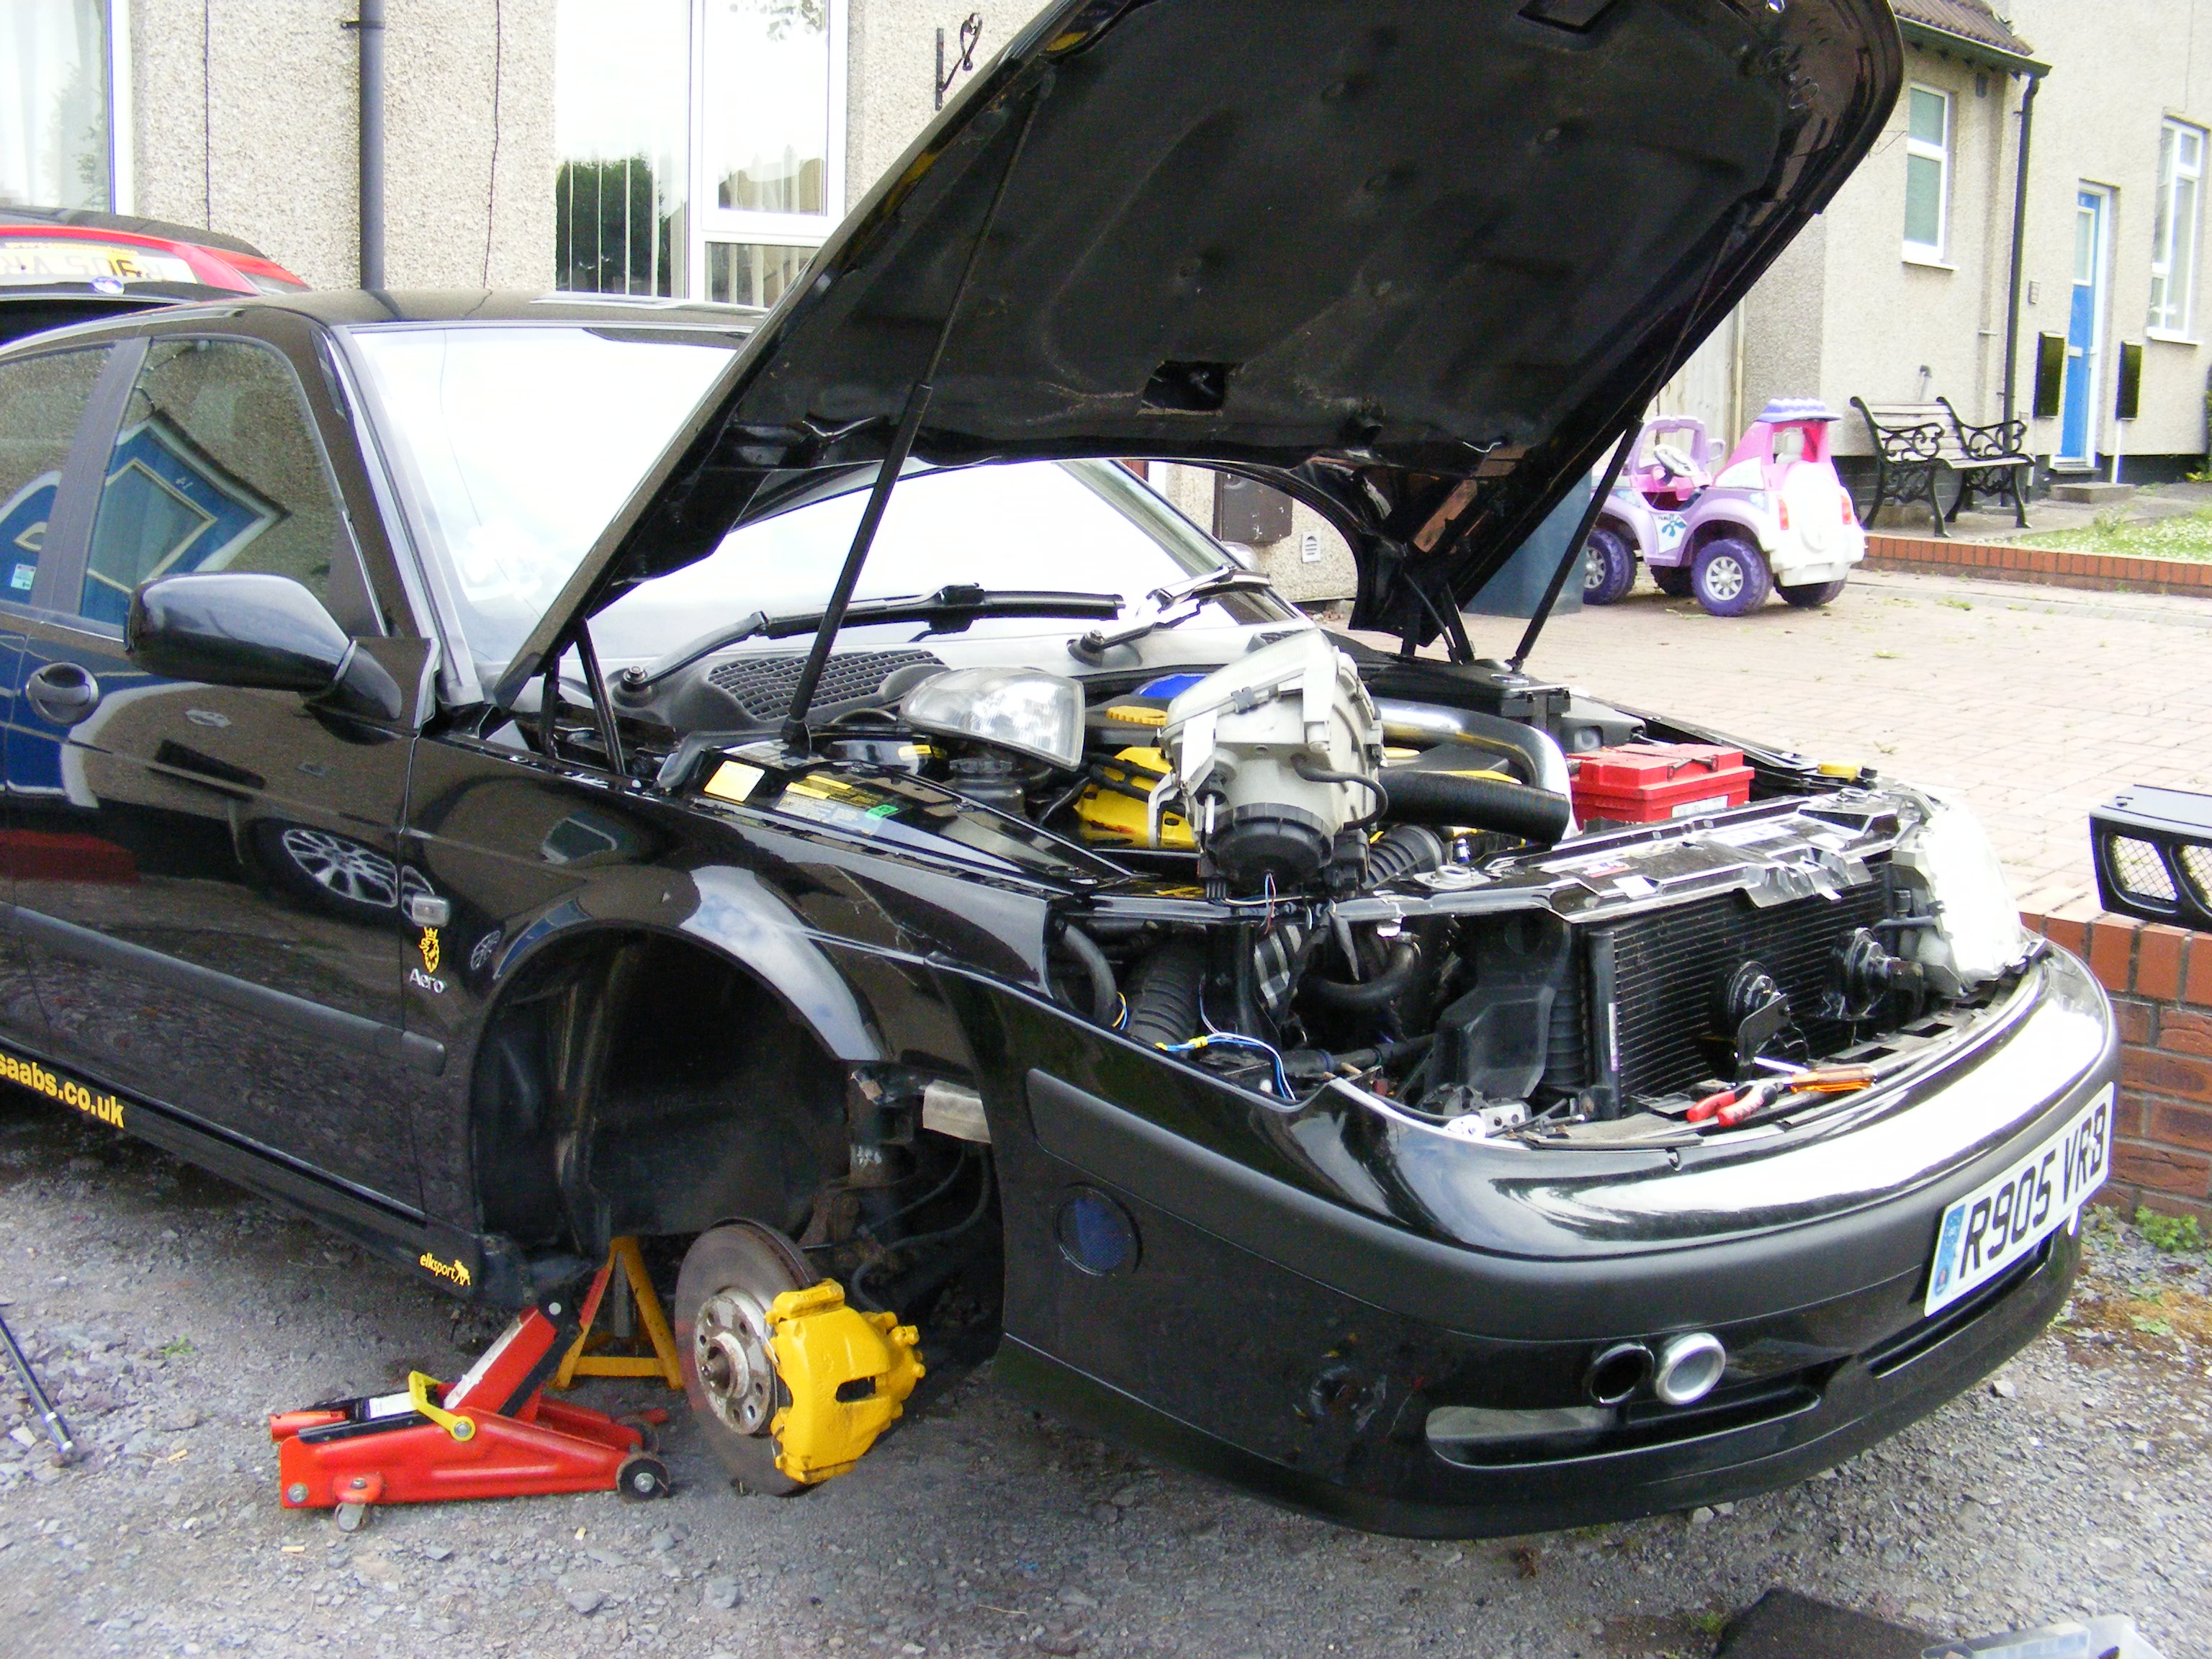
This job involves the removal of the complete stock Saab air intake system.
 |  |
With the car up on axle stands the first job is to remove the front grille & the o/s front indicator lamp. Then with these removed you need to undo the jubliee clip around the top of the airbox where the rubber intake hose is attached. Now its time to get under the car & remove the bottom piece of the airbox by removing the four screws & take out the old airfilter.
You will need to undo the jubliee clip that attaches the plastic intake tube to the bottom of the airbox, mine was rusted solid & I had to cut it off, & then undo all the screws that hold the airbox in place inside the inner wing.
Now you can pull the complete airbox out from under the car, you wont need this part again.
The two screws that hold the plastic air intake duct behind the grille need to be removed & with the airbox out of the way you can push the intake duct downwards & away from the car. I like this idea as it helps with airflow to the intercooler & radiator after the duct has been removed.
 | 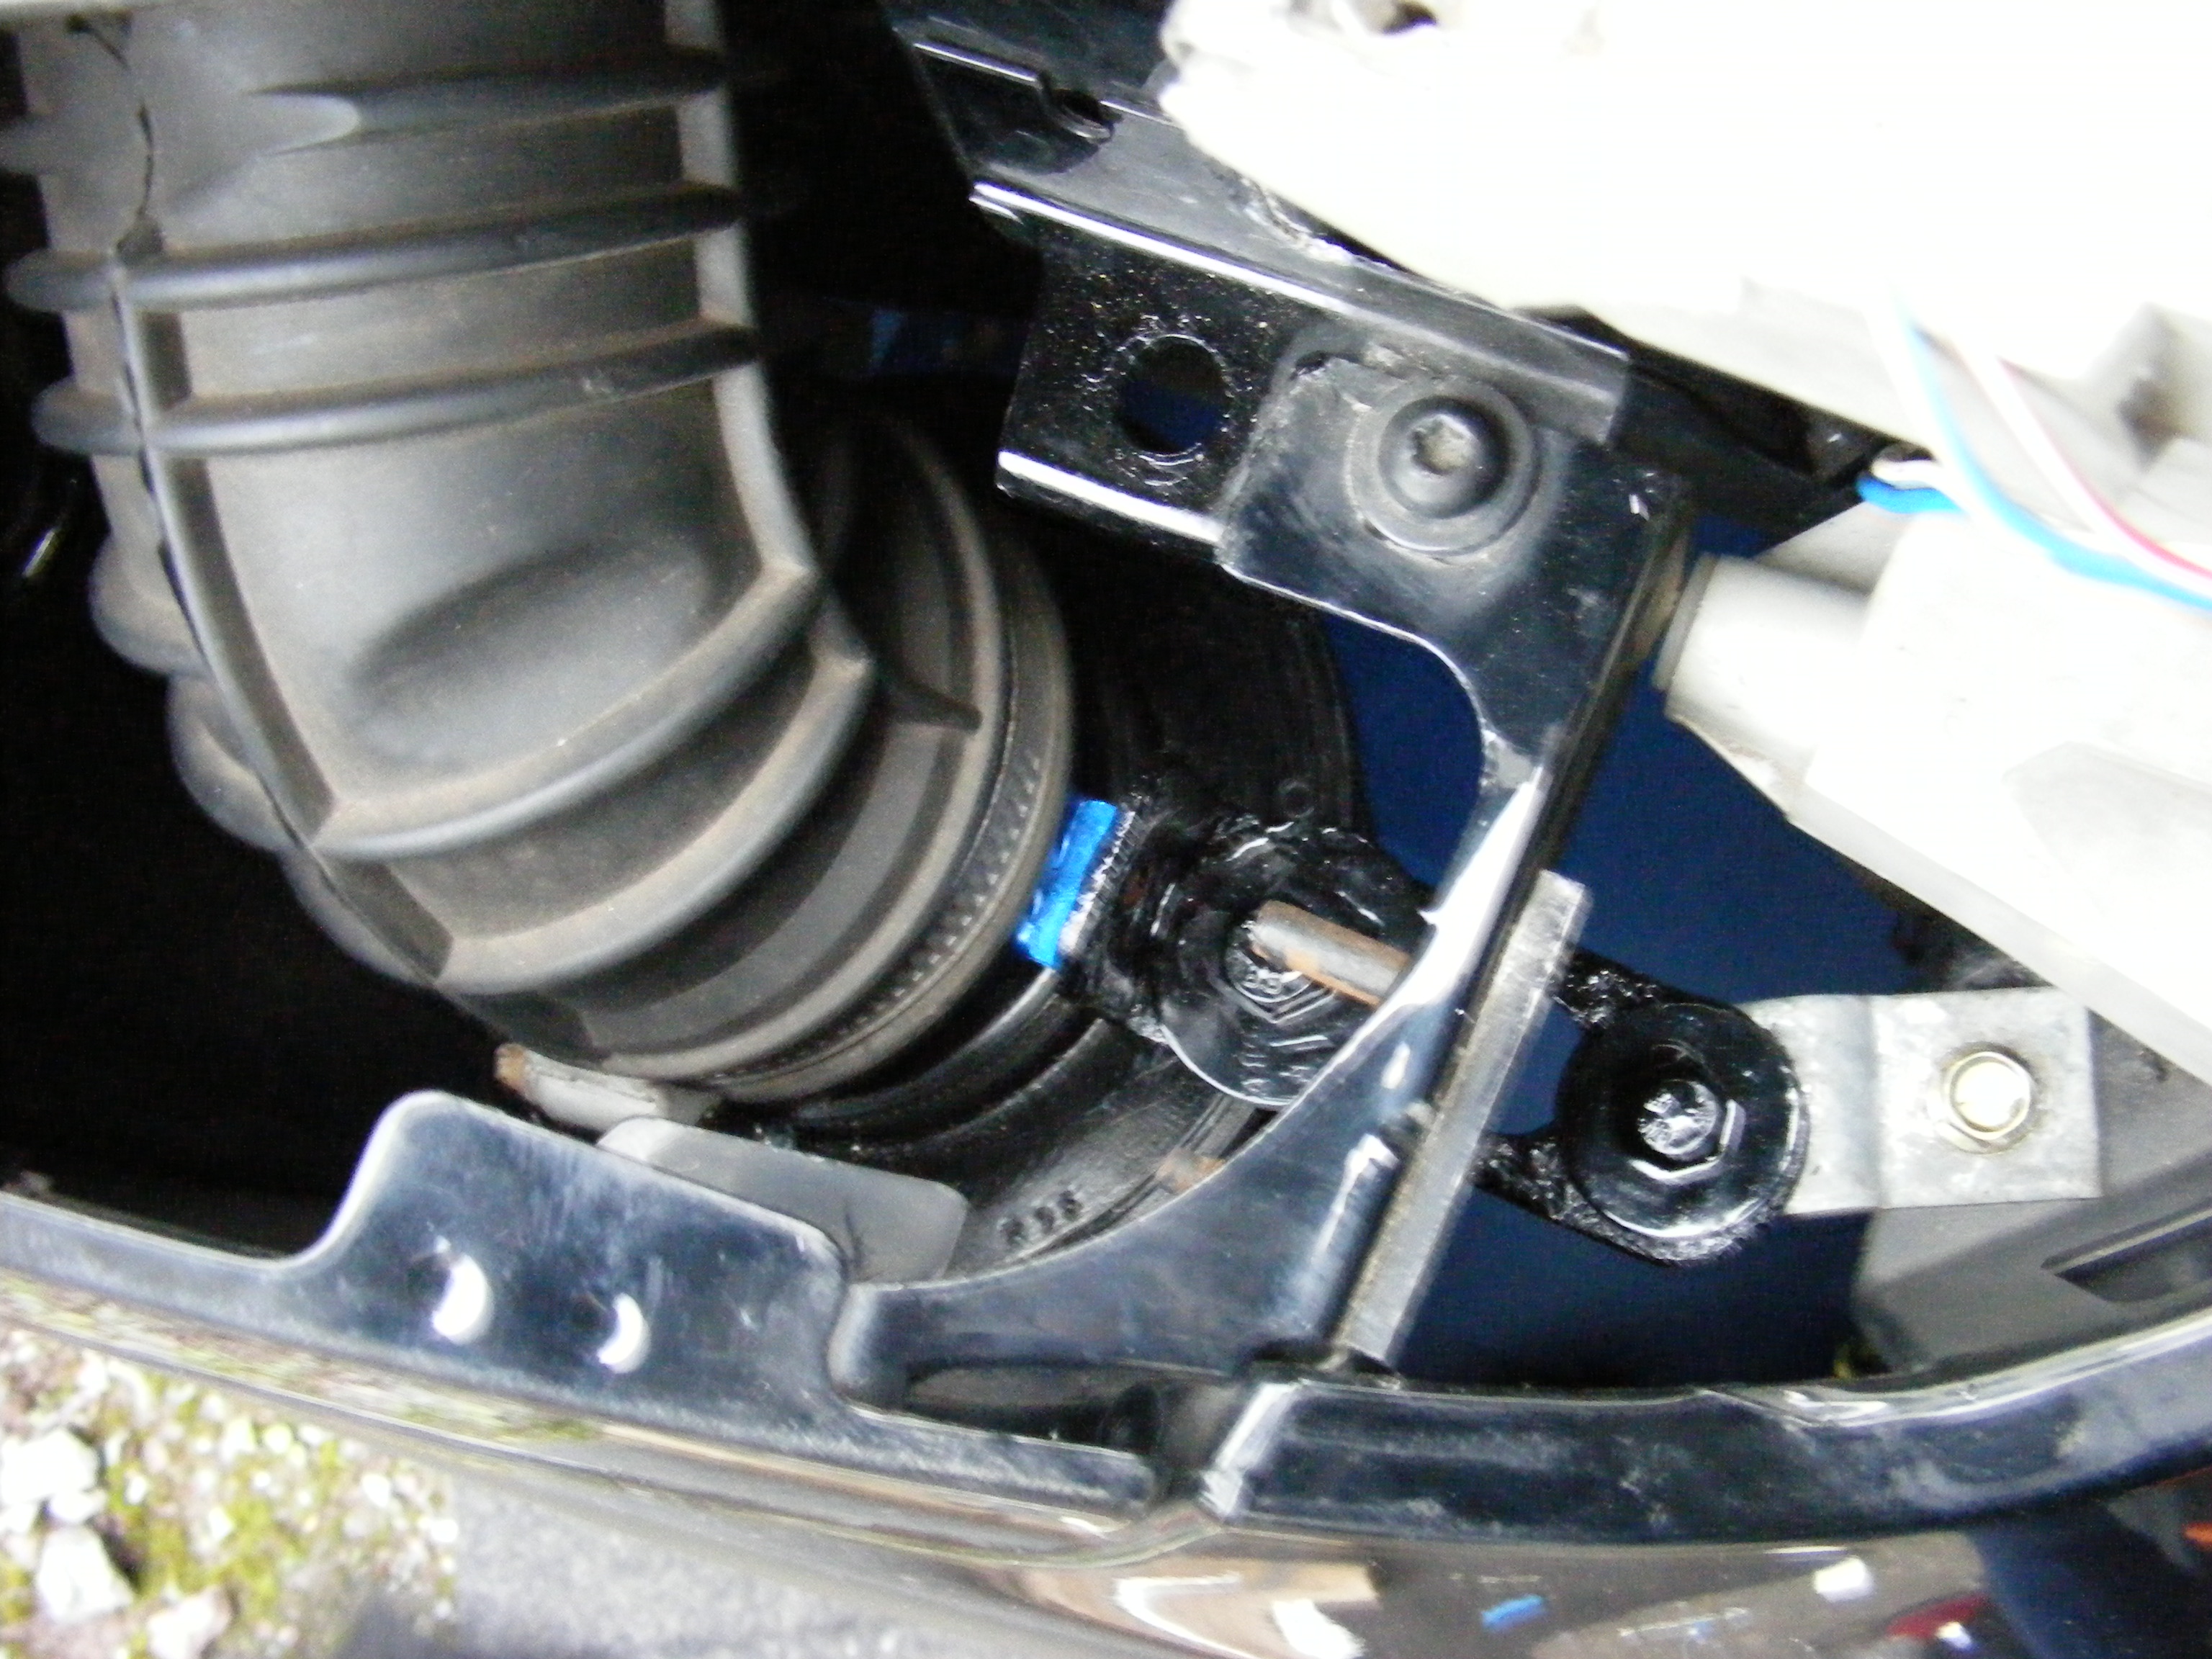 |
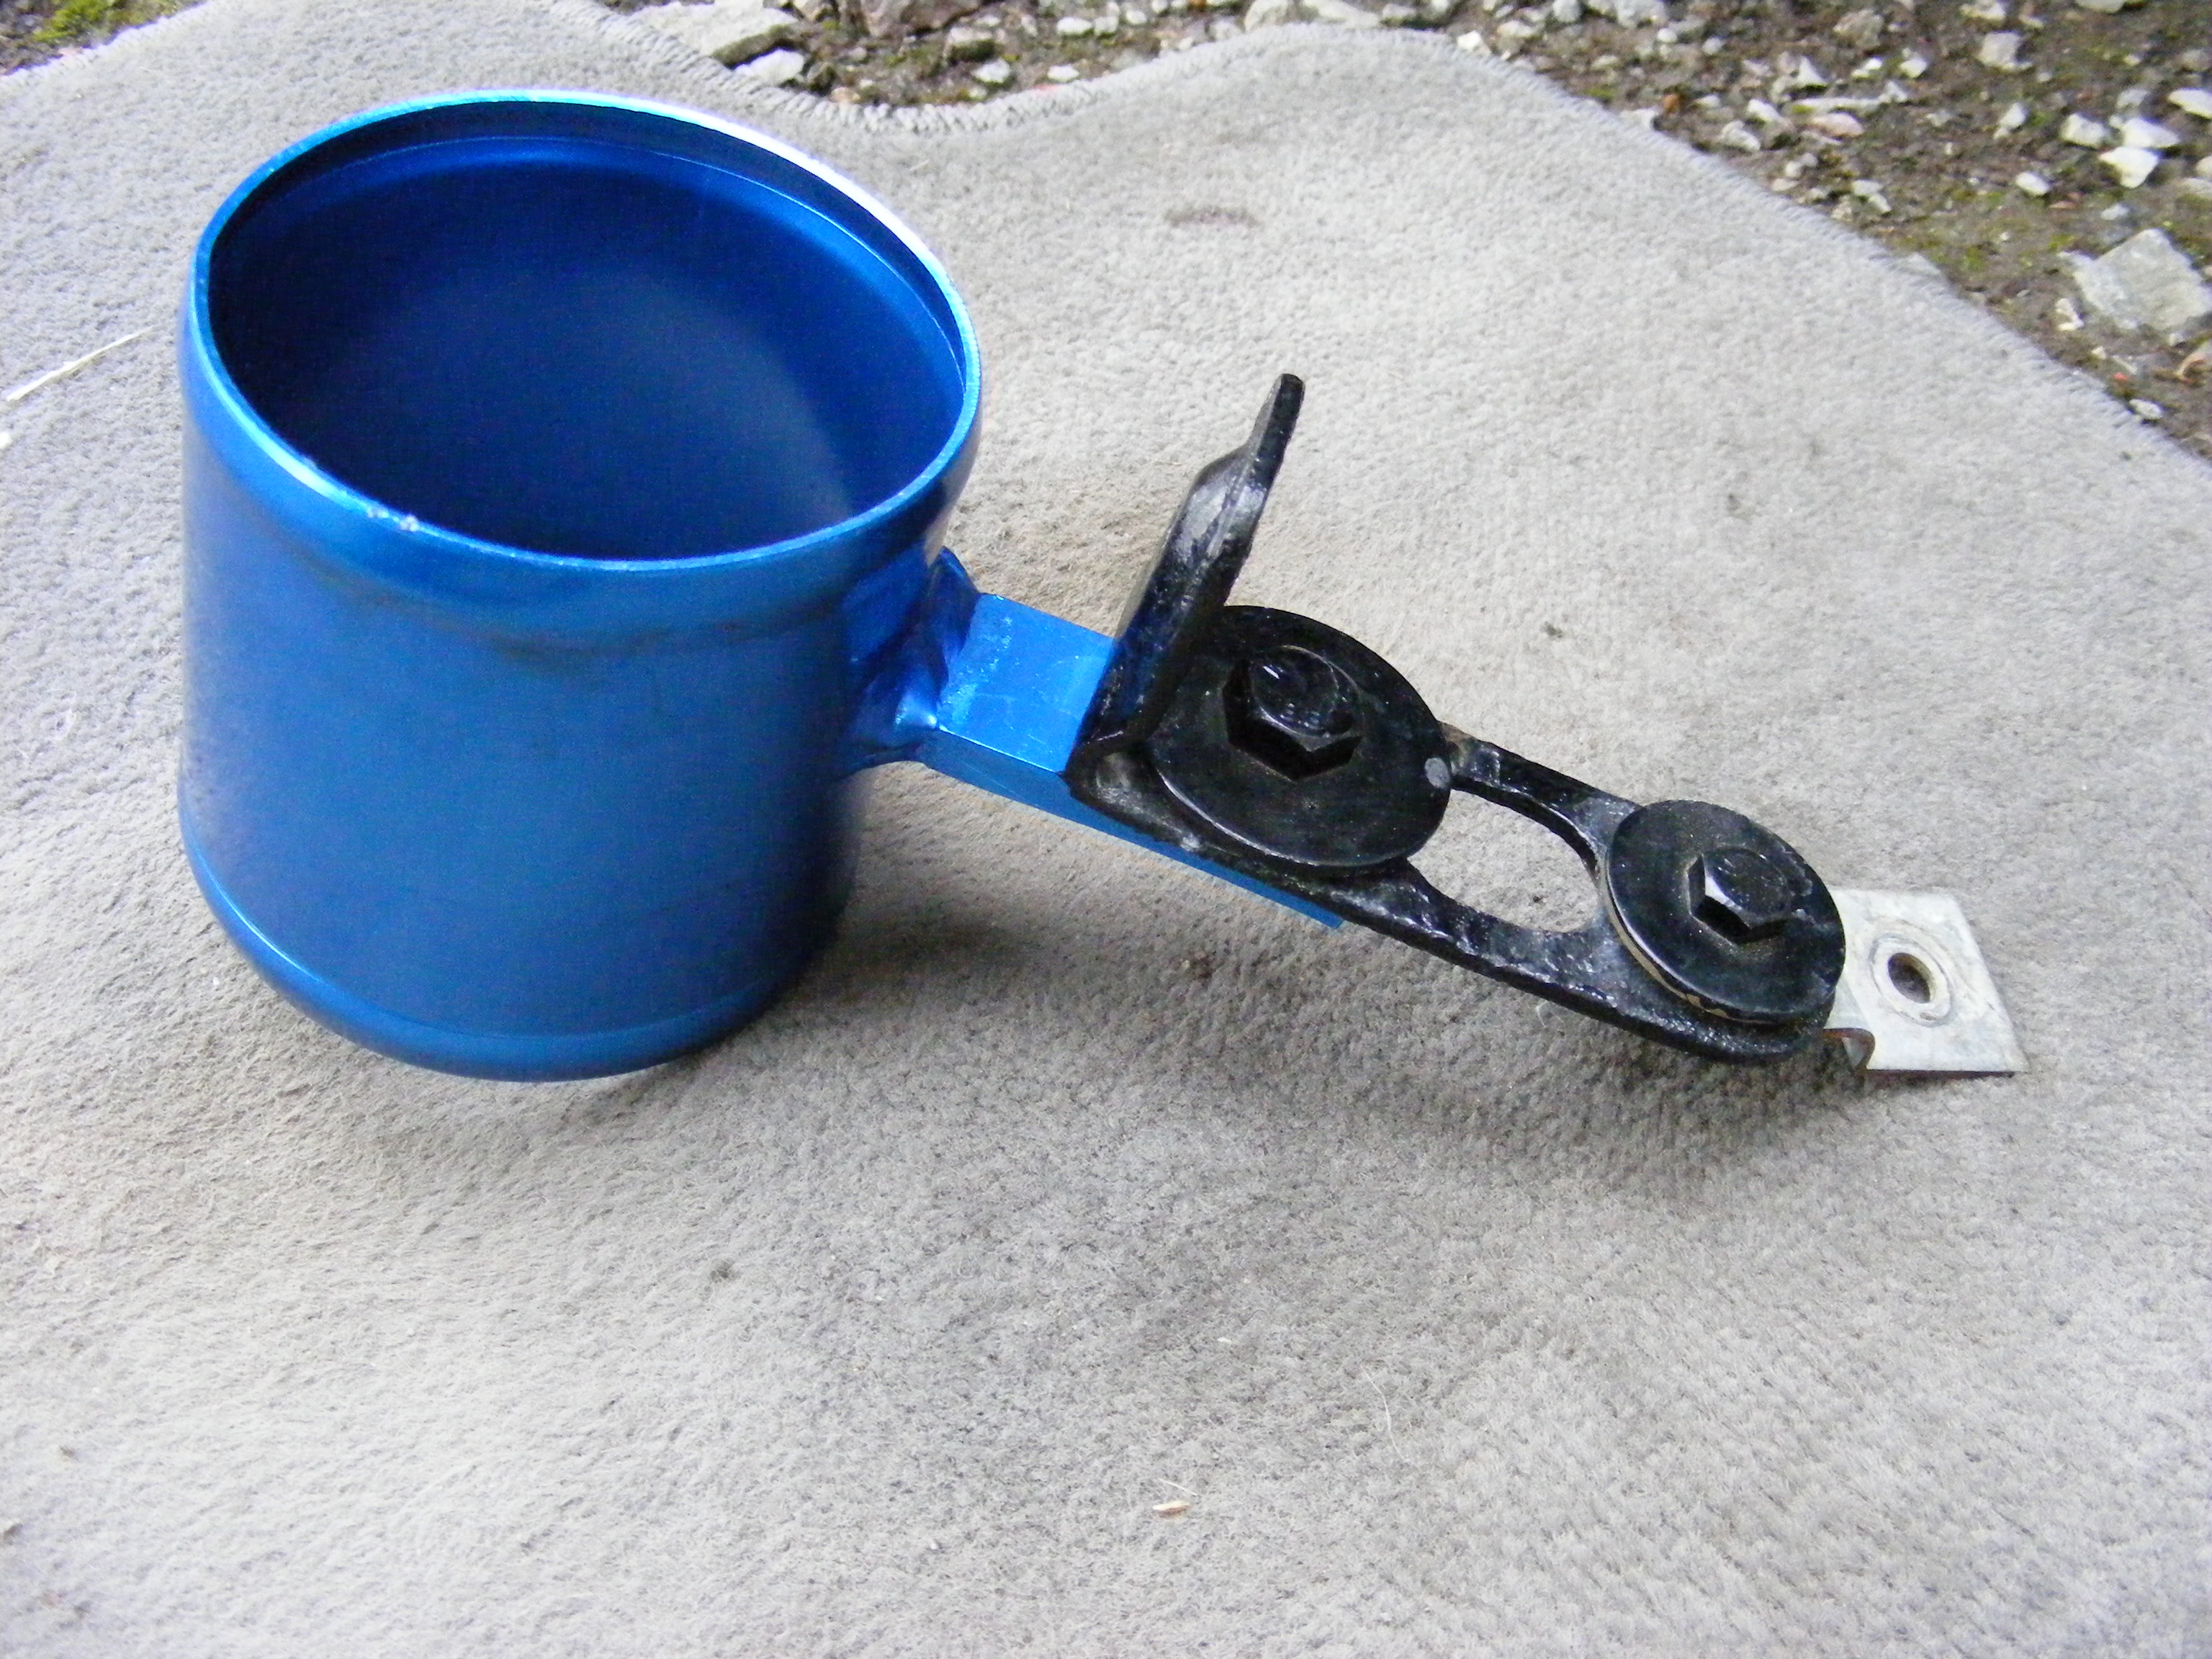
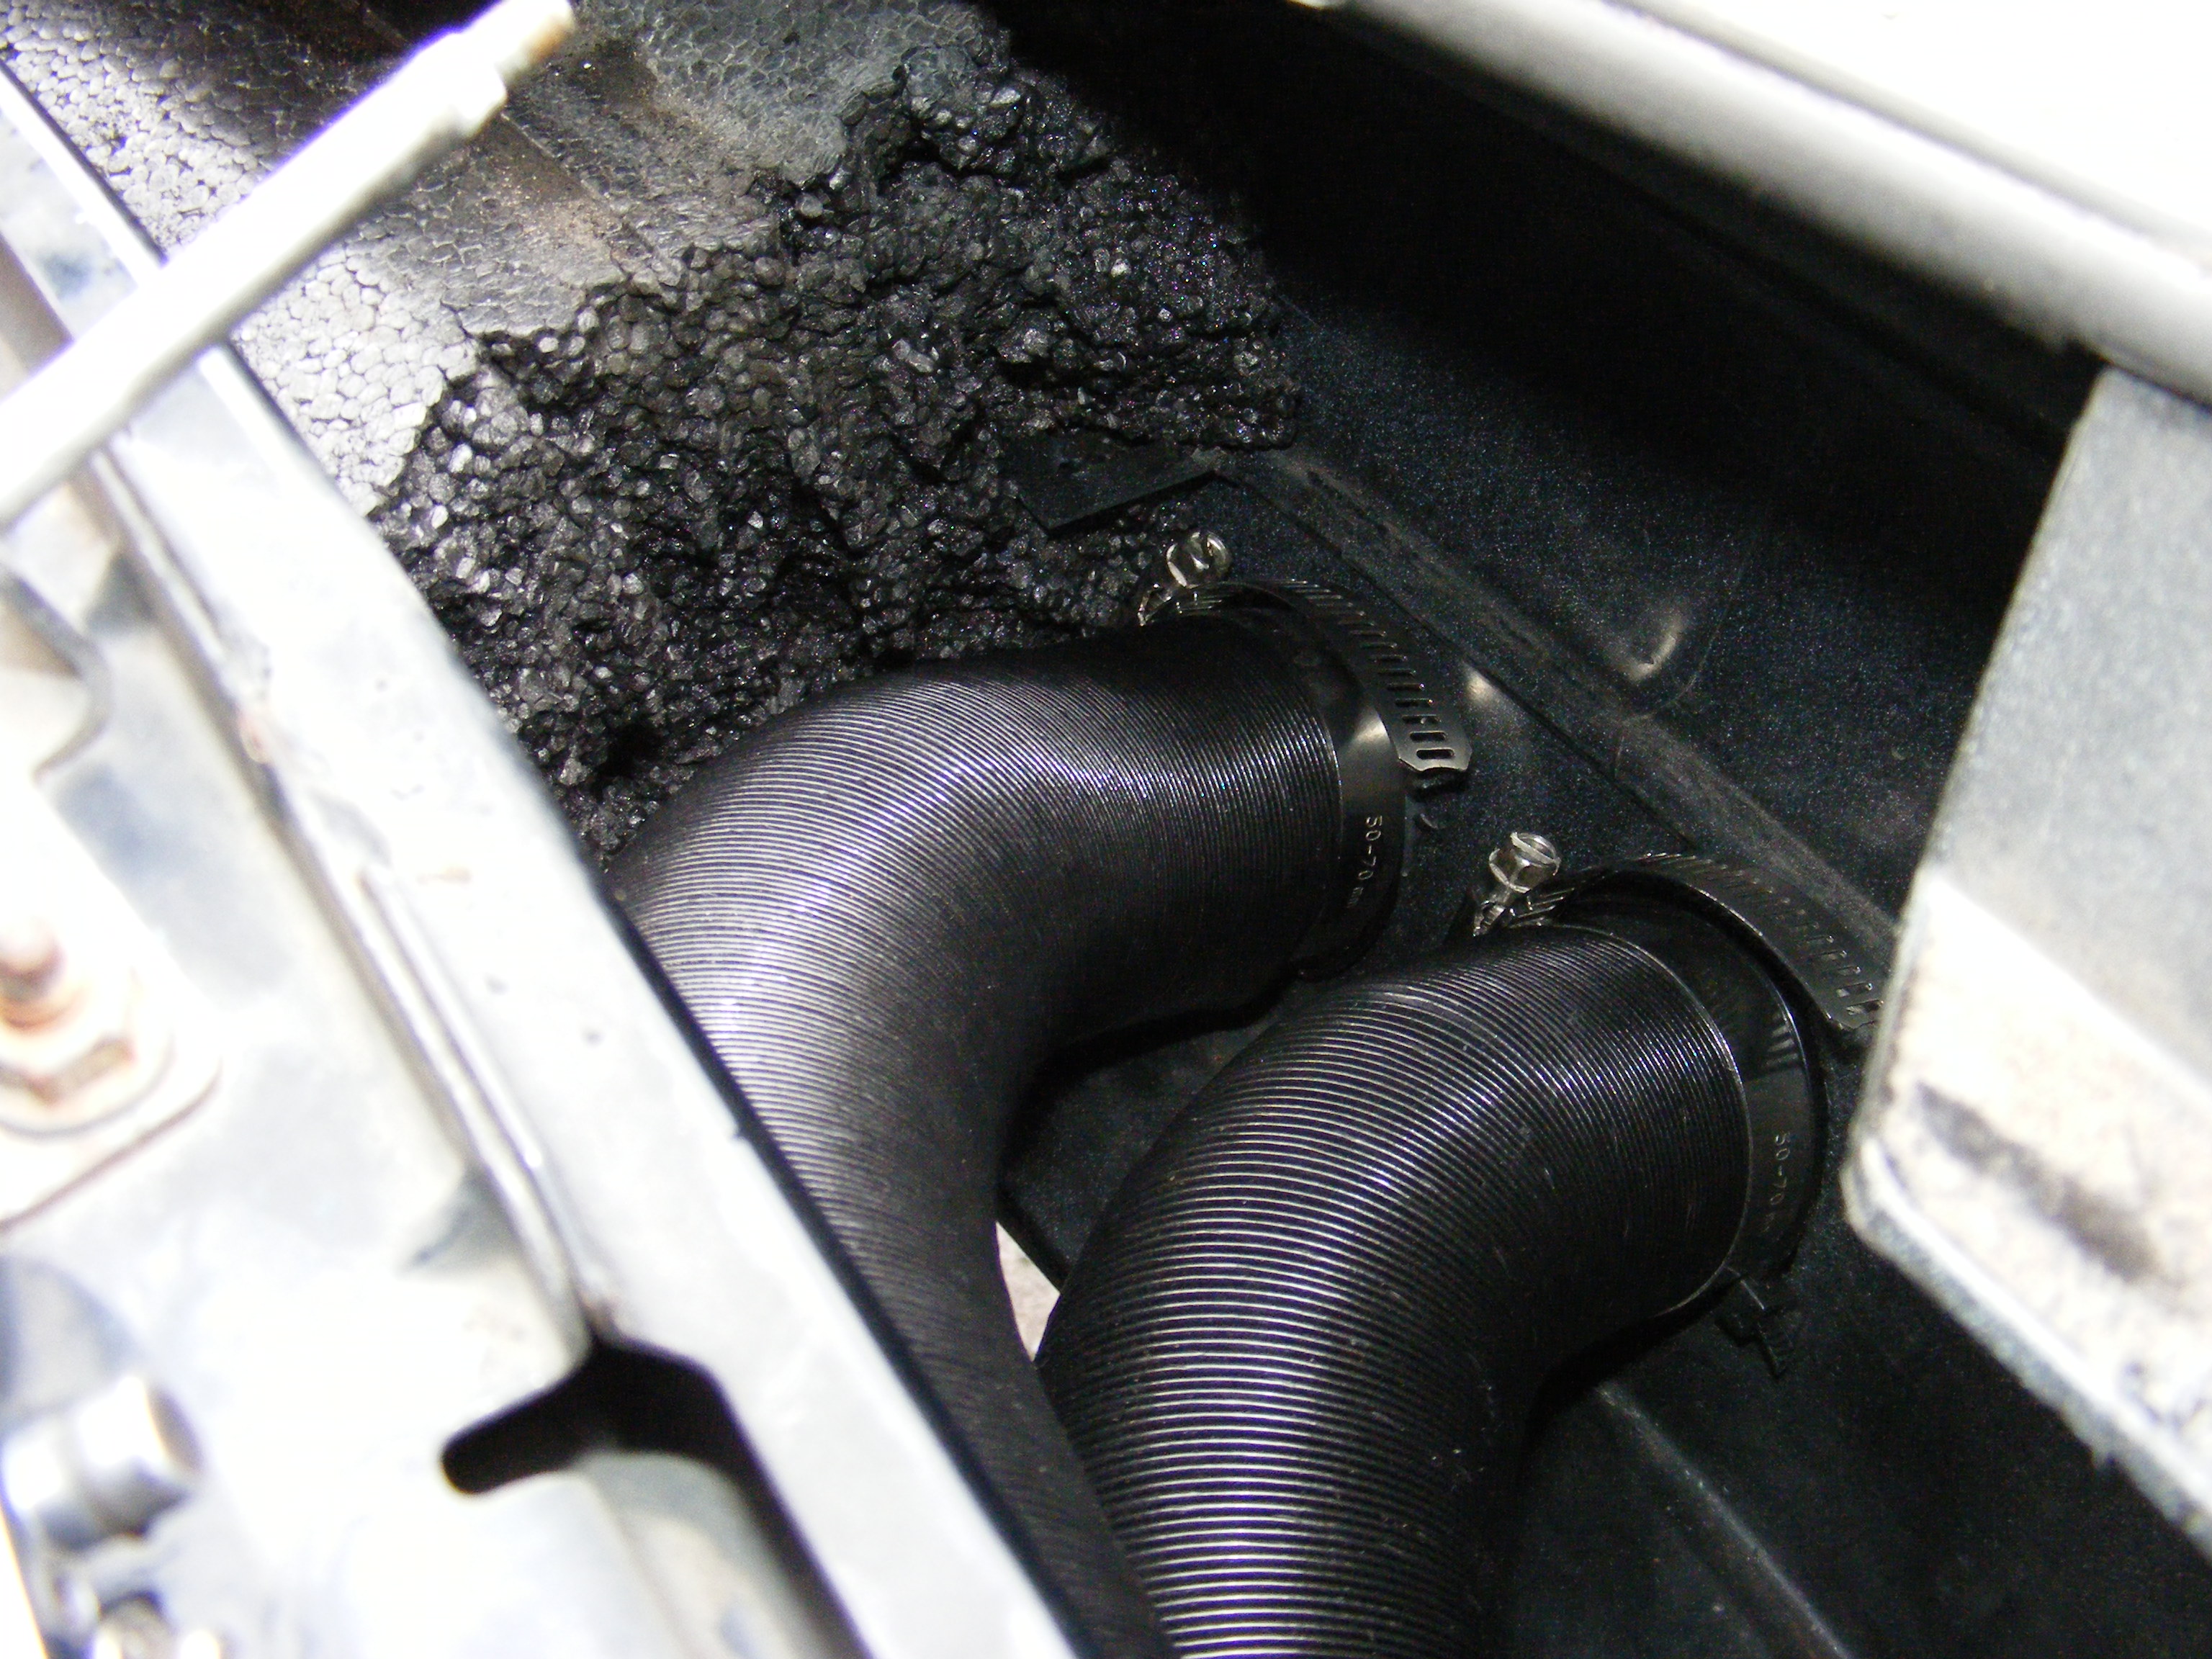
Now its just a case of fitting the adapter tube into the rubber intake hose behind the o/s front flasher lamp & fit the new jubliee clip.
This is where I came accross the problem with the short bracket that I talked about eariler.
From the above pic you can see that I have used an extra bracket (a radiator bracket from an old 9000!) to bolt the blue adapter tube to the front pannel, this is because the rubber intake hose & adapter tube need to be in the correct place so as not to rub against the bodywork & also to refit the flasher lamp. If the tube is to far forward the flasher lamp will not go back into place.
Now you can push the JR airfilter from underneath the car onto the adapter tube & fit the new jubliee clip & its done!
Re fit the flasher lamp & front grille & you now have an open air induction kit & plenty of WHOOOSH.
 |  |


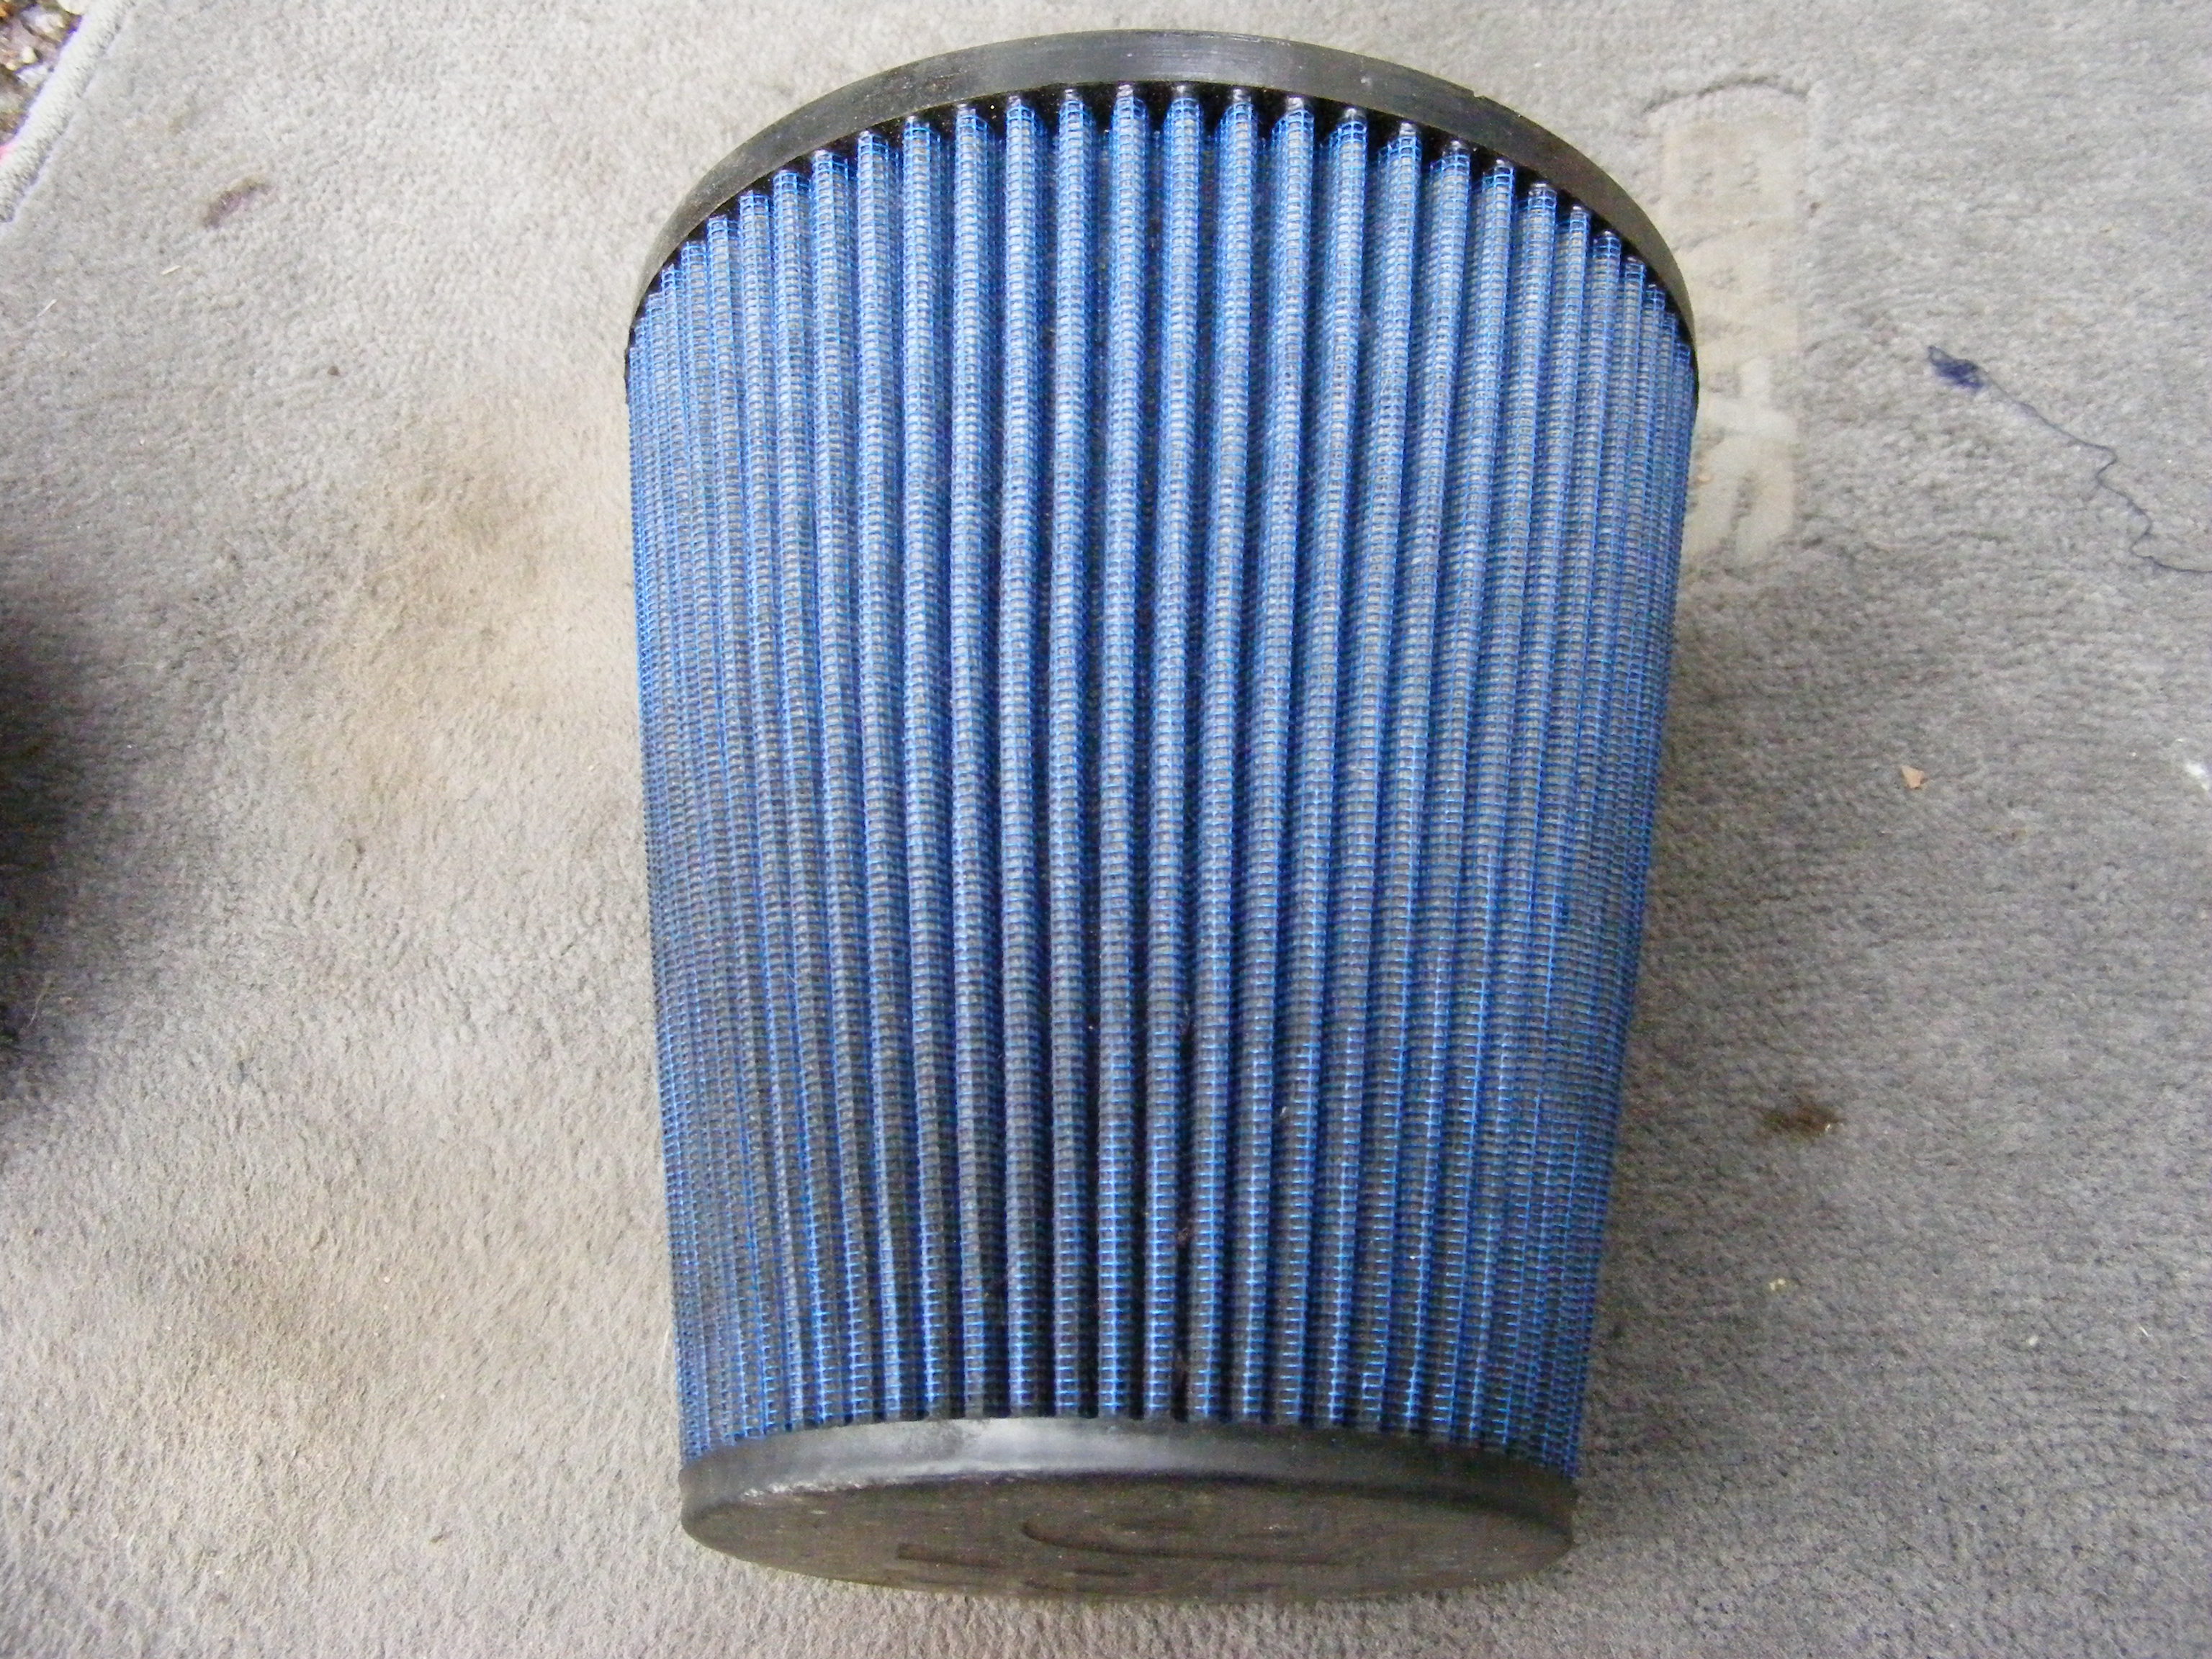
Here is my JR filter fitted with a Hydro Sock. Just to help with any moisture or water that may find its way near to the filter.
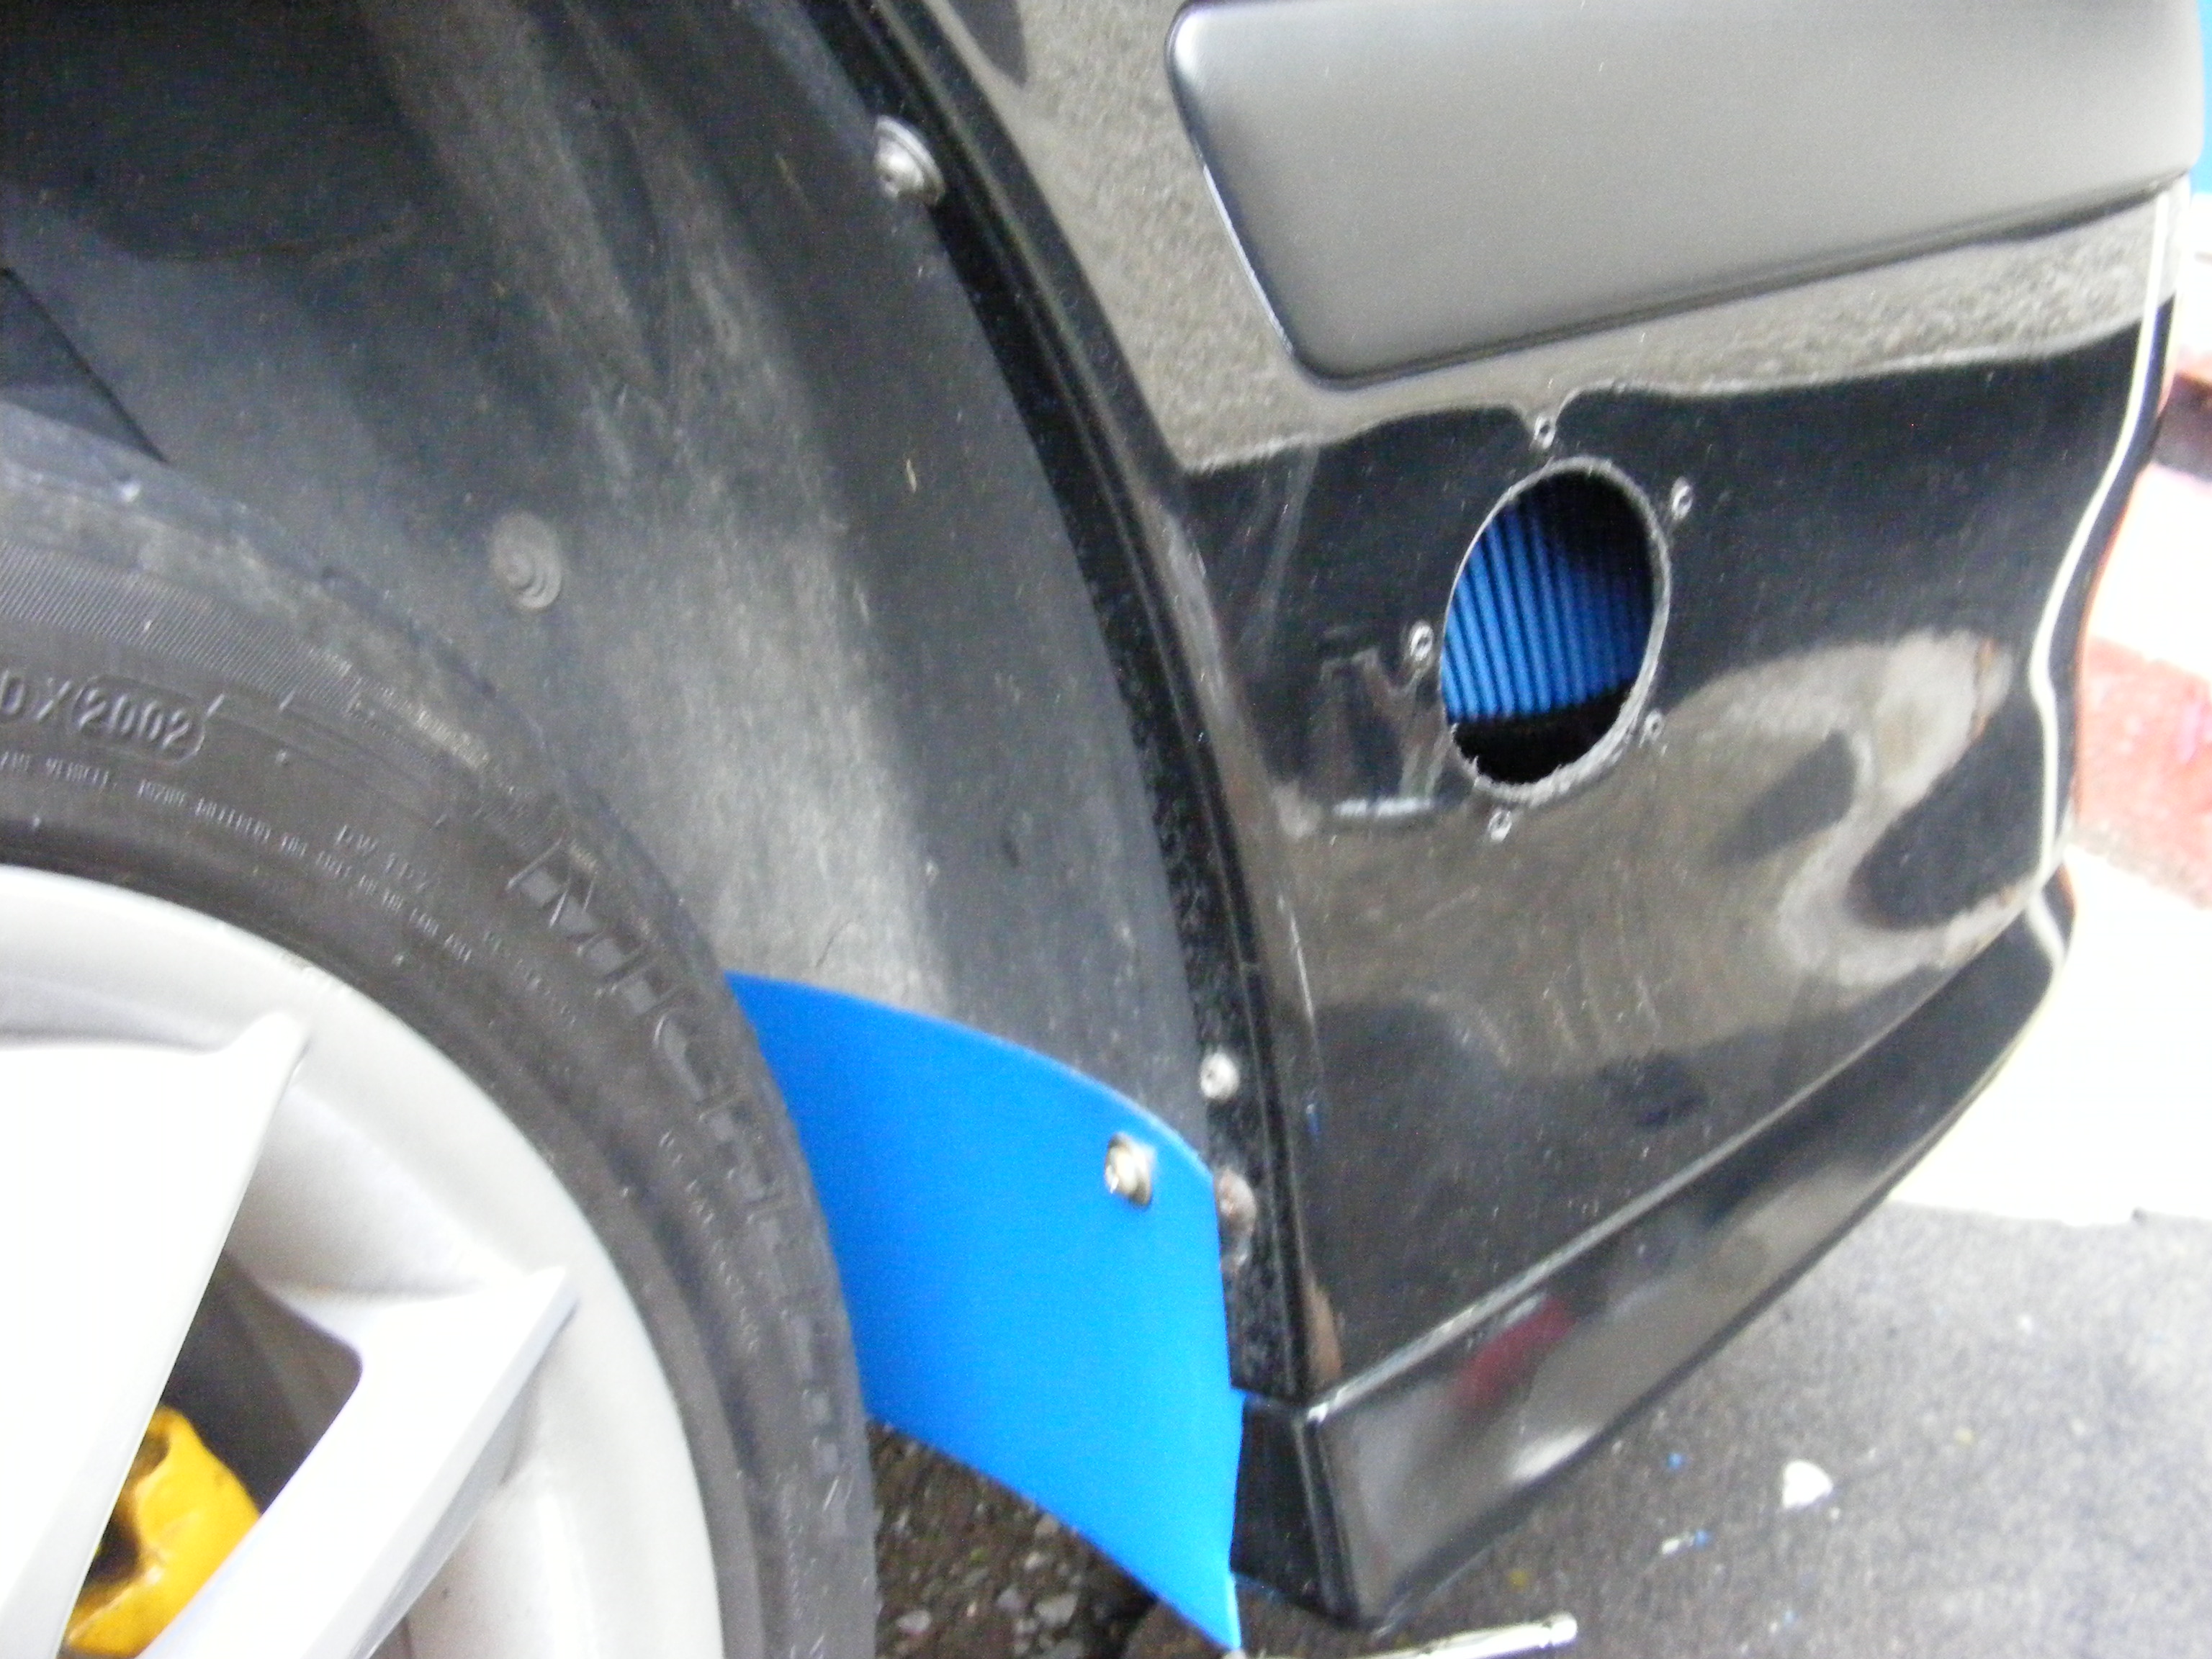
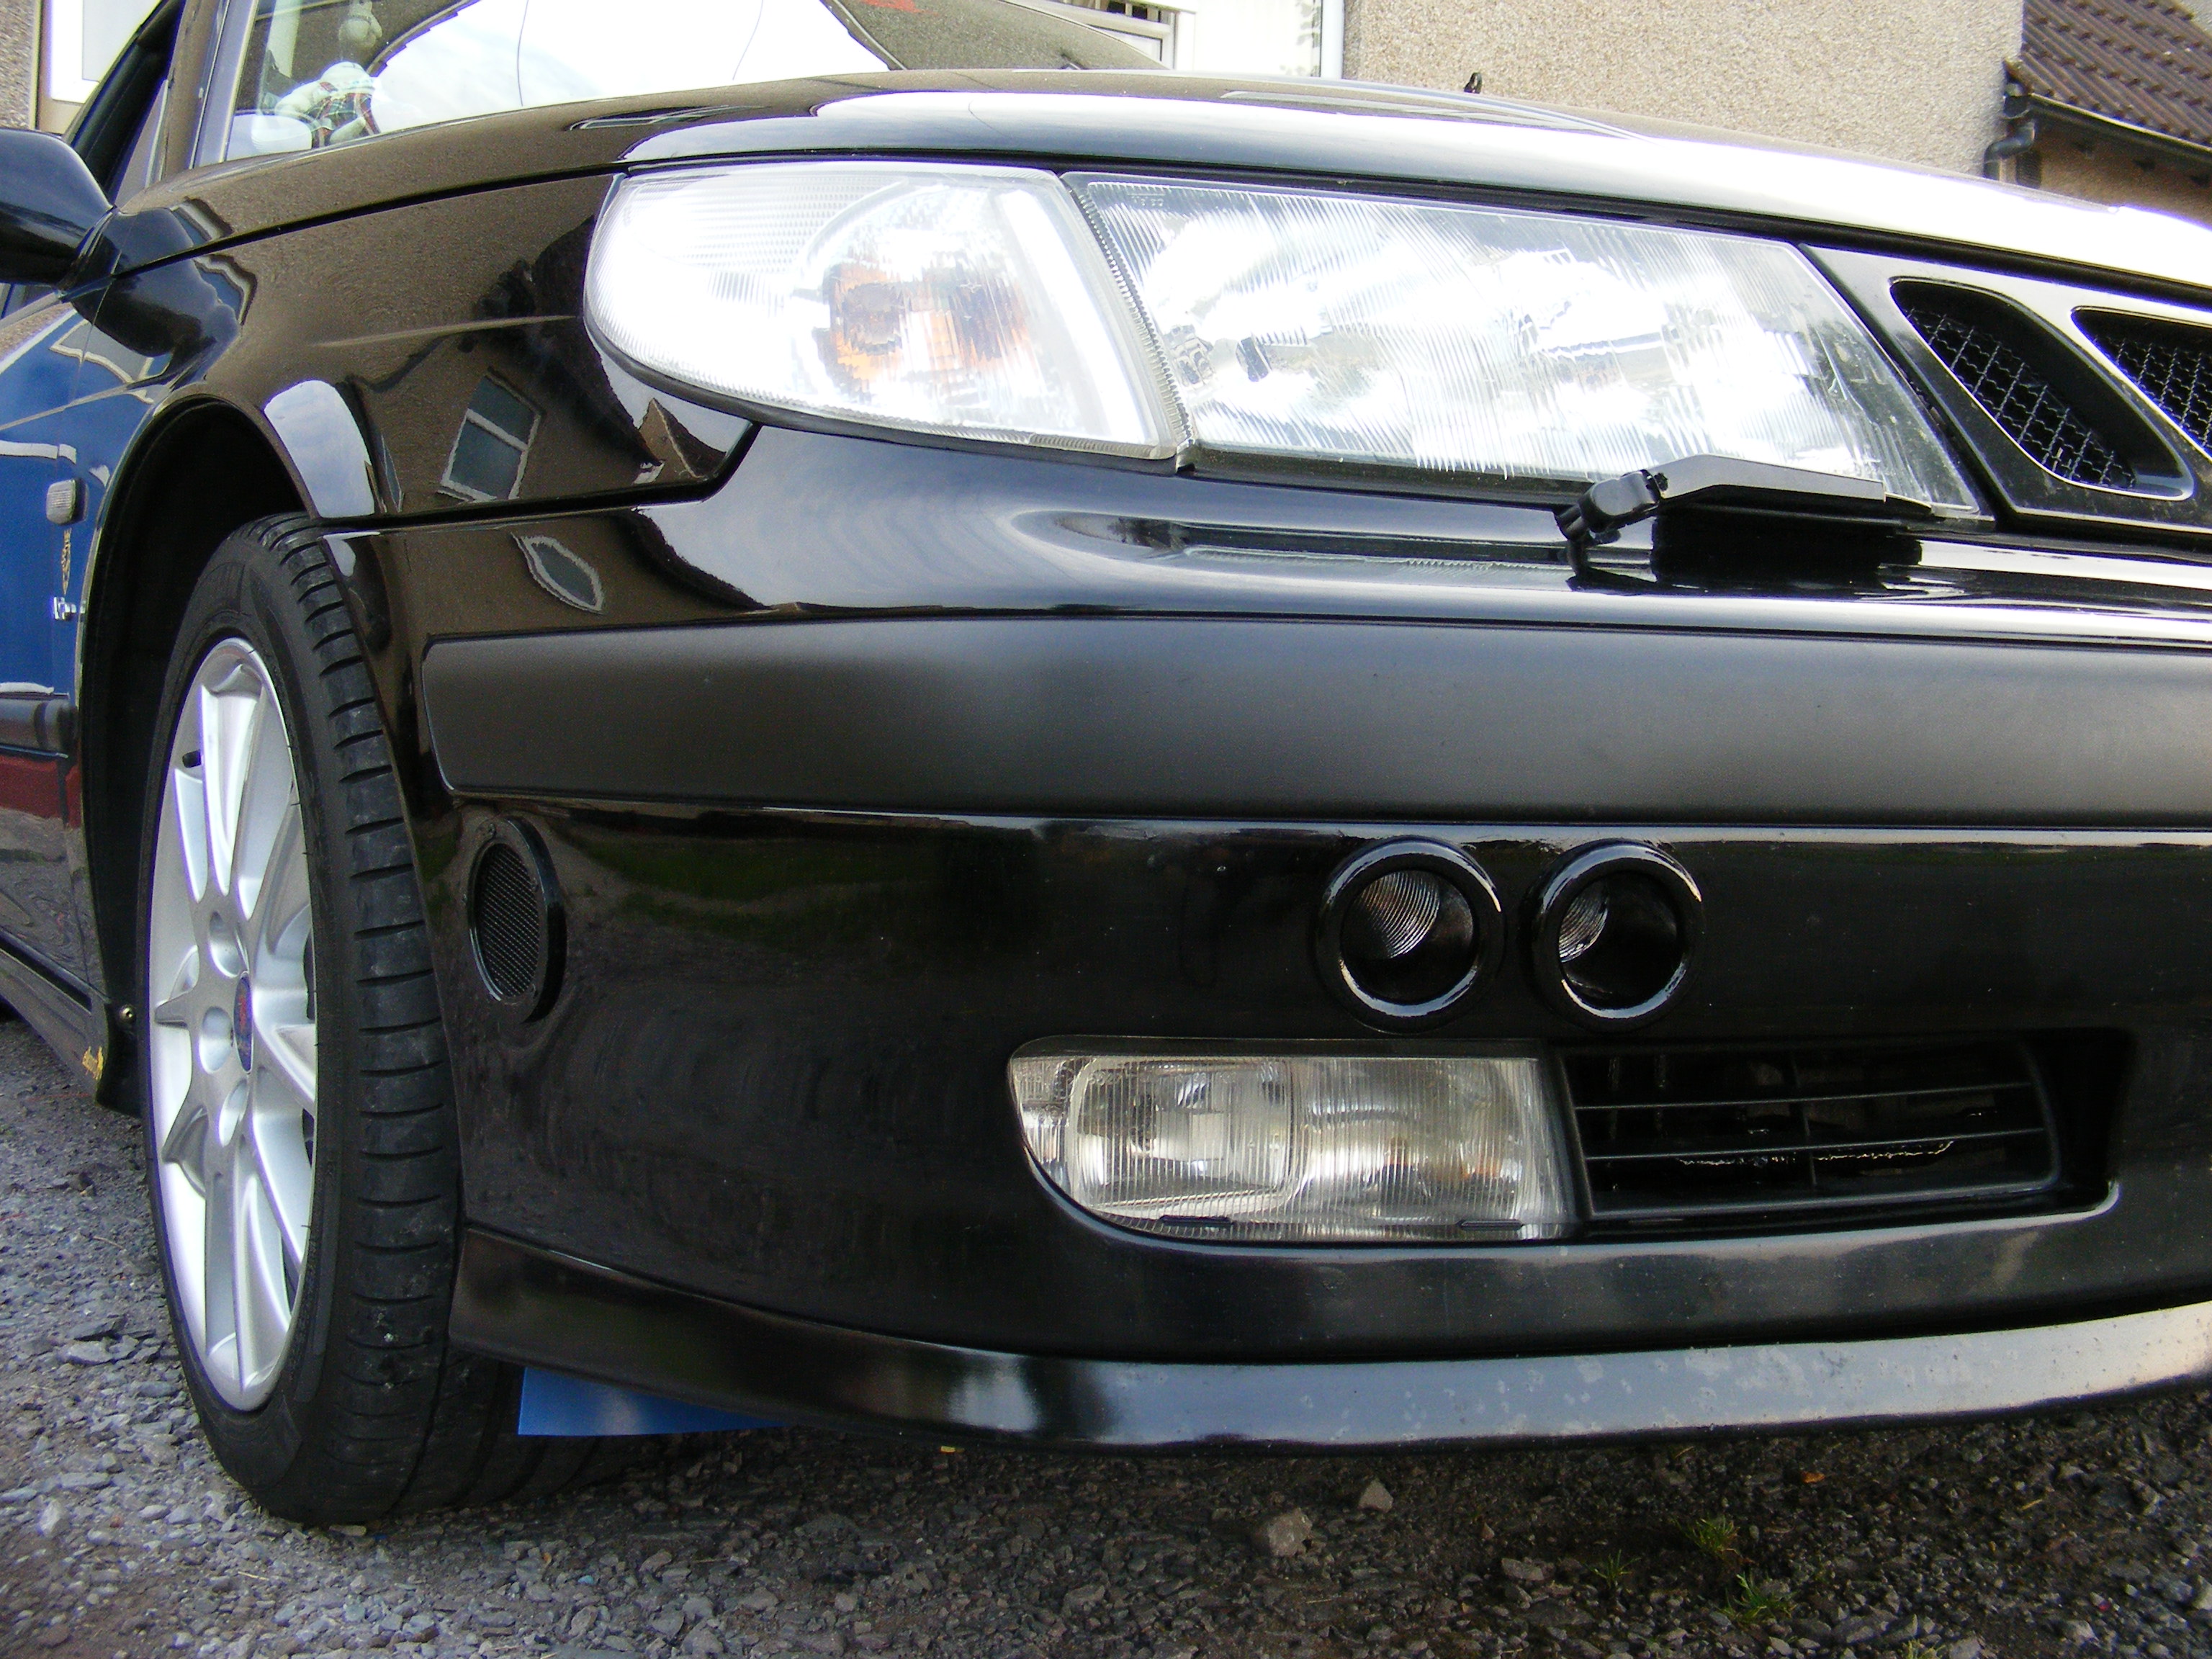
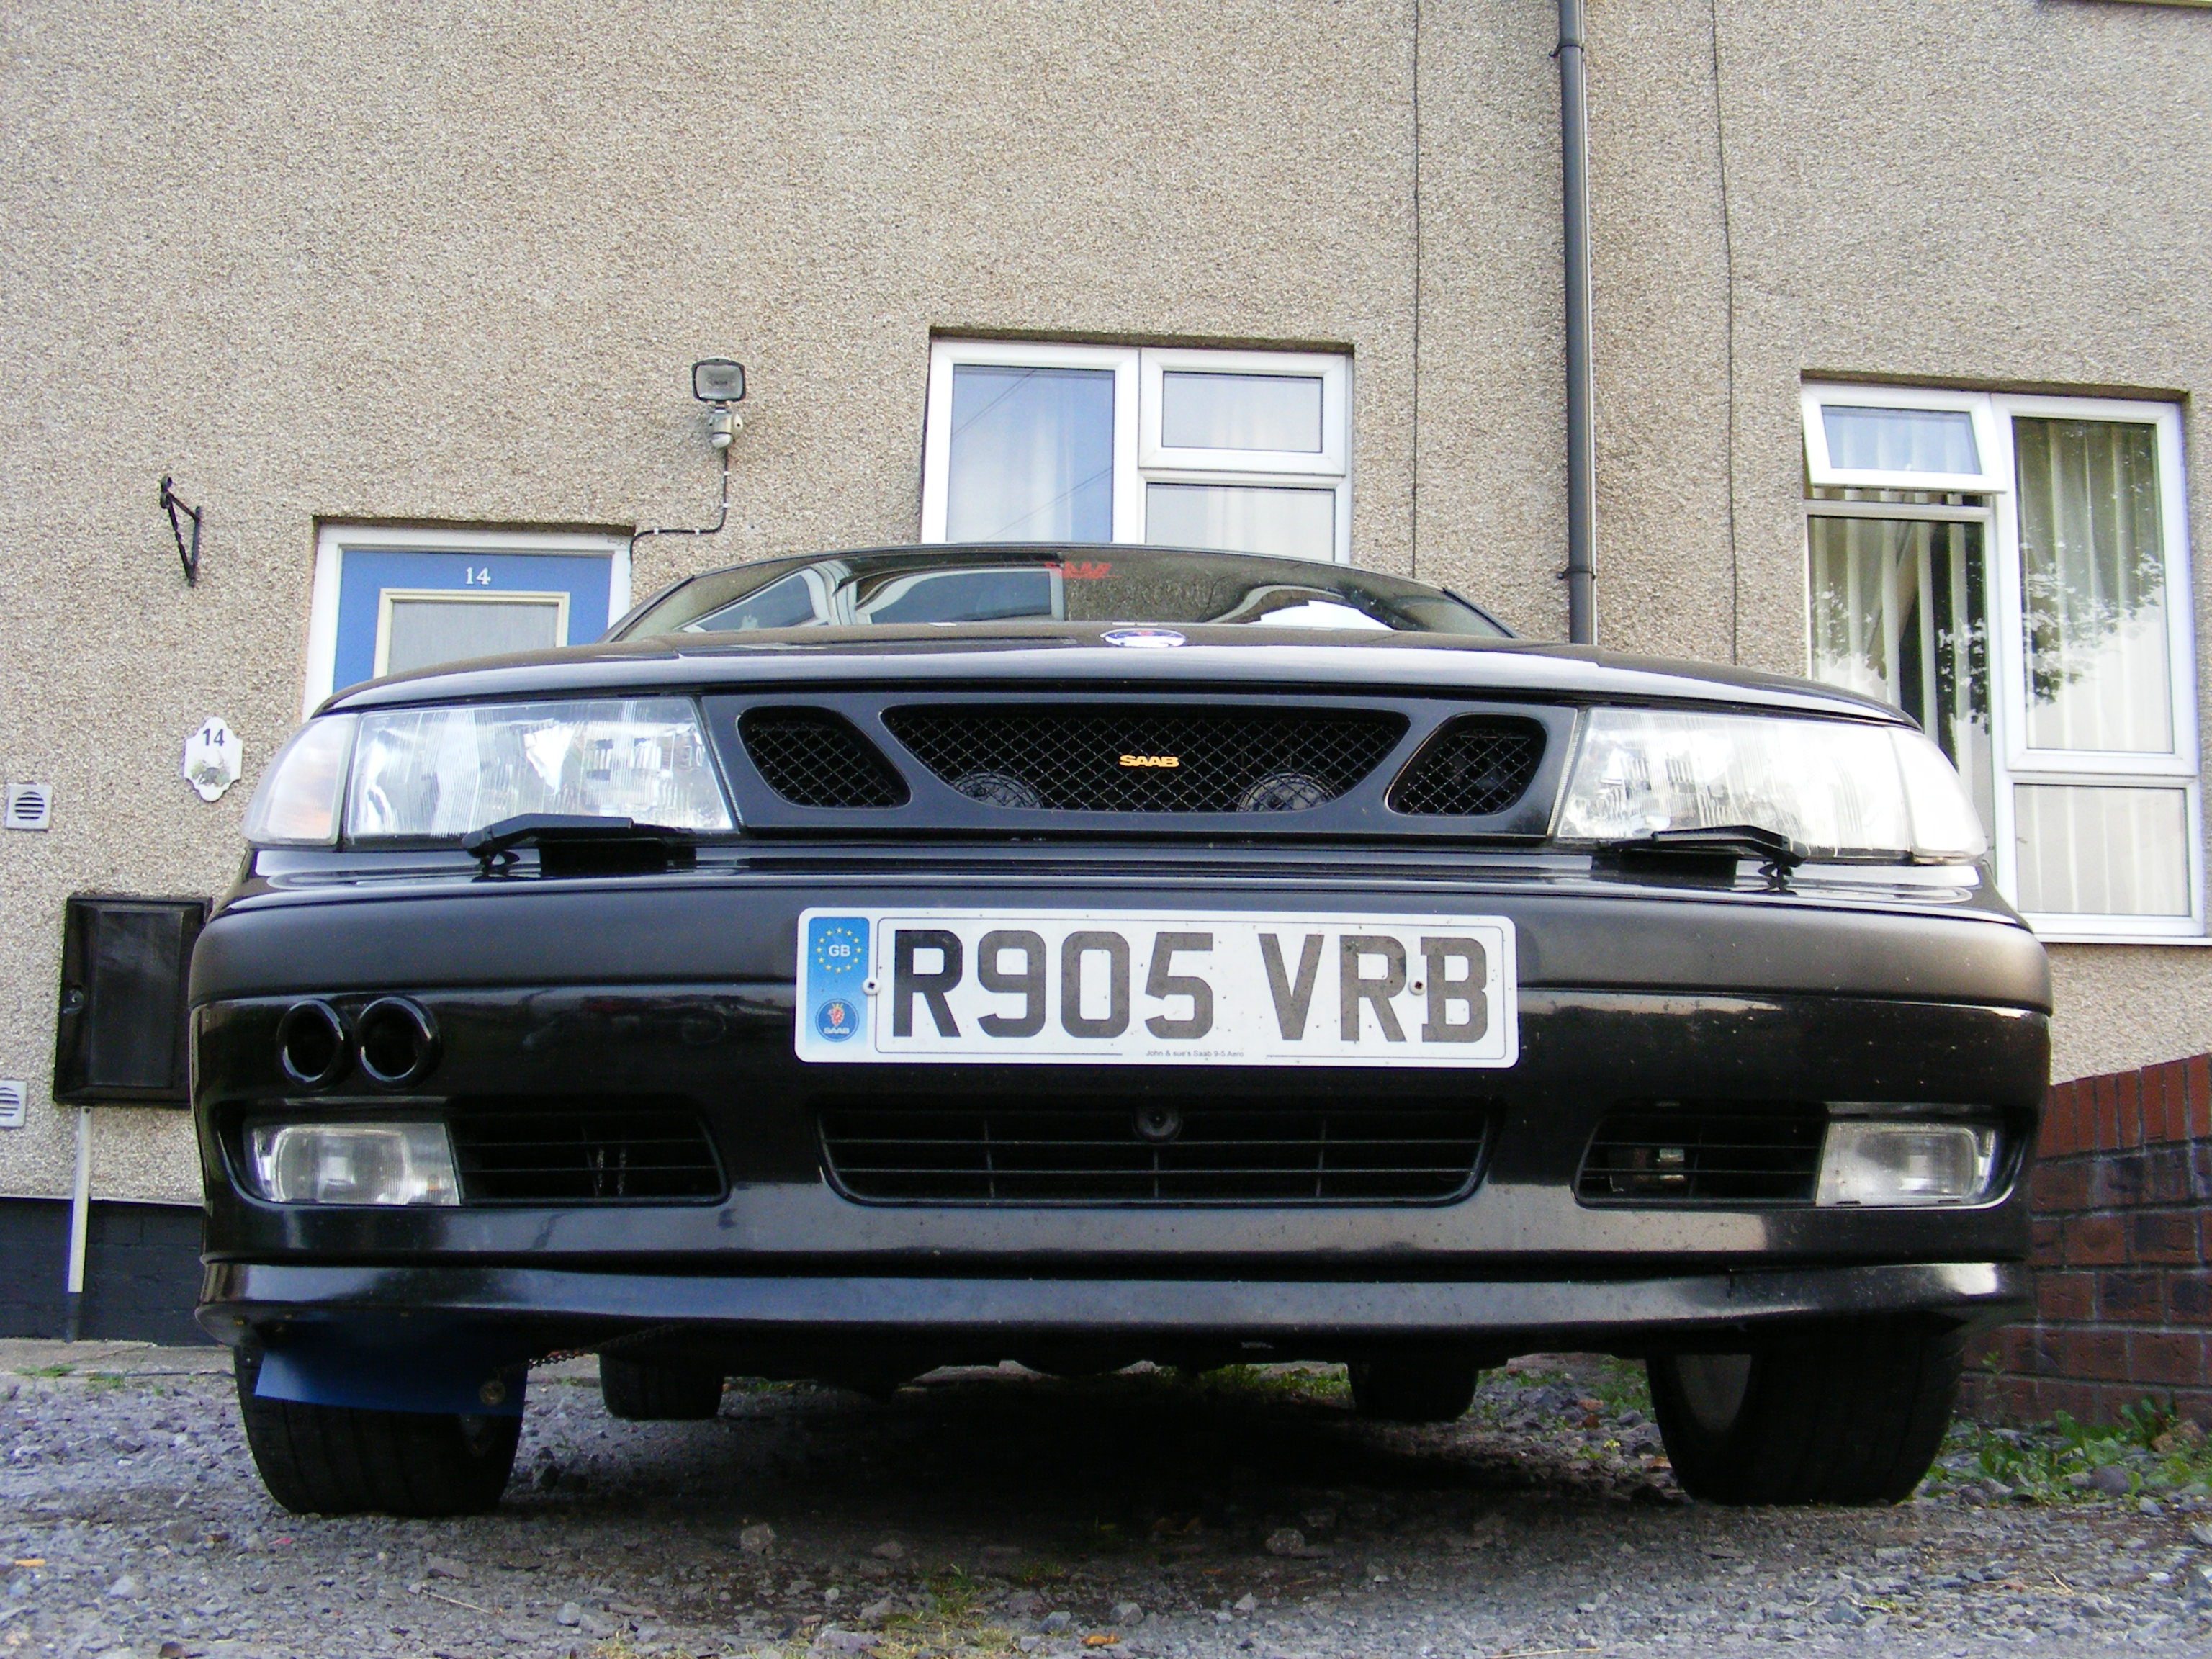
You can see from my pics that I have also fitted a pair of RAM air ducts to my bumper. Another easy job, the bumper needs to be un bolted & pulled forward to give you room to work behind it.
Then its a case of removing some of the bumper insert foam & drilling the bumper.
I used a hole saw that was just a touch smaller then the duct ends, this was because I wanted a nice tight fit into the bumper.Then fit the duct ends & the duct hose itself & fix into place using jubilee clips & trim the duct to the correct length. I didnt want mine pointing directly at the air filter incase any water should find its way into the ducts, so I cut them just short of the filter & pointed them away from the filter, this will allow the filter to stay dry in wet weather but still get a good amount of clean cold air into the air filter aera.

So, were all done here yes..............NO!
The main problem or worry with fitting an open air induction kit to the 9-5 is water ingress. Thats bad!
While the inner wing liner does a great job of keeping water away from the airfilter, once the old stock airbox has been removed there is now a rather large hole on the underside of your car & an easy route for unwanted water to access your air filter & cause all kinds on engine problems.
So a homemade DIY splash guard is needed. Some use parts from the old airbox or will just wrap a piece of flexiable plastic around the area & fit with cable ties.
I wanted something abit better than that which doesnt involve covering the air filter, sort of defeats the object of fitting it in the first place!
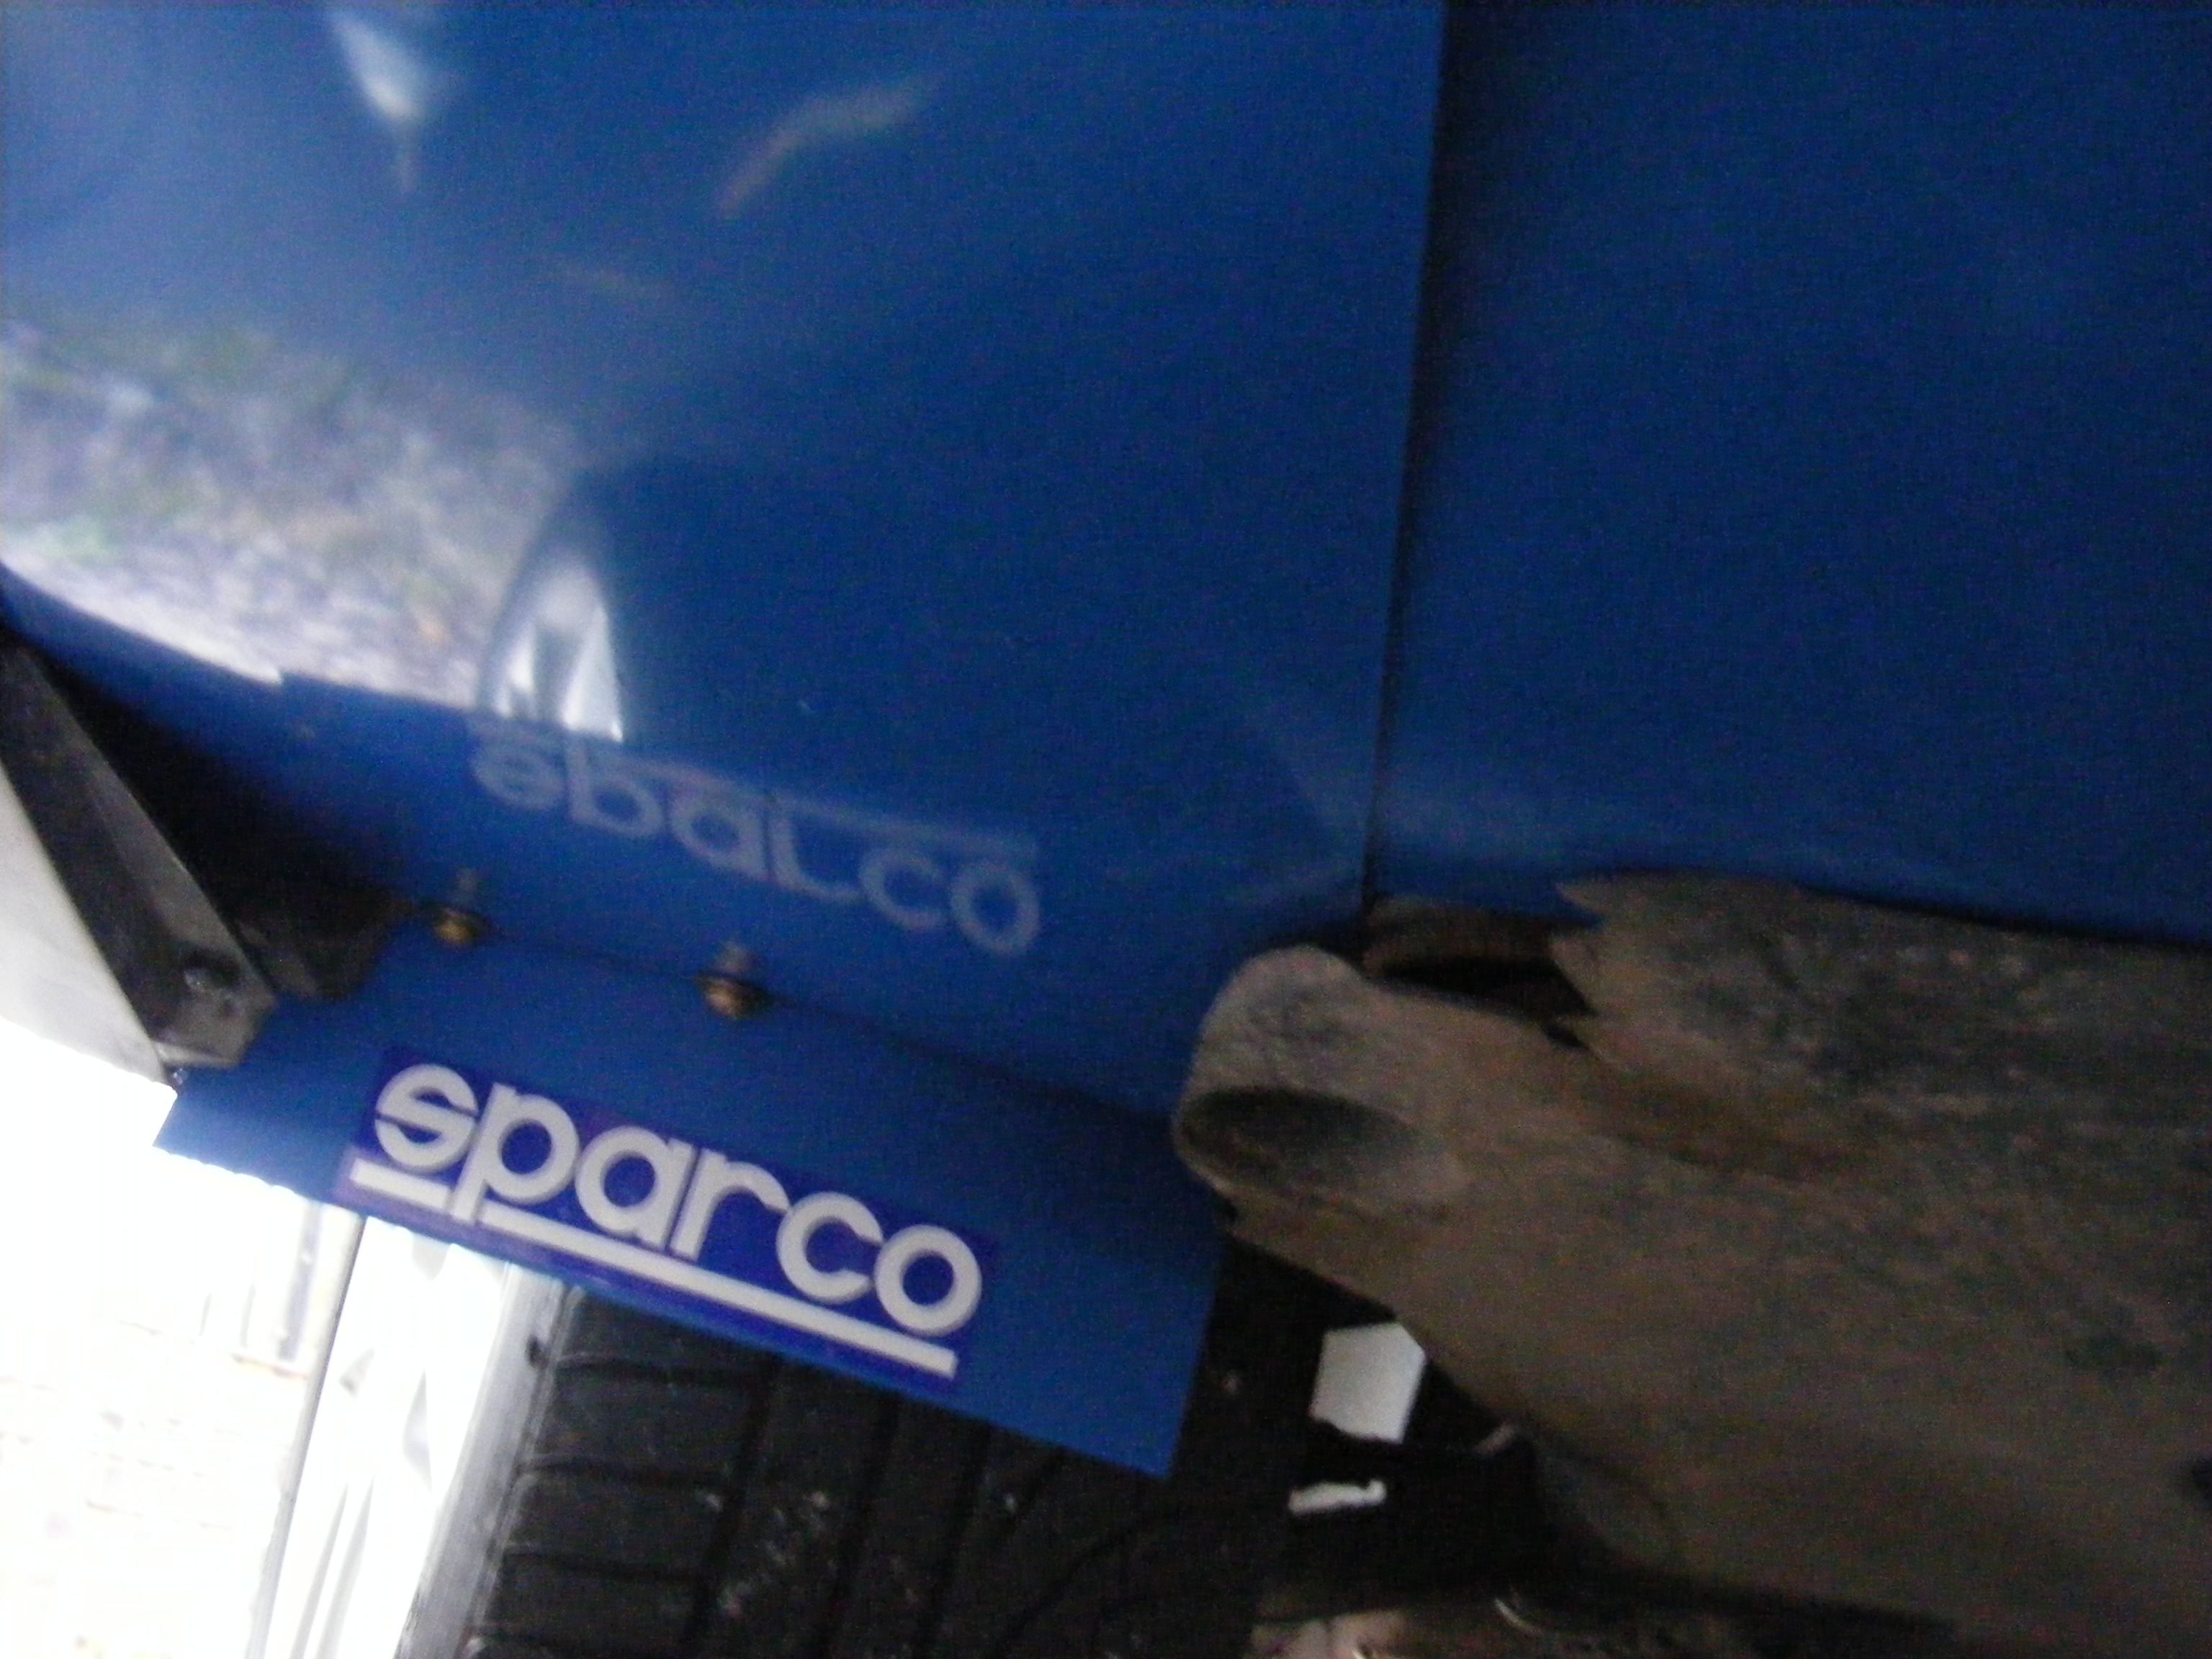
I used two rally style mudflaps, some silicone sealant & a pack of new 10mm nuts & bolts. The mudflaps were perfect for the job & very easy to cut to shape, drill & bolt into position. I had a small crack in my wing liner so I decided to make a small mudflap & seal up the crack with some silicone before I bolted the flap into place just to be on the safe side.
 |  |
 | 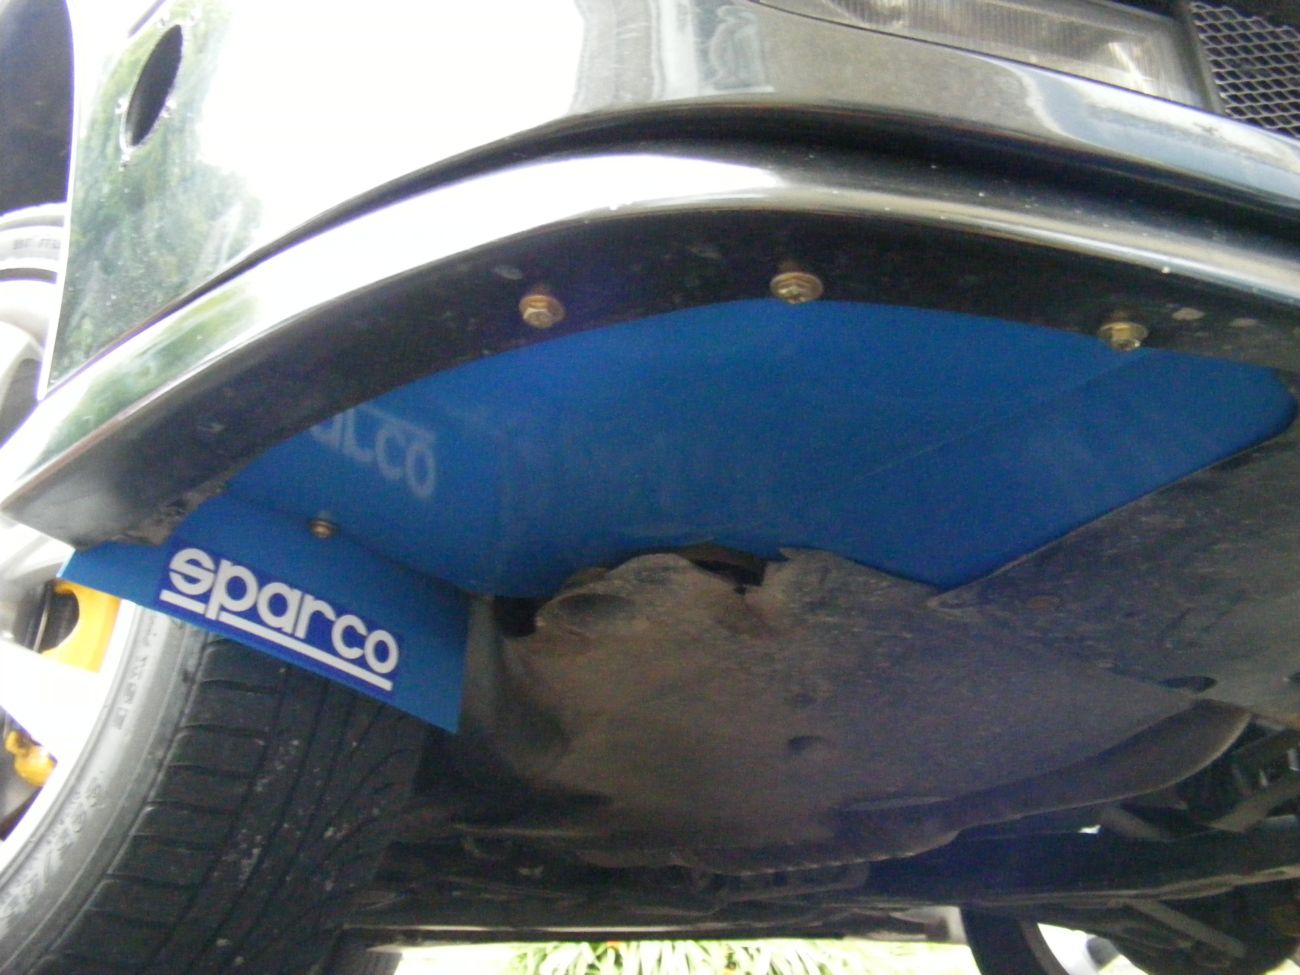 |
So now its done, this car has seen plenty of rain & snow, puddles & spray & no problems with water splashes as yet so Im happy with my efforts.
The car does feel alot more responsive through the gears & does seem to breath better than it ever did before, as for extra BHP.......Who knows.
It has been said that this mod will give an extra 5 - 8 BHP, who knows, time will tell.
Whats that hole in the side of your bumper for Johno? I hear you ask.
Well, cosmetic reasons I guess, another topic raised on Saabscene about RAM air ducts & RAM pipes gave me the idea after seeing pictures of other members cars & what they had done to get extra air in behind the airfilter, I just thought it would look good.

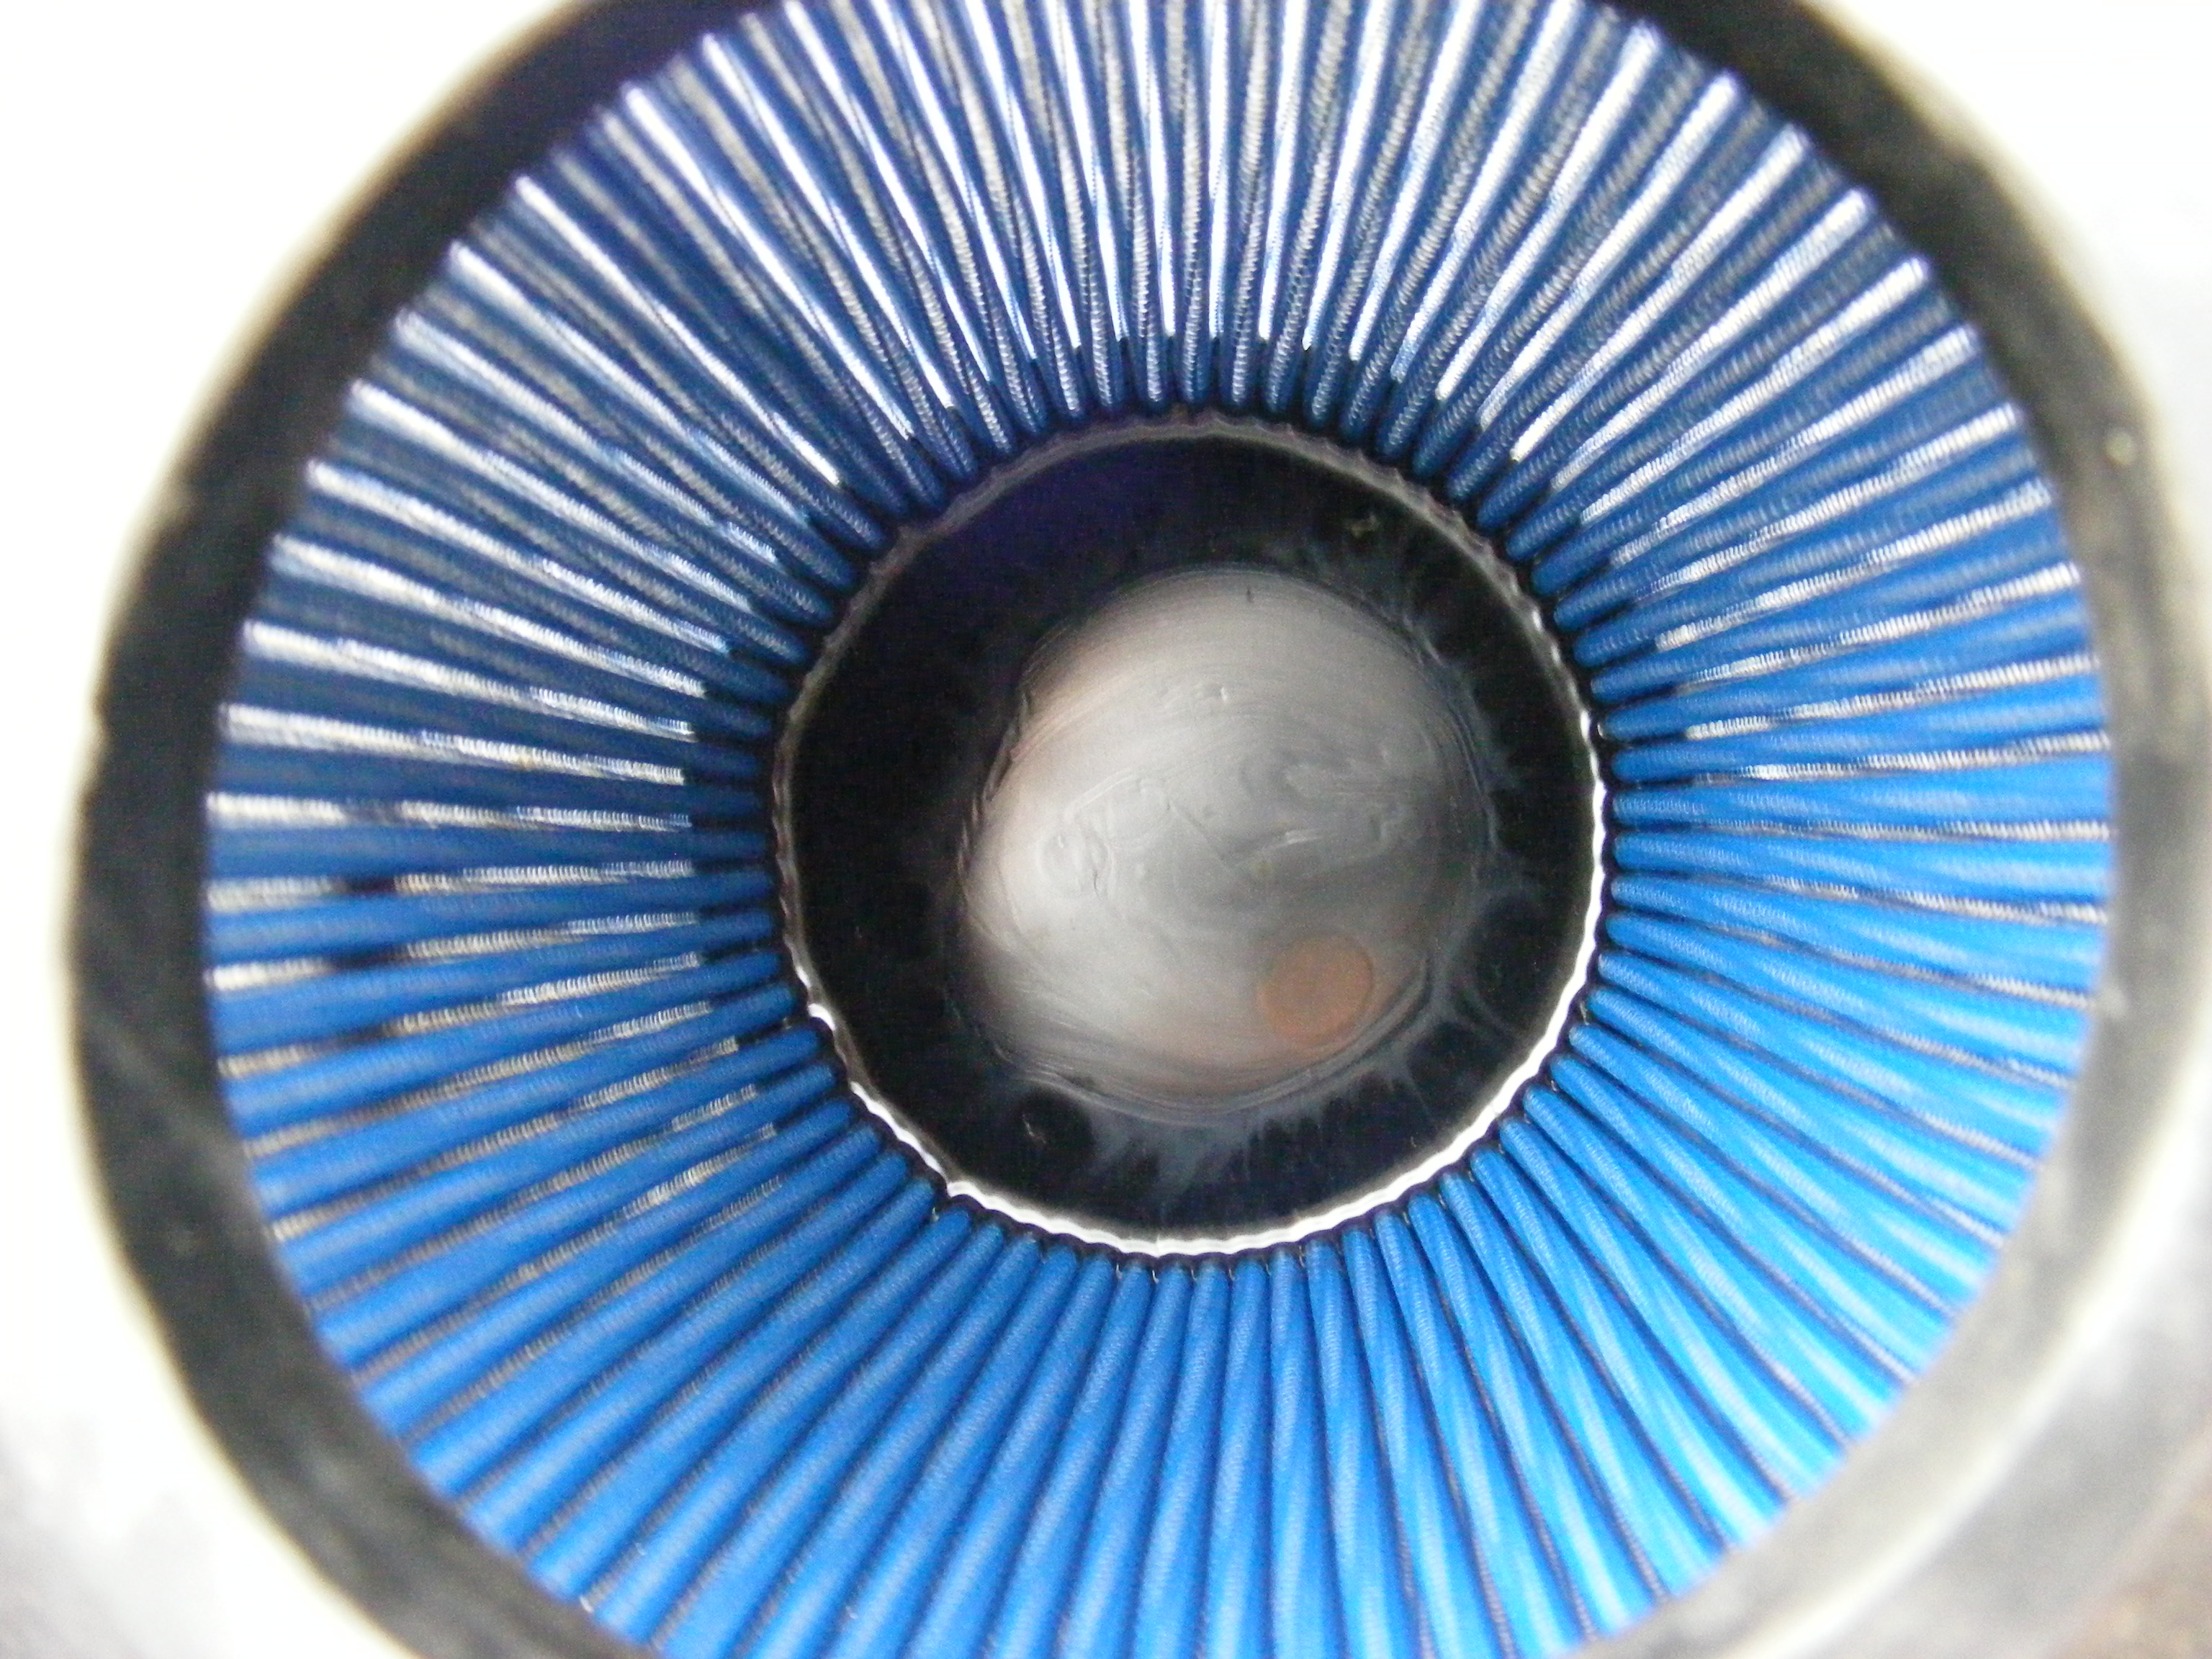
So, after a good six months of constant use, plenty of rain, dust & other abuse I removed my JR filter to have a look how dirty it was. I was quite pleased how clean it was, the inside was spotless, not a single speck of dust so it does its job very well in my opinion. There was some dirt, dust & dead bugs on the outside, but after a good soak in warm soapy water it came up as clean as new.
Once dry I re fitted it to my car.
The whole filter area was nice & dry & no signs of water getting in anywhere that it shouldnt.
Im very pleased with this product, its a very good cheap & worthwile mod in my opinion.
The pics below were taken before I fitted the Hydro sock over my air filter, the next time I take it apart for cleaning it should just be a case of washing the sock & replace when dry.
 |  |
 |  |