Well heres a mod Ive been wanting to do for years, but never got around to doing it...Till now. Ive never really looked into sports/lowering suspension kits before, but after doing this mod I wished Id fitted some much sooner, I just love the new look & feel the Koni kit has given the car.
My car now has 174k miles on the clock & with the amount to towing & heavy weights its been hauling around for the past five years the rear suspension was shot.
I priced up some of the various sports/lowering suspension kits for the early 9-5's & these dont come cheap, best part of £500 for a half decent set up which was a bit over the top for me, however a good freind of mine over on UKSaabs.co.uk was selling a full Koni sports suspension kit that he had removed from a 1999 9-5 which he was breaking after engine failure. This was perfect for me as it gave me the chance to try a new sports suspension set up on my car (without having to sell a kidney) just incase I didnt like it or the ride was to harsh....Which it isnt.
This kit has covered around 40k miles since being fitted to the original car, so really they havent done that much work & should serve my car well for a couple of years or so before they will need replacing with a new set.
Heres how they looked when my freind delivered them last weekend.
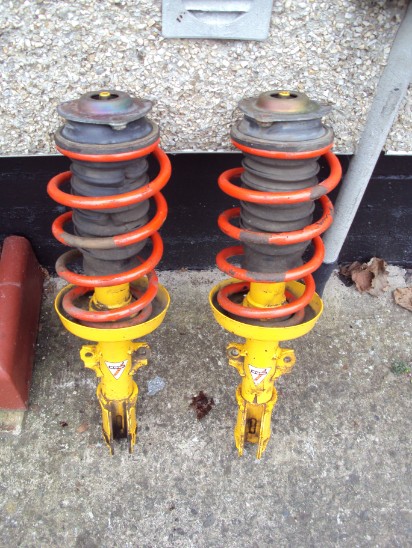 | 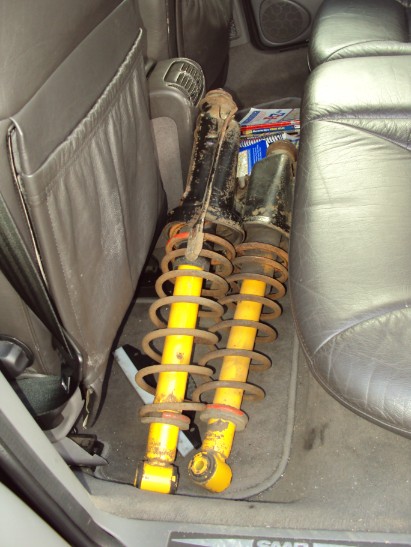 |
A little rough around the edges, some paint missing here & there but that can soon be sorted, Im over the moon with them.
So, now the suspension transplant can begin. Its not really a hard job on the 9-5, but after 12 years & 174.000 miles the old ones would take some shifting.
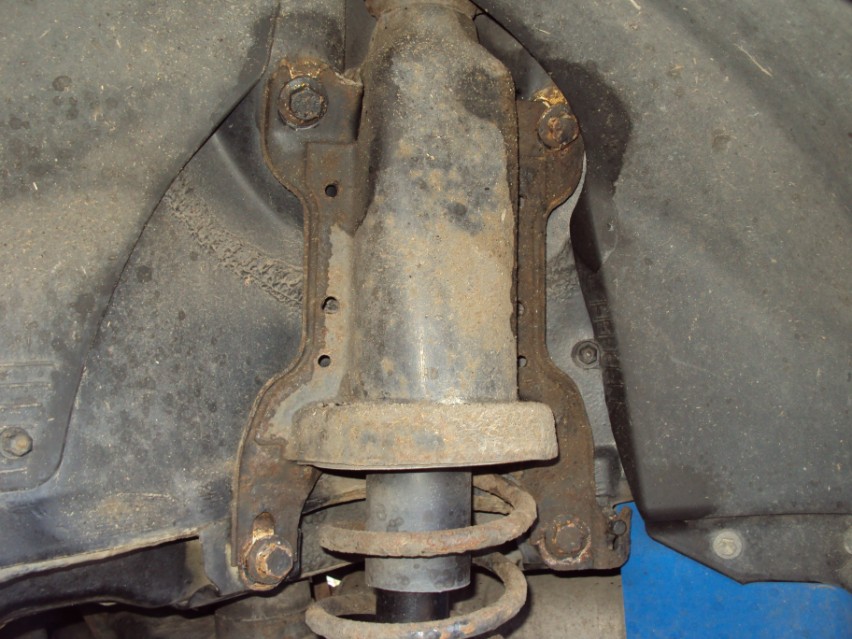
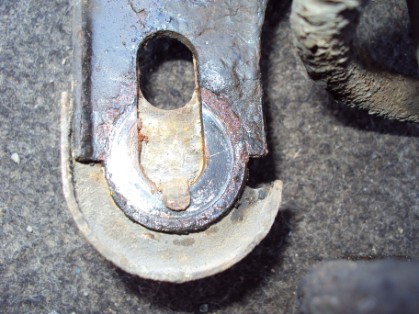
Lets start with the front units first, once the car is safely up on axle stands & the wheels were removed I was faced with this.
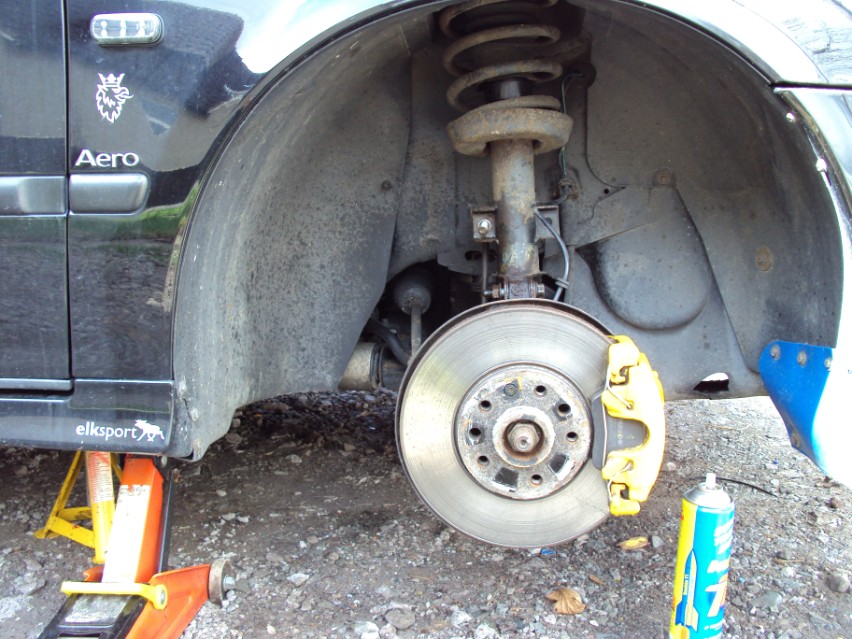
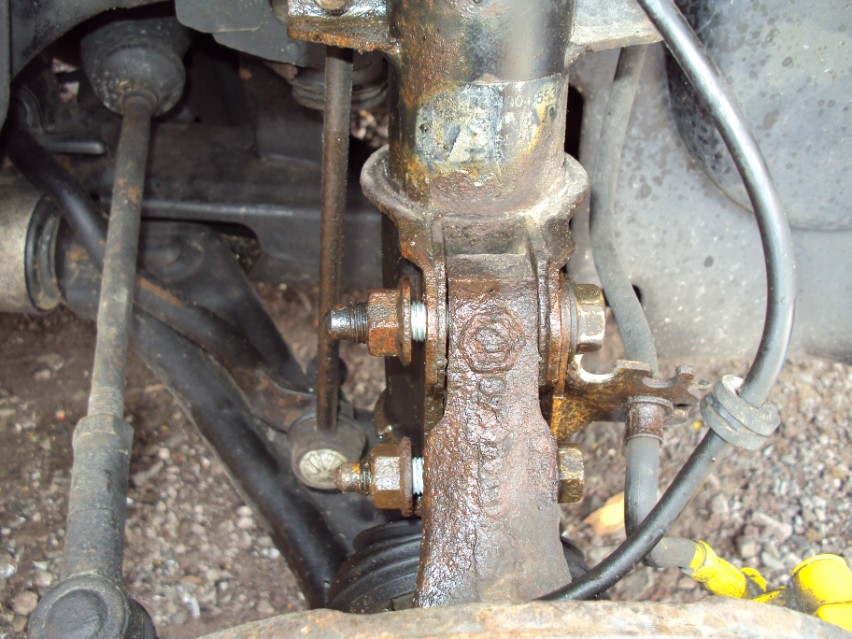
There are six bolts to undo on each side, three 10mm bolts on the upper mounting point, two 18mm bolts where the front strut fits to the front hub & one 19mm nut where the droplink arm fits to the strut itself.
Note the mounting bracket for the ABS sensor wire & the brake fluid hose, it is held in place by the two 18mm bolts, but this doesnt cause any problems & it just pulls away with the hub bolts, but take care if you are using a long breaker bar on the nuts.
 | 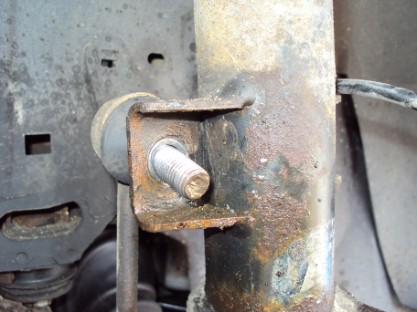 |
As I thought the nuts took some shifting, I did give them a good soak in WD40 before removal but a long breaker bar was needed to move the 18mm lower nuts.
I removed all the bolts & the nut for the drop link arm, I left the drop link arm in place when I removed all the bolts because the front strut is very heavy & this would stop it crashing to the floor (or on my foot!) when the top three 10mm bolts are removed. This way the front strut dropped down far enough so it can then be pulled off the drop link arm without causing any damage to the ABS sensor wire & brake fluid hose.
It is recomended that new nuts & bolts are fitted when replacing the front & rear suspension units.
Heres the old unit removed.
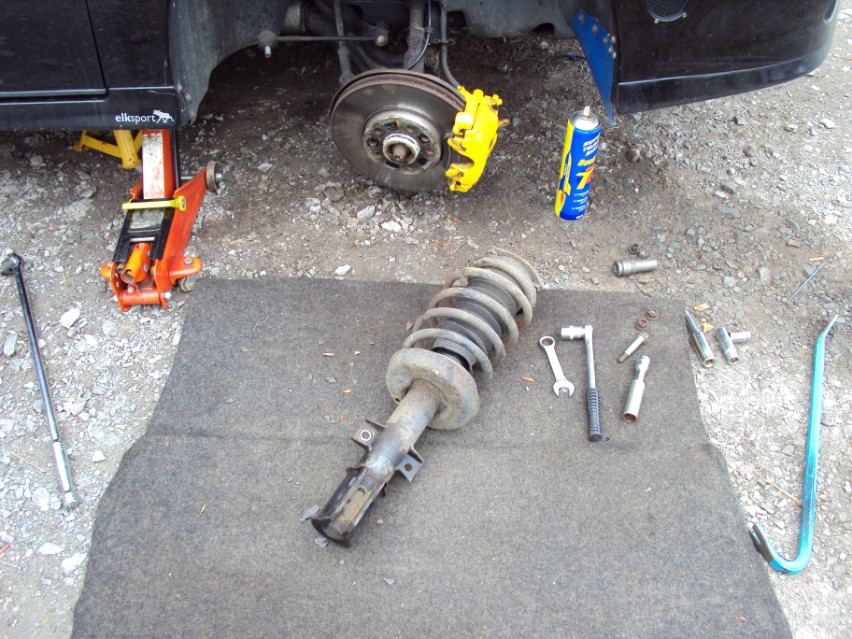
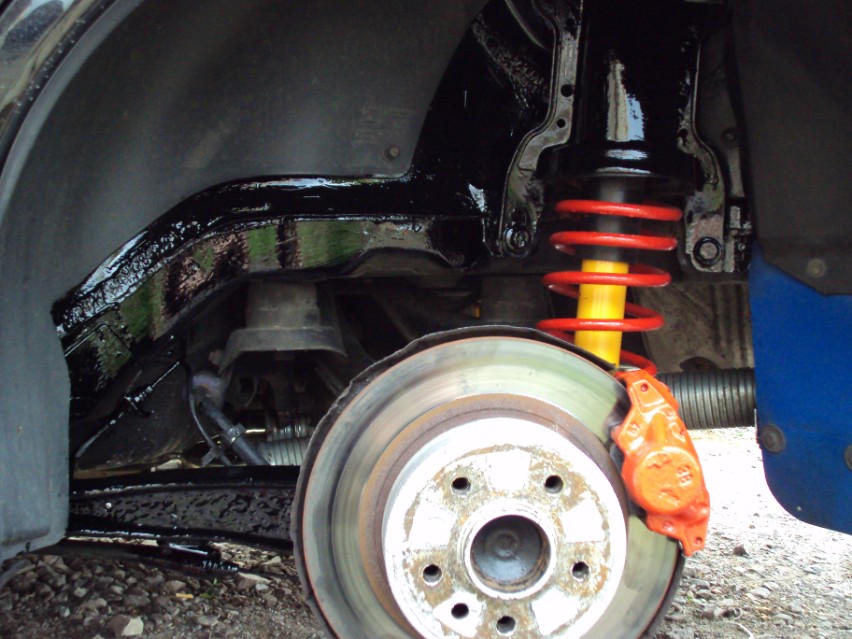
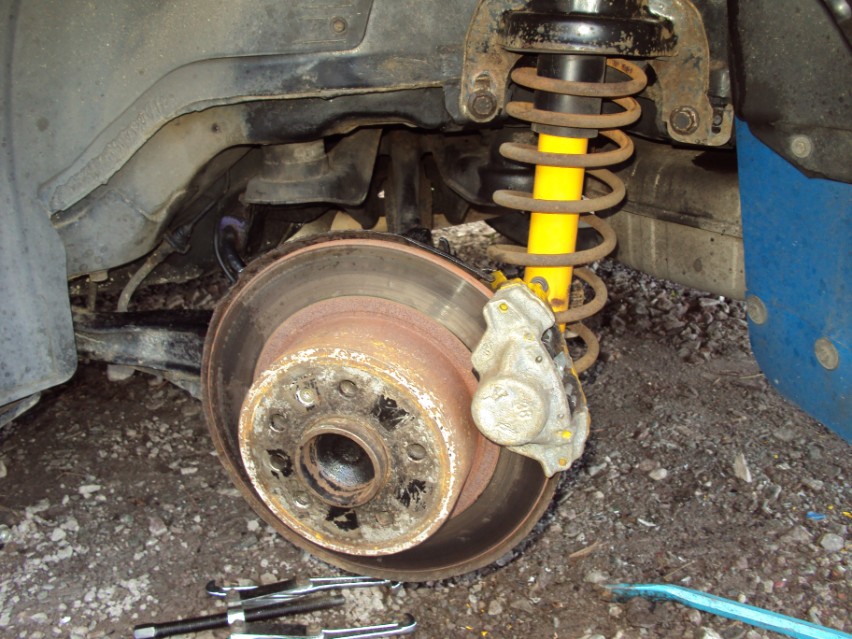
& the new Koni unit fitted in place.
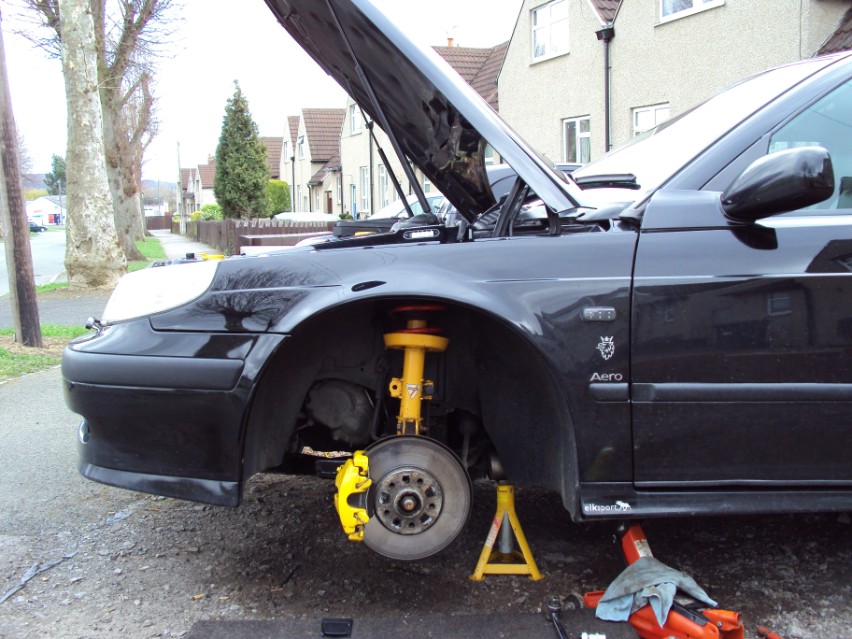
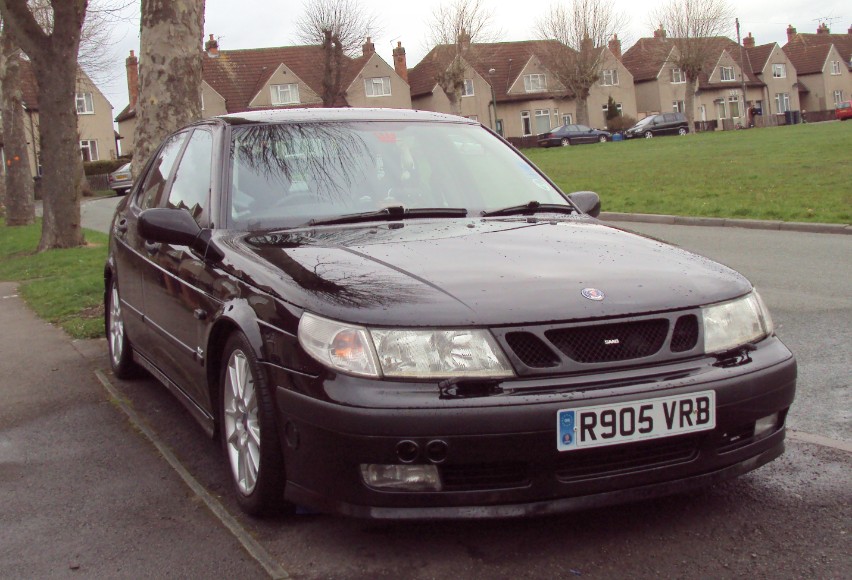
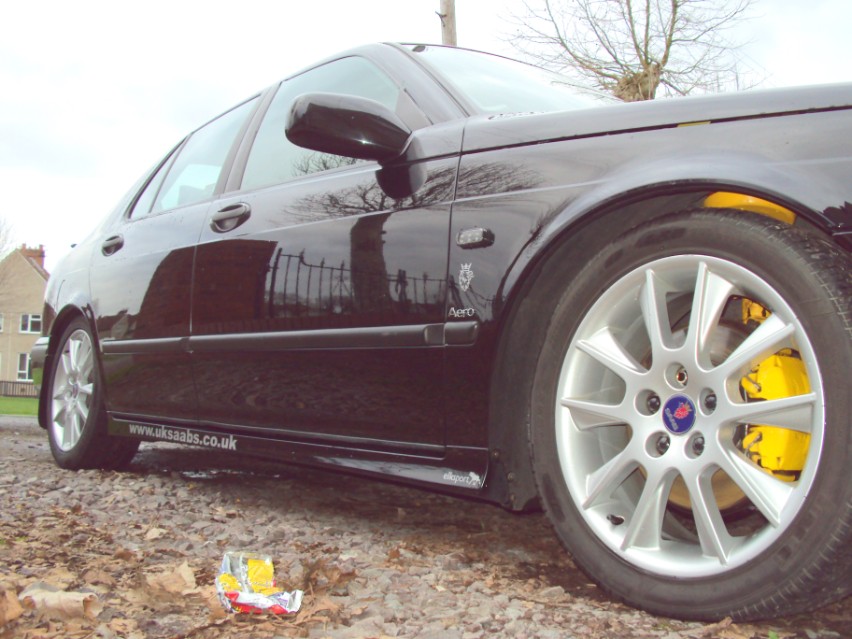
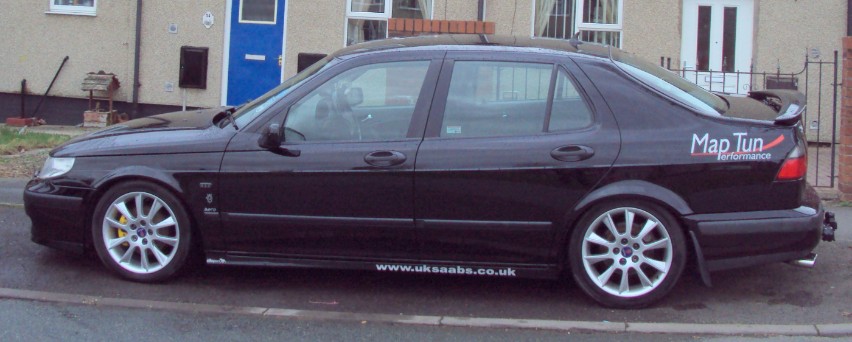
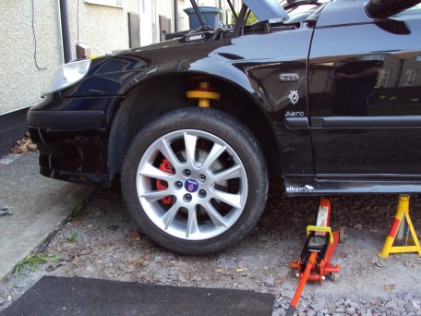
So thats the front sorted, Koni say that this will reduce the ride height by 30mm -35mm, heres the before & after pics.
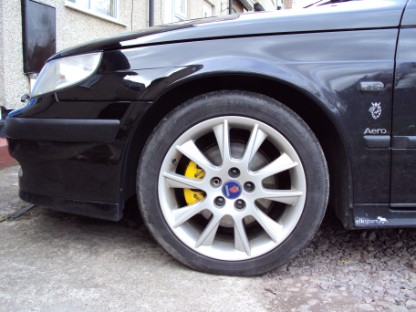 | 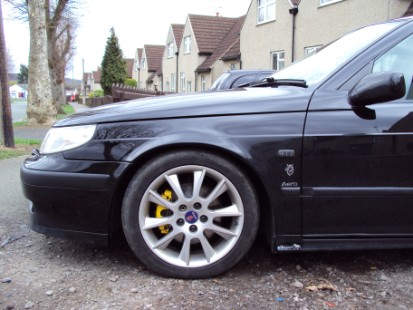 |
So now onto the rears. An easy job with only five bolts to be removed, four on the upper mounting & one at the bottom.
As with the fronts these took some shifting but they came undone in the end.
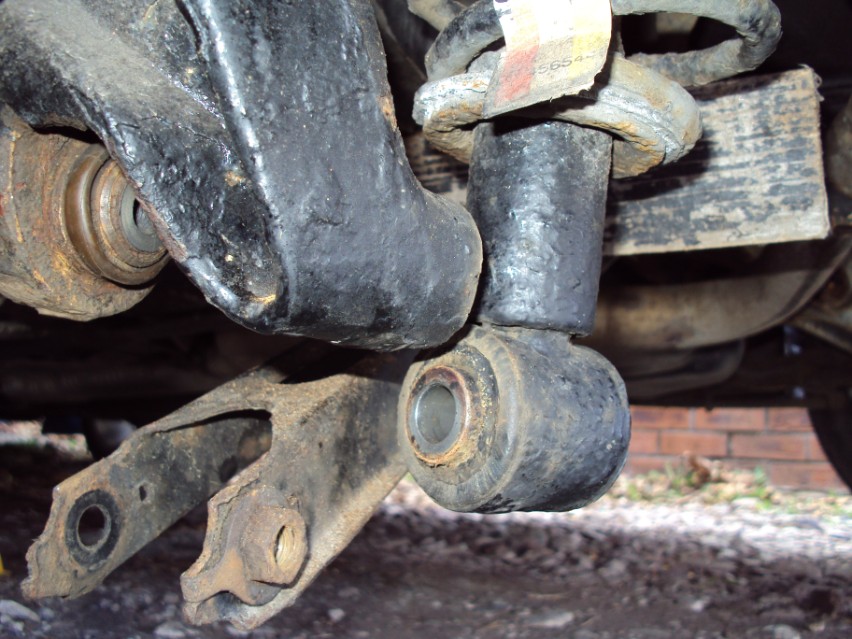
& thats all there is to the rears, you can see in the above pic that the lower transverse arm has been removed but thats nothing to do with the suspension swap, I was changing the rear rose bush at the same time & there is no need to remove this arm if you are just fitting new springs & struts. Heres the new one in its place.
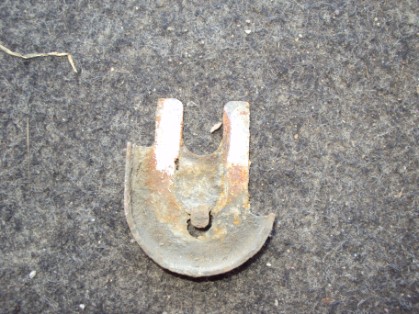
Just one point to note when fitting the rears, on the off side one there is a small adapter plate that needs to be fitted in the botton bolt hole on the upper mounting. There isnt one on the near side because of the different bolt hole position.
 |  |
& thats another little mod finished, not a huge job & easy enough to do on your own, now I just need to give them a good rub down & add some fresh paint in the summer, but other than that all thats left to do is say a huge thank you to Simon (saABBOTTage) for the suspension kit & delivering it to my door.
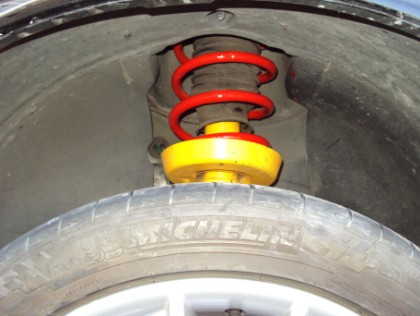
I got round to painting the springs this weekend, now they look a bit better.
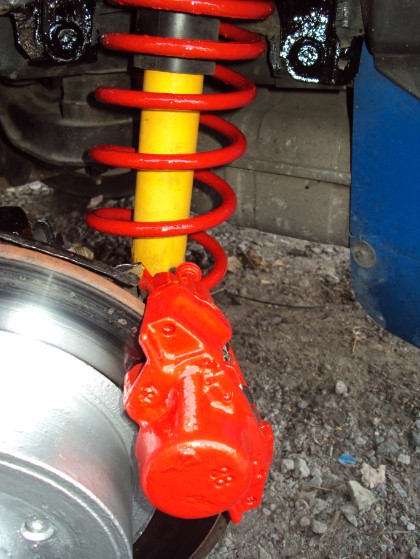 | I decided the calipers needed a new look, Ive just about tried all colours now so I thought I would go back to the good old tried & tested red. For the springs & calipers Im trying out a new mix of two pack truck chassis paint, I did try something similar on a cam cover a while ago but the results wernt good, it looked fine for a while but the paint soon started to blister & crack with the engine heat. Shame as it looked really nice.
I hope this new mix will be ok on the calipers, it seems to cope well on truck calipers & springs so with a bit of luck things should be fine.
|
 |  |